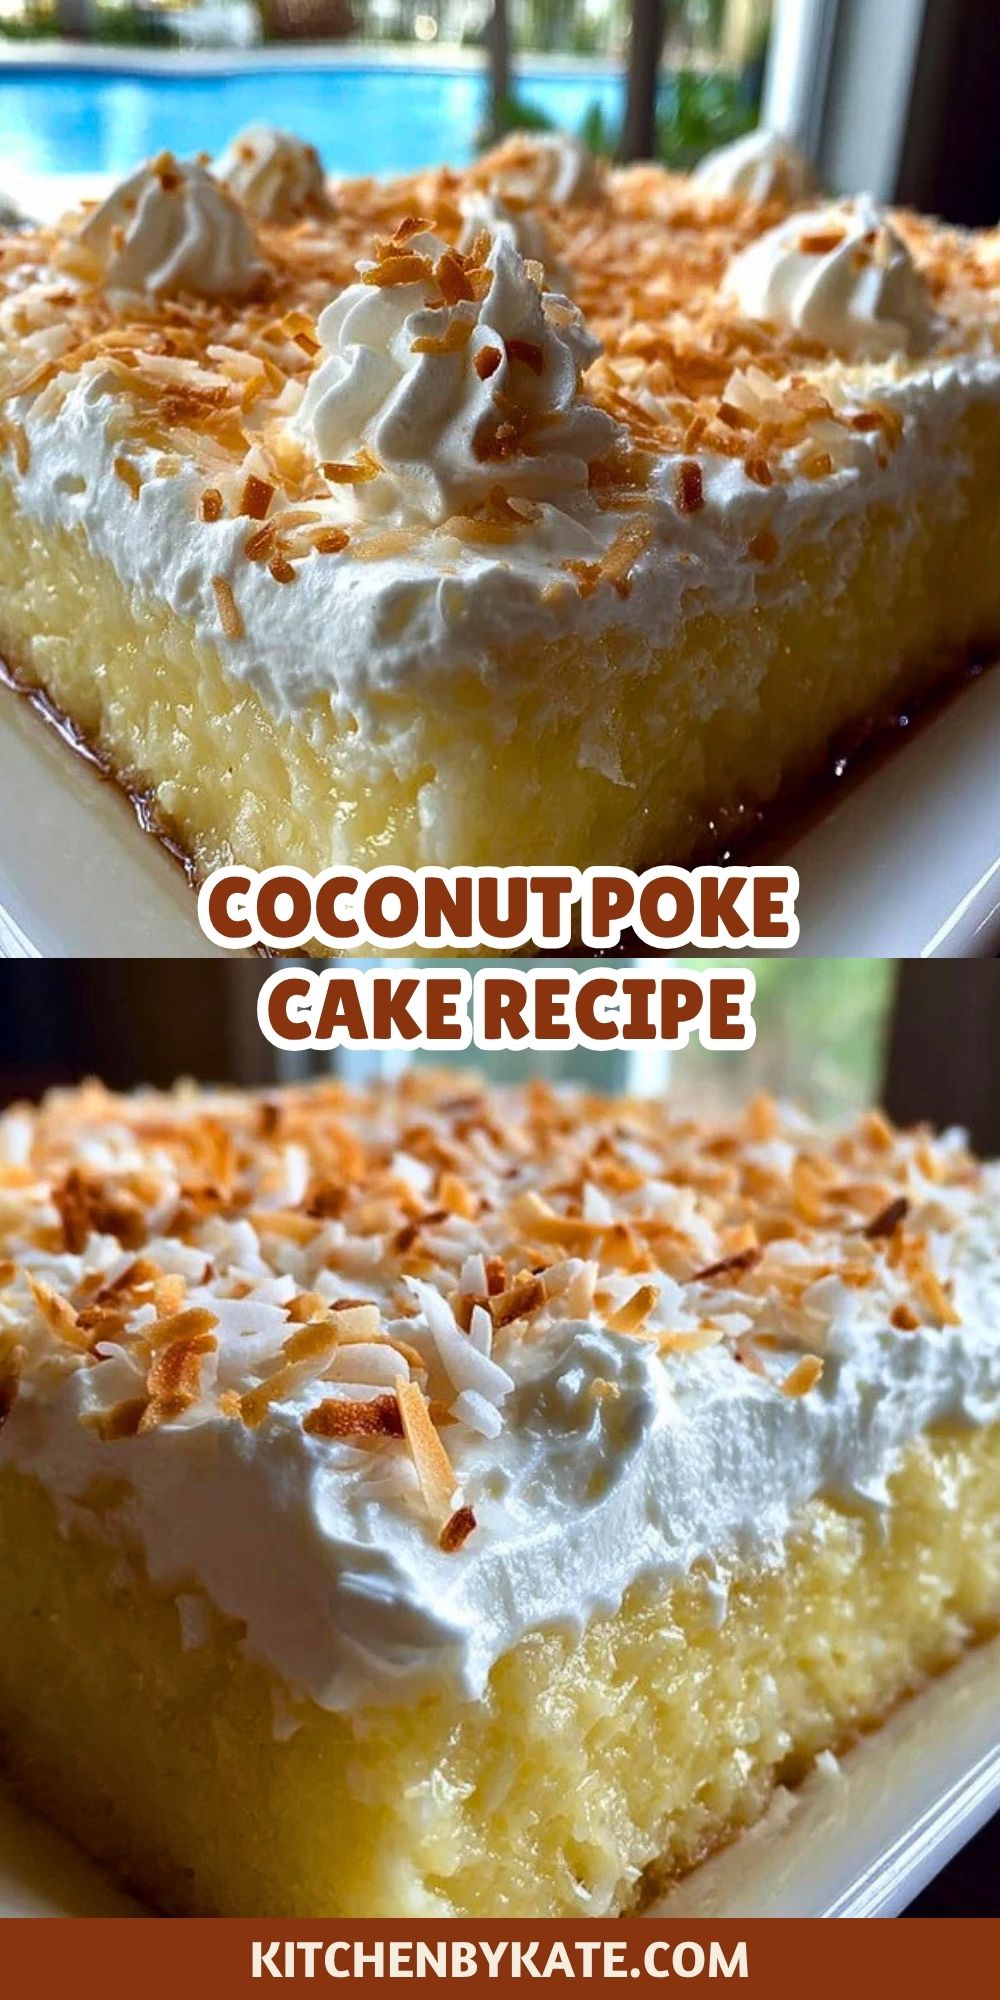
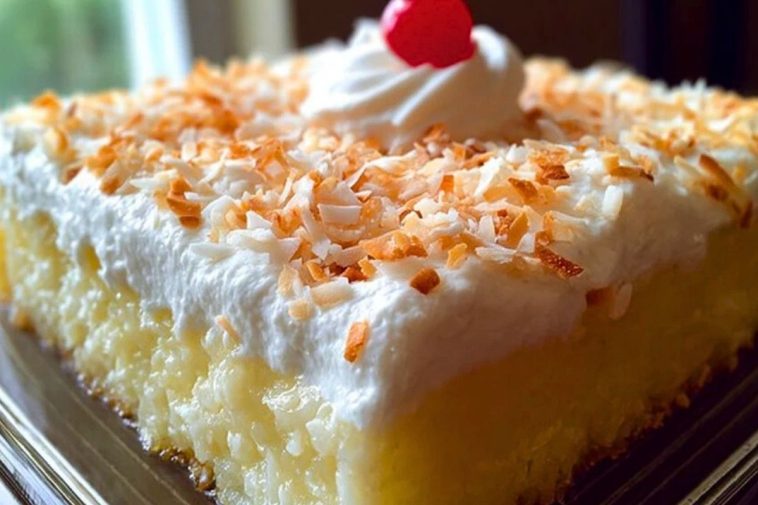

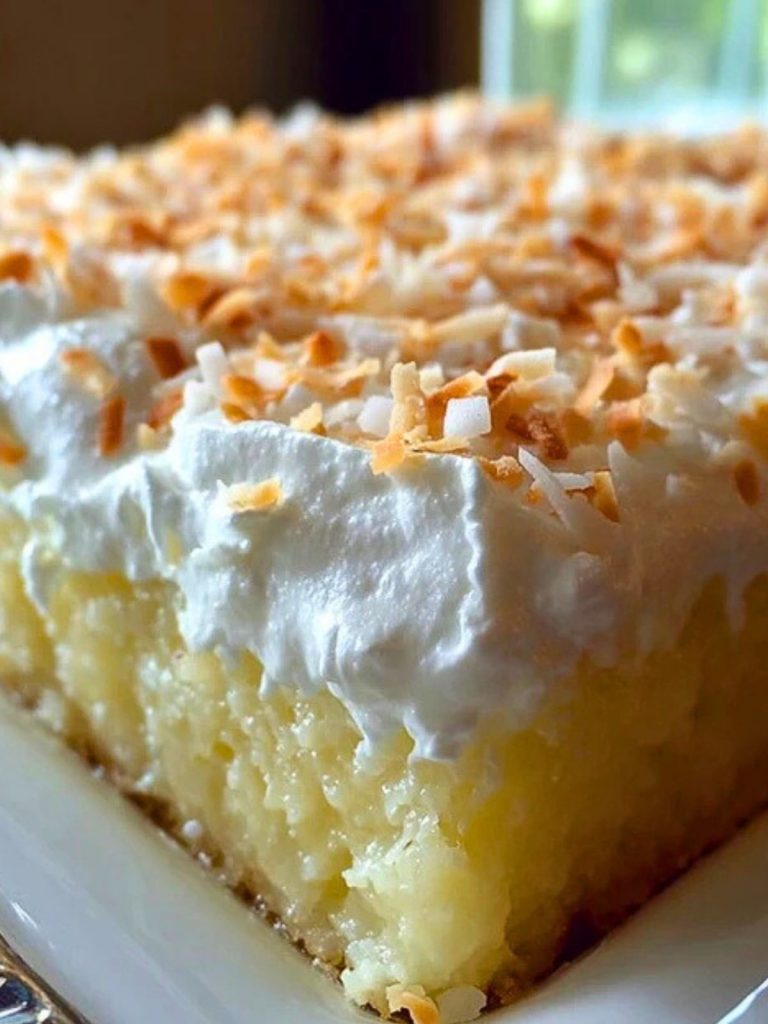
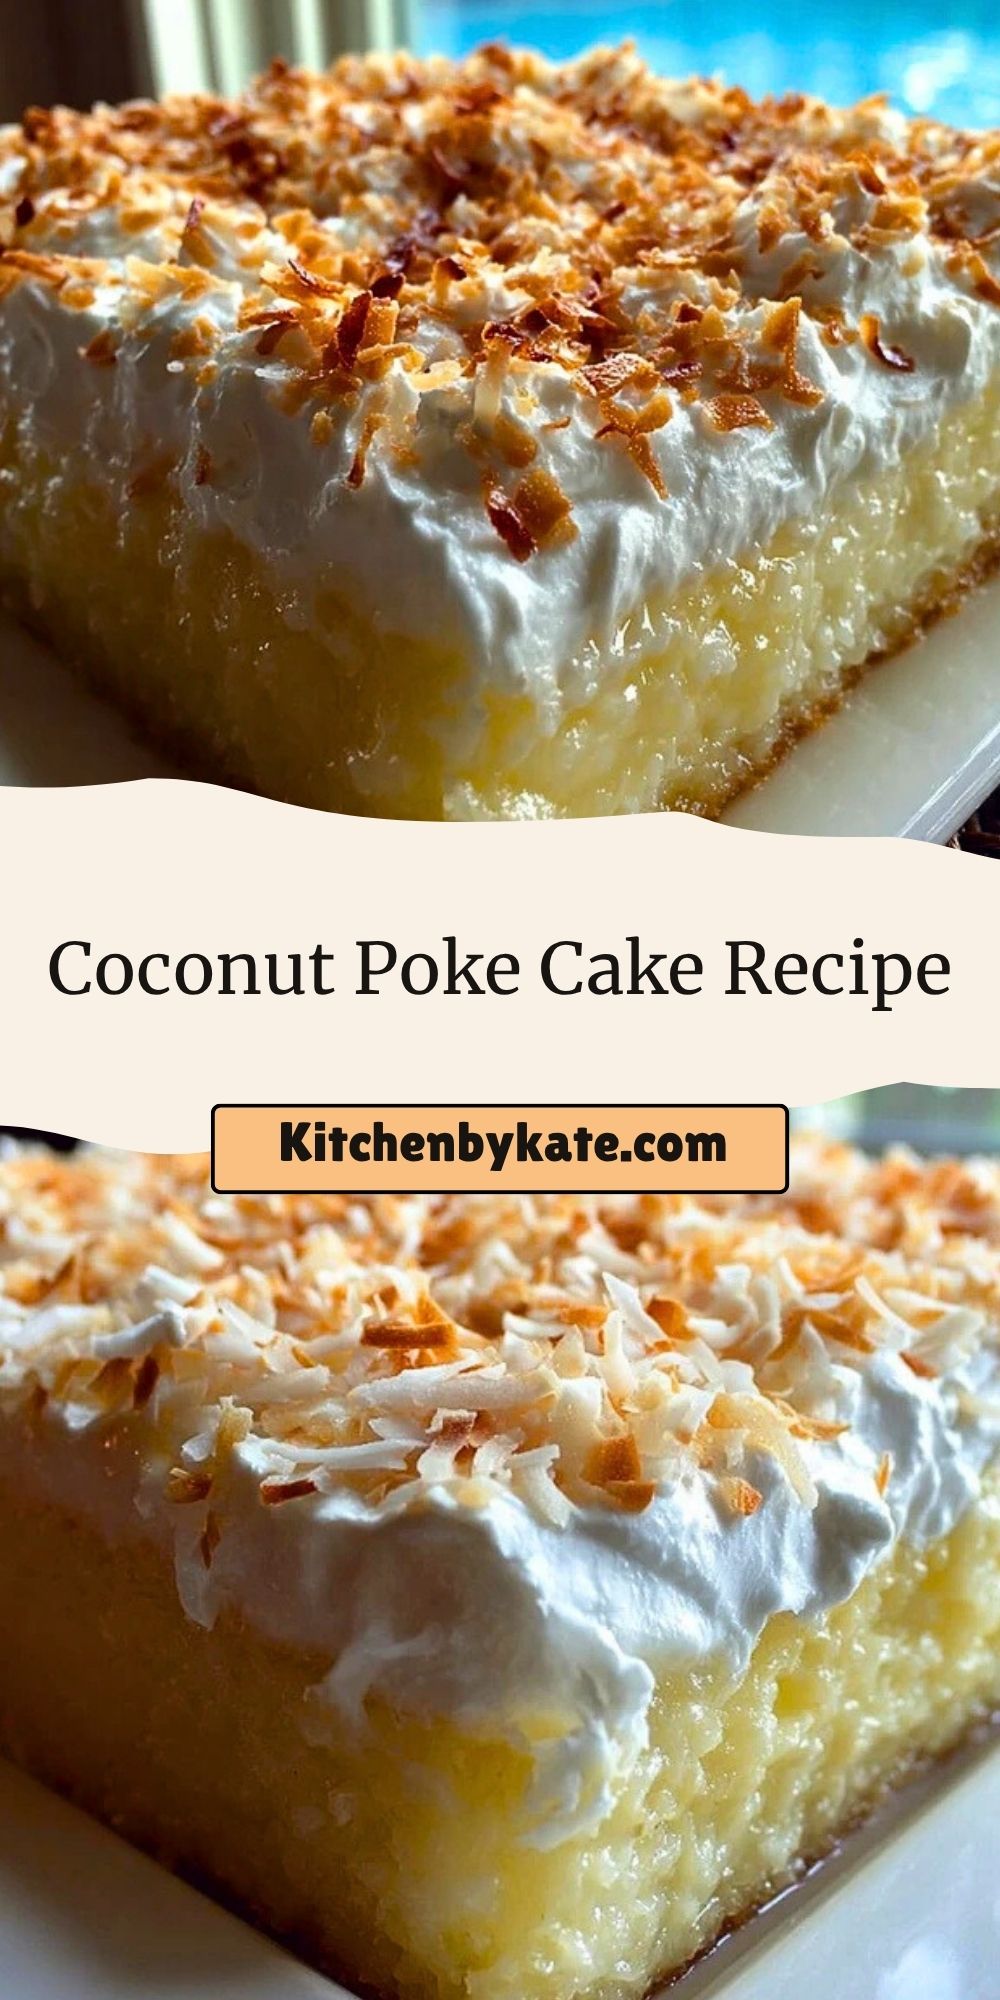
A slice of this Coconut Poke Cake is like a mini vacation to the tropics. With its moist, tender crumb and rich coconut flavor, this cake delivers comfort and delight in every bite. What makes it truly special is how the creamy coconut filling soaks through the cake, infusing it with luscious flavor and soft texture, all topped with a thick layer of whipped cream and a generous sprinkle of toasted coconut.
Whether you’re hosting a summer get-together or just need a sweet escape, this dessert brings brightness and indulgence without being overly fussy. Simple ingredients, easy steps, and a show-stopping finish make this a go-to for both casual bakers and seasoned dessert lovers alike.
Why You’ll Love This Coconut Poke Cake
This Coconut Poke Cake is more than just a dessert; it’s a dreamy, creamy slice of nostalgia. It’s ultra-moist thanks to the creamy coconut mixture that seeps into every bite, and the sweetened whipped topping with toasted coconut creates a light, fluffy contrast to the rich base.
You’ll love it because it:
- Comes together with minimal prep time.
- Has a soft, melt-in-your-mouth texture.
- Is perfect for holidays, potlucks, and lazy weekends.
- Tastes even better the next day.
Preparation Phase & Tools to Use
To make this Coconut Poke Cake with ease, having the right tools on hand makes all the difference. Here’s what you’ll need and why:
- 9×13-inch Baking Pan: This size is ideal for poke cakes, allowing the filling to spread evenly.
- Wooden Spoon Handle or Skewer: Used to poke holes throughout the cake, essential for letting the coconut mixture seep in.
- Mixing Bowls: You’ll need a few to prepare the cake batter, the coconut filling, and the whipped topping separately.
- Whisk or Electric Mixer: Ensures the batter and topping are well-mixed and smooth.
- Spatula: For spreading the whipped topping evenly across the cake.
- Toaster Oven or Skillet: To toast the coconut flakes to golden-brown perfection.
Having everything ready before you begin makes the process smooth and mess-free, helping you focus on building layers of coconut goodness.

Ingredients for the Coconut Poke Cake
- White Cake Mix: Acts as the light, fluffy base of the cake.
- Eggs, Oil & Water: Standard mix-ins for the cake base, giving it structure and moisture.
- Cream of Coconut: The star ingredient that infuses the cake with rich coconut flavor after it’s baked.
- Sweetened Condensed Milk: Blended with cream of coconut for a thick, luscious filling.
- Whipped Topping: Light and airy topping that balances the richness.
- Sweetened Shredded Coconut: Toasted for a golden, nutty finish that adds flavor and texture.
How To Make the Coconut Poke Cake
Step 1: Bake the Cake
Prepare the white cake mix as directed on the box using eggs, oil, and water. Pour the batter into a greased 9×13-inch pan and bake until a toothpick comes out clean.
Step 2: Poke the Cake
Let the cake cool for about 5–10 minutes, then use the handle of a wooden spoon or a skewer to poke holes all over the cake.
Step 3: Make the Filling
In a bowl, mix cream of coconut and sweetened condensed milk until smooth. Pour this mixture slowly over the entire cake, allowing it to seep into the holes.
Step 4: Chill and Set
Cover the cake and place it in the fridge for at least 4 hours or overnight so the flavors can absorb and the texture becomes ultra-moist.
Step 5: Top It Off
Once chilled, spread whipped topping evenly over the cake. Toast shredded coconut in a dry skillet or oven and sprinkle it generously on top.
Serving and Storing This Coconut Poke Cake
Serve this cake chilled straight from the fridge for the best experience. The cool, creamy texture is so satisfying—especially during warmer months. It’s ideal as a make-ahead dessert, so you can focus on entertaining while the cake does its thing in the fridge.
To store leftovers, cover the cake tightly and refrigerate. It stays fresh and moist for up to 5 days. In fact, it often tastes better the next day!
Freezing? Yes, you can freeze it! Wrap individual slices in plastic and foil, and freeze for up to 2 months. Thaw in the fridge overnight before enjoying.
Frequently Asked Questions
Can I use homemade whipped cream instead of whipped topping?
Absolutely! Just make sure it’s stabilized with a bit of powdered sugar or gelatin if you’re planning to store the cake for a few days.
Do I need to toast the coconut?
Toasting adds a lovely crunch and a deeper flavor, but it’s optional. If you’re in a hurry, you can use it straight from the bag.
What’s the difference between coconut milk and cream of coconut?
Cream of coconut is sweetened and thicker than coconut milk. It’s what gives the cake its rich, dessert-like flavor.
Can I use a yellow cake mix instead?
Yes! It will have a slightly richer flavor but still pairs wonderfully with the coconut filling.
How do I make it more tropical?
Try adding crushed pineapple on top of the whipped cream or a splash of coconut rum in the filling for an adult twist.
Is it okay to serve this at room temperature?
It’s best served chilled, but it holds up fine at room temperature for a couple of hours if needed.
Want More Cake Ideas with a Twist?
If this Coconut Poke Cake hit your sweet spot, don’t miss out on these other crave-worthy creations:
- Raspberry Zinger Poke Cake if you’re into bright berry flavors.
- Brownie Refrigerator Cake for a rich, chocolaty chill dessert.
- Strawberry Cheesecake Dump Cake for effortless fruity indulgence.
- Pecan Pie Lasagna for nutty layers of fall-inspired flavor.
- Cinnamon Roll Cheesecake if you love the marriage of breakfast and dessert.
Save This Pin For Later
📌 Save this Coconut Poke Cake recipe to your Pinterest dessert board so you can come back to it anytime you need a taste of something tropical and creamy.
And let me know in the comments how yours turned out. Did you toast your coconut extra dark or keep it golden? Did you sneak in a splash of rum or stick to the classic?
I love seeing how you make these recipes your own. Questions are always welcome—let’s make dessert magic together.
For more daily dessert inspiration, follow me on Pinterest – Kitchen By Kate.

Coconut Poke Cake
- Total Time: 4 hours 40 minutes
- Yield: 12 servings
- Diet: Vegetarian
Description
This moist and creamy Coconut Poke Cake recipe is a tropical dessert dream. Made with white cake mix, cream of coconut, and toasted coconut flakes, it’s the perfect easy cake for potlucks, parties, and summer baking. A must-try coconut dessert that’s rich, flavorful, and unbelievably soft.
Ingredients
1 box white cake mix
3 large eggs
1/2 cup vegetable oil
1 cup water
1 can (15 oz) cream of coconut
1 can (14 oz) sweetened condensed milk
1 tub (8 oz) whipped topping, thawed
1 cup sweetened shredded coconut, toasted
Instructions
1. Prepare the cake mix according to package instructions using the eggs, oil, and water. Bake in a greased 9×13-inch pan until a toothpick inserted comes out clean.
2. Let the cake cool for 5–10 minutes, then poke holes all over the top using a wooden spoon handle or skewer.
3. Mix cream of coconut and sweetened condensed milk in a bowl. Pour the mixture slowly over the cake, letting it soak into the holes.
4. Cover the cake and refrigerate for at least 4 hours or overnight.
5. Spread the whipped topping evenly over the chilled cake. Sprinkle with toasted shredded coconut.
6. Serve chilled. Store covered in the fridge for up to 5 days or freeze slices for up to 2 months.
Notes
Chill the cake overnight for best flavor and texture.
Use a piping bag for neater whipped topping if serving to guests.
Add a splash of coconut rum to the filling for an adult twist.
- Prep Time: 10 minutes
- Cook Time: 30 minutes
- Category: Dessert
- Method: Baking
- Cuisine: American
Nutrition
- Serving Size: 1 slice
- Calories: 390
- Sugar: 34g
- Sodium: 260mg
- Fat: 18g
- Saturated Fat: 13g
- Unsaturated Fat: 4g
- Trans Fat: 0g
- Carbohydrates: 54g
- Fiber: 1g
- Protein: 4g
- Cholesterol: 50mg