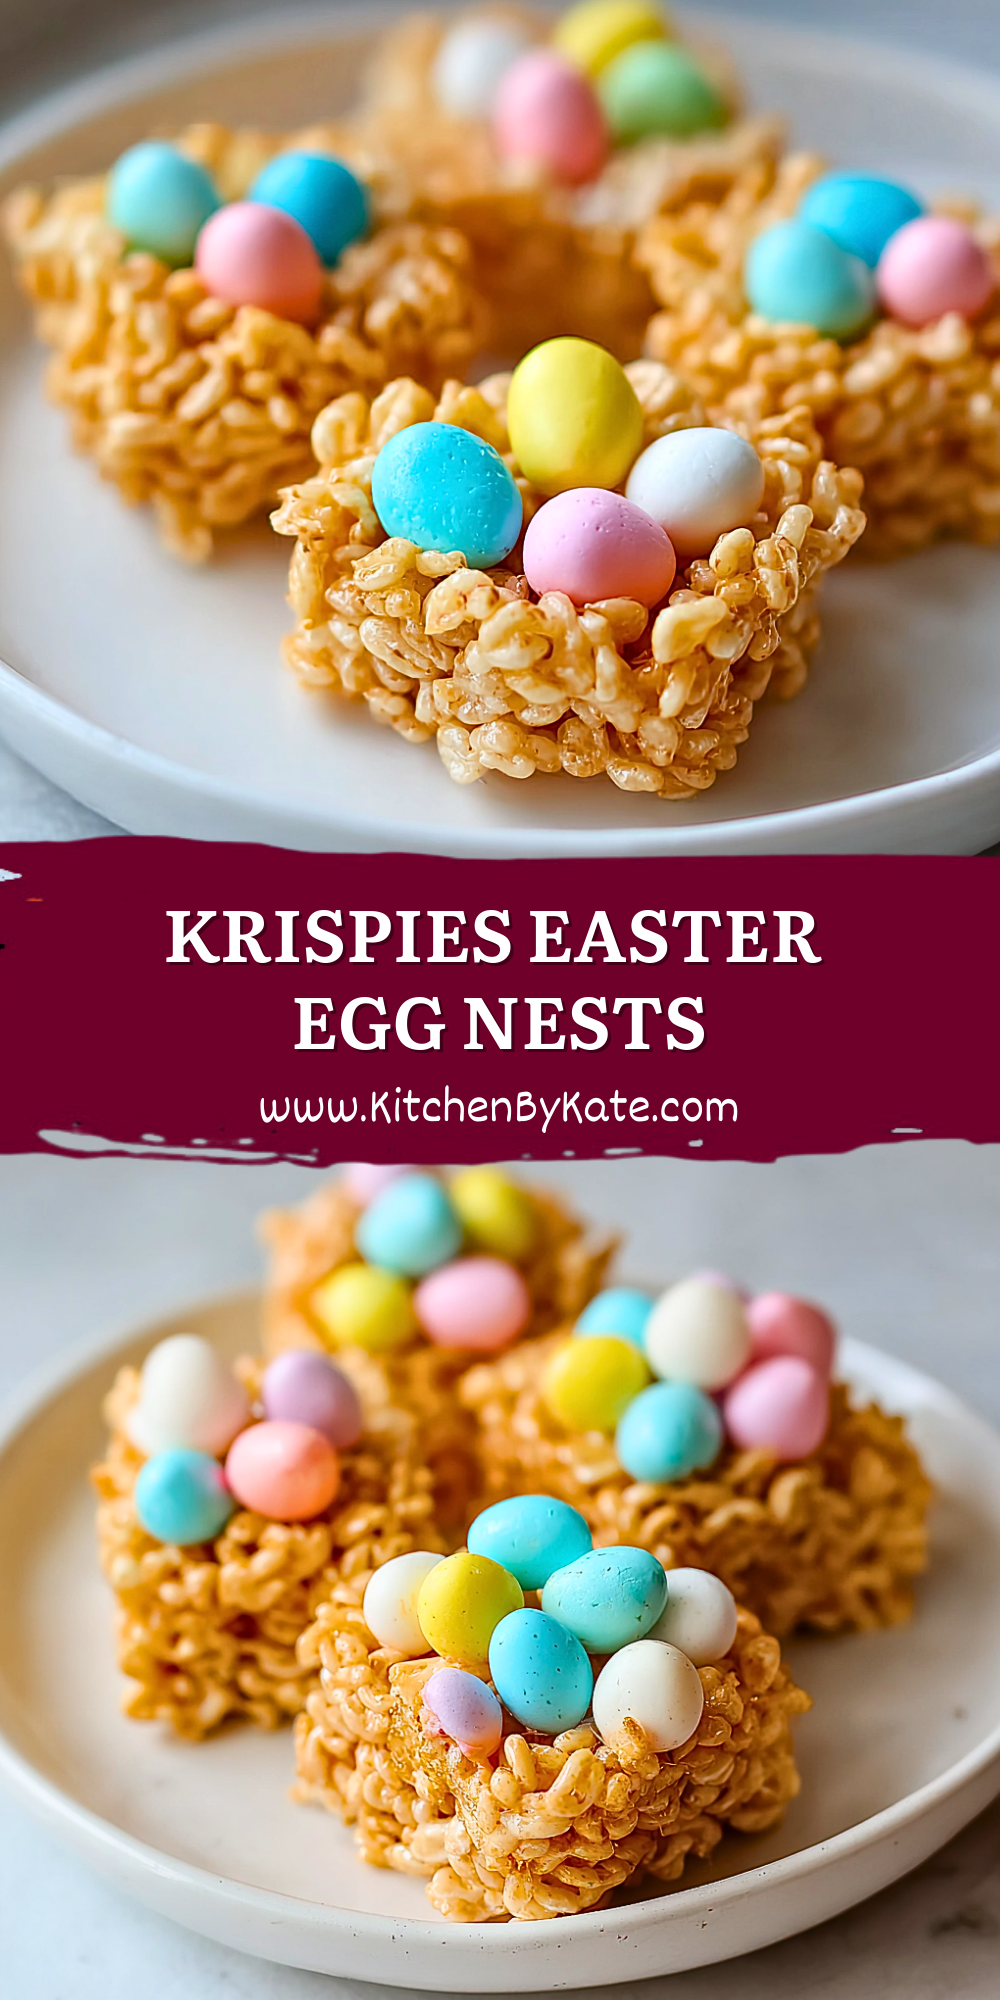
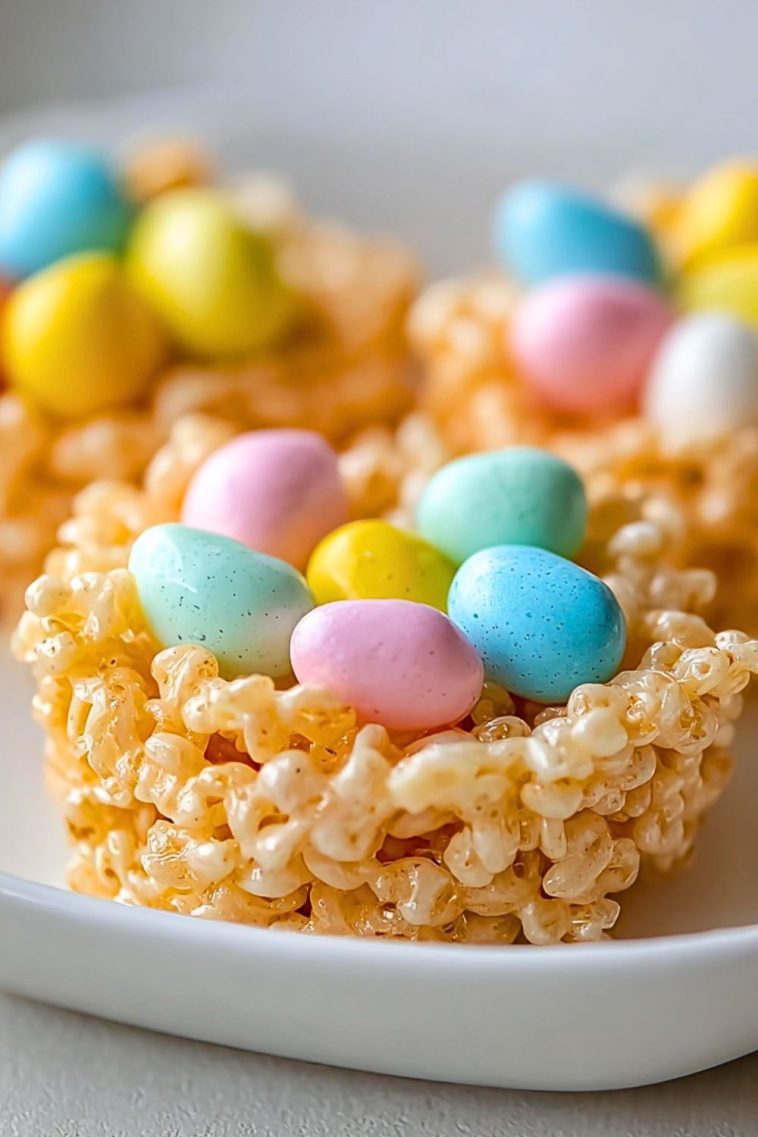
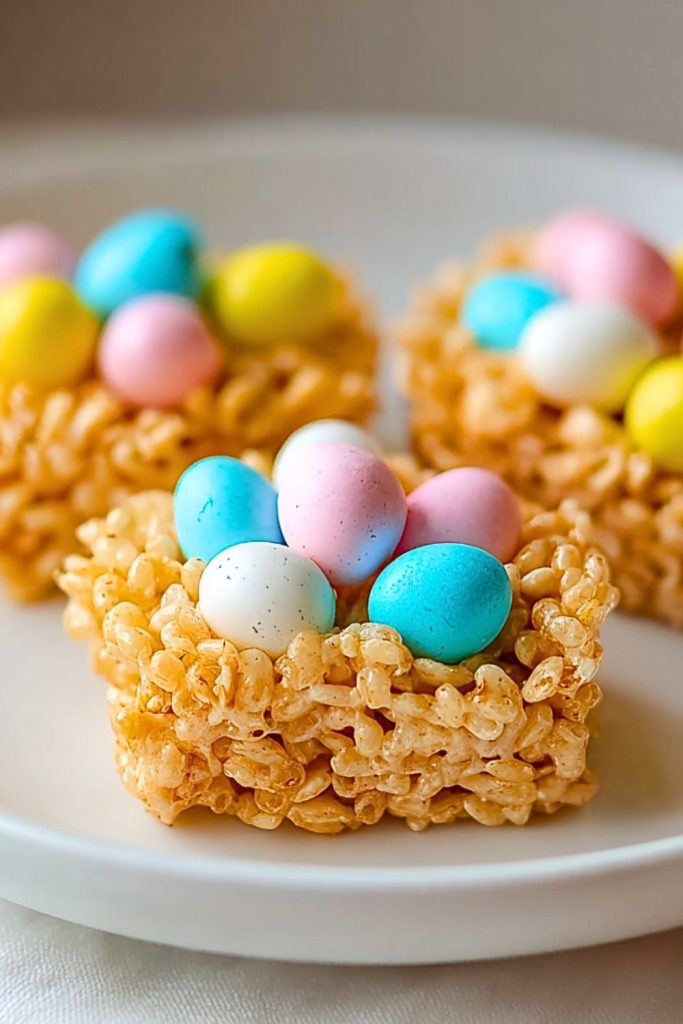
Crispy, chewy, and full of springtime cheer, these Krispies Easter Egg Nests are the ultimate no-bake treat to brighten your dessert table. With just a few pantry staples, you can create these adorable edible nests filled with pastel candy eggs — perfect for Easter brunch, spring parties, or a fun kitchen project with kids.

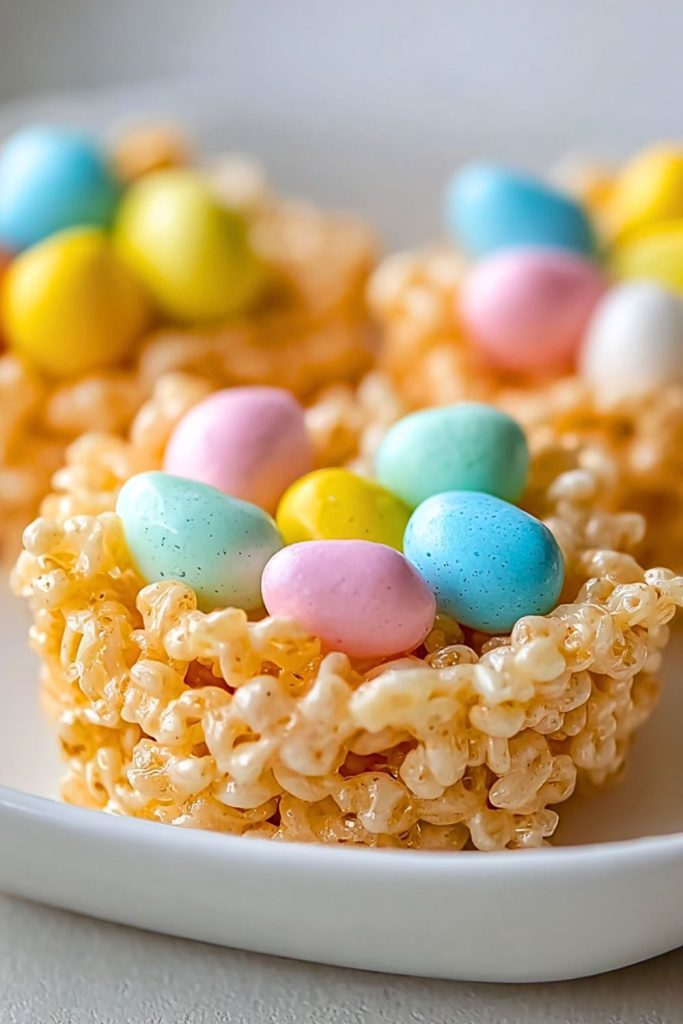
What makes them so lovable is the combination of sweet marshmallow-coated crispy rice cereal shaped into nests, topped with speckled chocolate eggs. They’re charming, quick to make, and absolutely irresistible.
What Kind of Cereal Should I Use?
For the best texture, use classic crisped rice cereal like Rice Krispies. They hold their shape beautifully and provide that signature light crunch. You can experiment with cocoa-flavored crisped rice for a chocolate twist, but the original version keeps the marshmallow flavor front and center.
Ingredients for the Krispies Easter Egg Nests
- Crisped Rice Cereal: The foundation of the nests, giving them a light, crispy bite.
- Mini Marshmallows: Melt into a gooey, sticky mixture that binds the cereal together.
- Butter: Adds rich flavor and keeps the marshmallows silky.
- Vanilla Extract: A splash of warmth and aroma to elevate the sweetness.
- Candy-Coated Chocolate Eggs: The stars of the topping, mimicking colorful Easter eggs.
- Nonstick Cooking Spray: Essential for shaping the nests easily without sticking to your hands or muffin tin.
How To Make the Krispies Easter Egg Nests
Step 1: Prepare the Muffin Tin
Lightly spray a standard muffin tin with nonstick cooking spray. This helps prevent the marshmallow mixture from sticking and makes shaping easier.
Step 2: Melt the Marshmallows
In a large saucepan, melt the butter over low heat. Add the mini marshmallows and stir constantly until fully melted and smooth. Remove from heat and stir in vanilla extract.
Step 3: Mix in the Cereal
Quickly add the crisped rice cereal to the melted marshmallow mixture, stirring to coat evenly. Work fast, as the mixture sets quickly.
Step 4: Shape the Nests
Spoon portions of the cereal mixture into the muffin tin cups. Lightly press down in the center with your fingers or the back of a spoon to create a nest shape. Let them cool and firm up for about 30 minutes.
Step 5: Add the Easter Eggs
Once the nests are set, pop them out of the tin and fill each with a few candy-coated chocolate eggs. Your edible Easter nests are ready to enjoy!
How to Serve and Store Krispies Easter Egg Nests
Serve these adorable nests as a centerpiece on your dessert table or pack them into treat bags for festive gifts. They pair wonderfully with coffee, tea, or a glass of cold milk. Perfect for Easter brunch, spring birthdays, or school parties!
To store, place the nests in an airtight container at room temperature. They stay fresh and crispy for up to 3 days. Avoid refrigerating, as it can make them too hard.
Frequently Asked Questions
How far in advance can I make them?
You can make these up to 2-3 days ahead. Store them in an airtight container to keep them crisp.
Can I use large marshmallows instead of mini?
Yes! Just chop them up or weigh them to match the mini marshmallow quantity for even melting.
What if I don’t have a muffin tin?
Shape the nests freehand on a parchment-lined baking sheet using lightly greased hands.
Can I make them gluten-free?
Absolutely! Use gluten-free crisped rice cereal to make them celiac-friendly.
Can kids help make these?
Definitely. Kids can help press the nests and add the candy eggs — it’s a fun and safe activity with supervision.
Want More Dessert Ideas?
If you love these Krispies Easter Egg Nests, you’ll probably enjoy these other sweet creations:
- Easy Oreo Cheesecake for a creamy, no-bake treat.
- Maple Donut Bars with rich maple glaze.
- Old-Fashioned Sour Cream Donuts for classic comfort.
- Strawberry Cheesecake Donuts if you’re craving berry bliss.
- Oreo Truffles for a bite-sized indulgence.
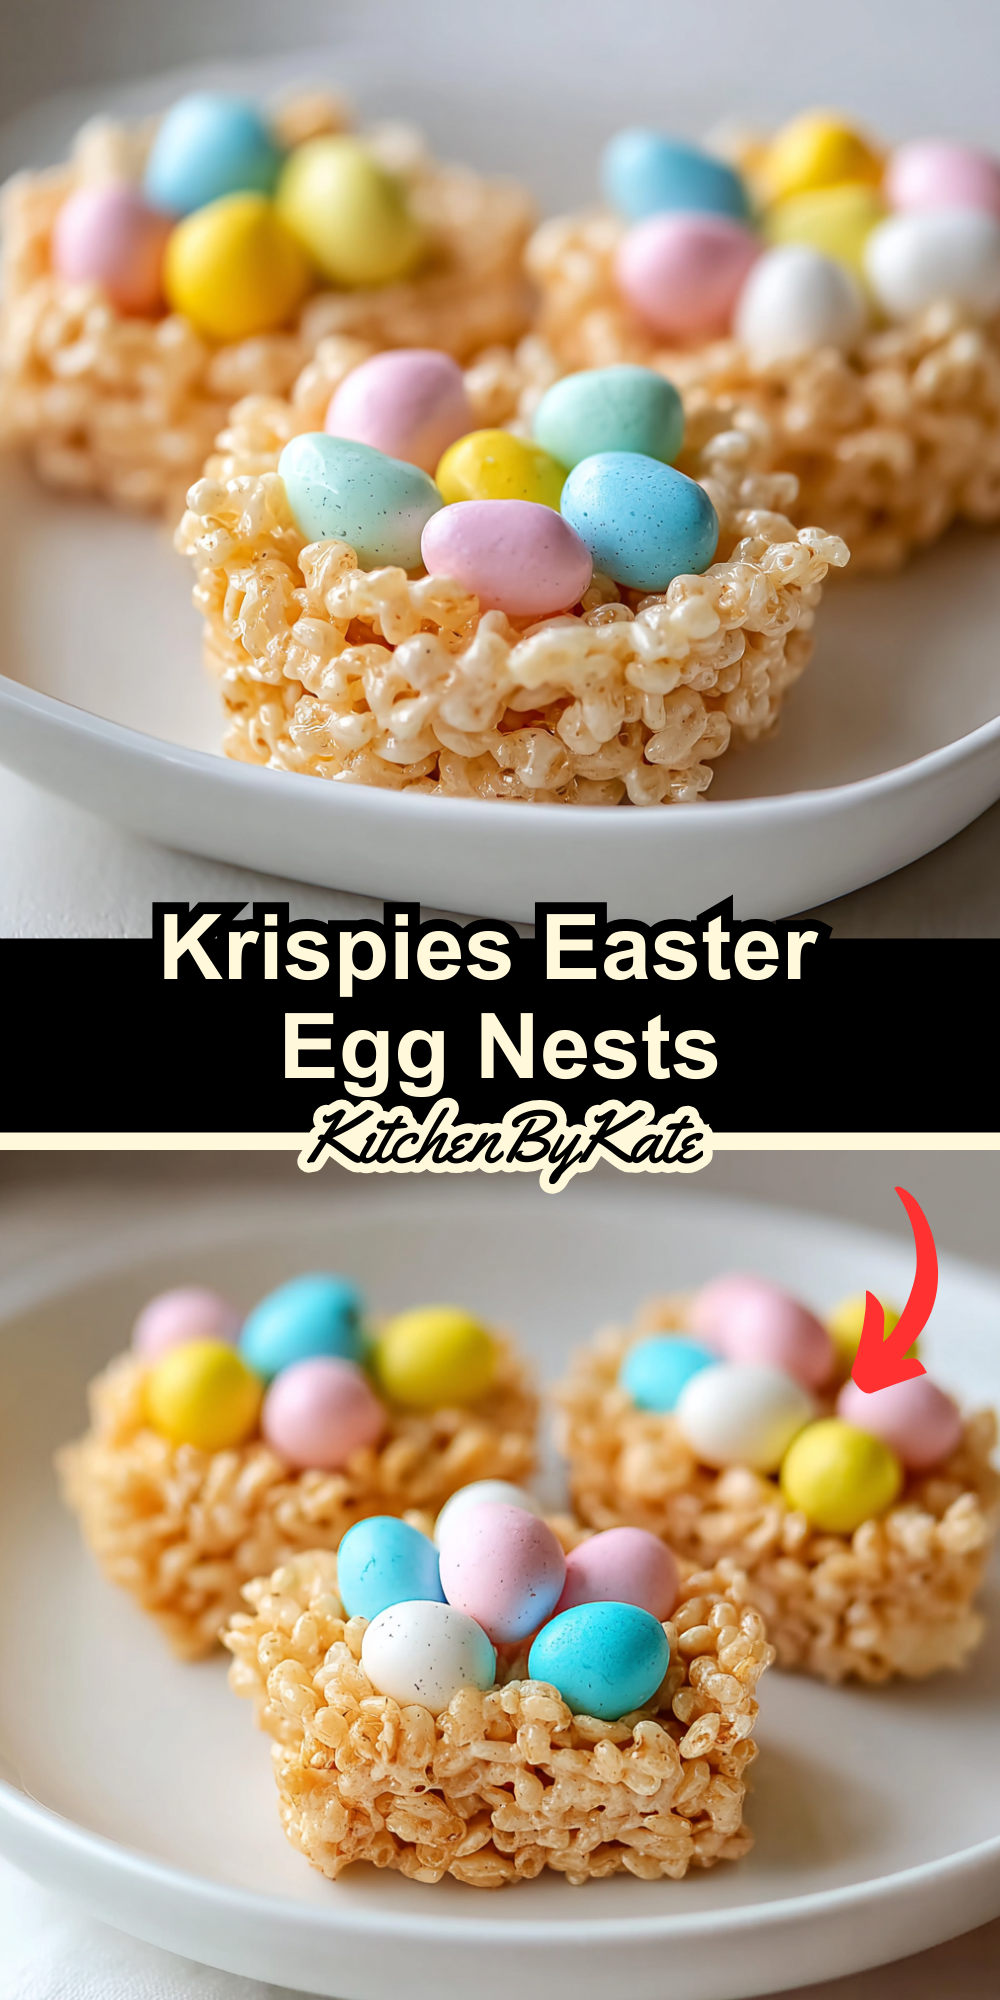
Save This Pin For Later
📌 Save this recipe to your Pinterest dessert board so you can come back to it anytime.
And let me know in the comments how yours turned out! Did you add coconut shreds or maybe drizzle some white chocolate on top? I love hearing how you put your own spin on these treats. Questions are always welcome — let’s inspire each other in the kitchen.
Check out even more daily recipes on my Pinterest: Kitchen By Kate

Krispies Easter Egg Nests
- Total Time: 15 minutes
- Yield: 12 nests
Description
Sweet, crunchy, and fun to make, Krispies Easter Egg Nests are a no-bake springtime dessert perfect for Easter celebrations or as a charming edible craft with kids. With crisped rice cereal, gooey marshmallows, and colorful candy eggs, they bring joy to every bite!
Ingredients
3 cups crisped rice cereal
3 cups mini marshmallows
3 tablespoons butter
1 teaspoon vanilla extract
1 cup candy-coated chocolate eggs
Nonstick cooking spray (for muffin tin)
Instructions
- Lightly spray a muffin tin with nonstick spray.
- In a large saucepan over low heat, melt the butter.
- Add mini marshmallows and stir until melted and smooth. Remove from heat and stir in vanilla.
- Quickly mix in the crisped rice cereal until evenly coated.
- Spoon mixture into muffin cups and gently press the center to form nests.
- Let cool for 30 minutes until firm.
- Remove nests from tin and fill with candy-coated eggs.
- Prep Time: 10 minutes
- Cook Time: 5 minutes
- Category: Desserts