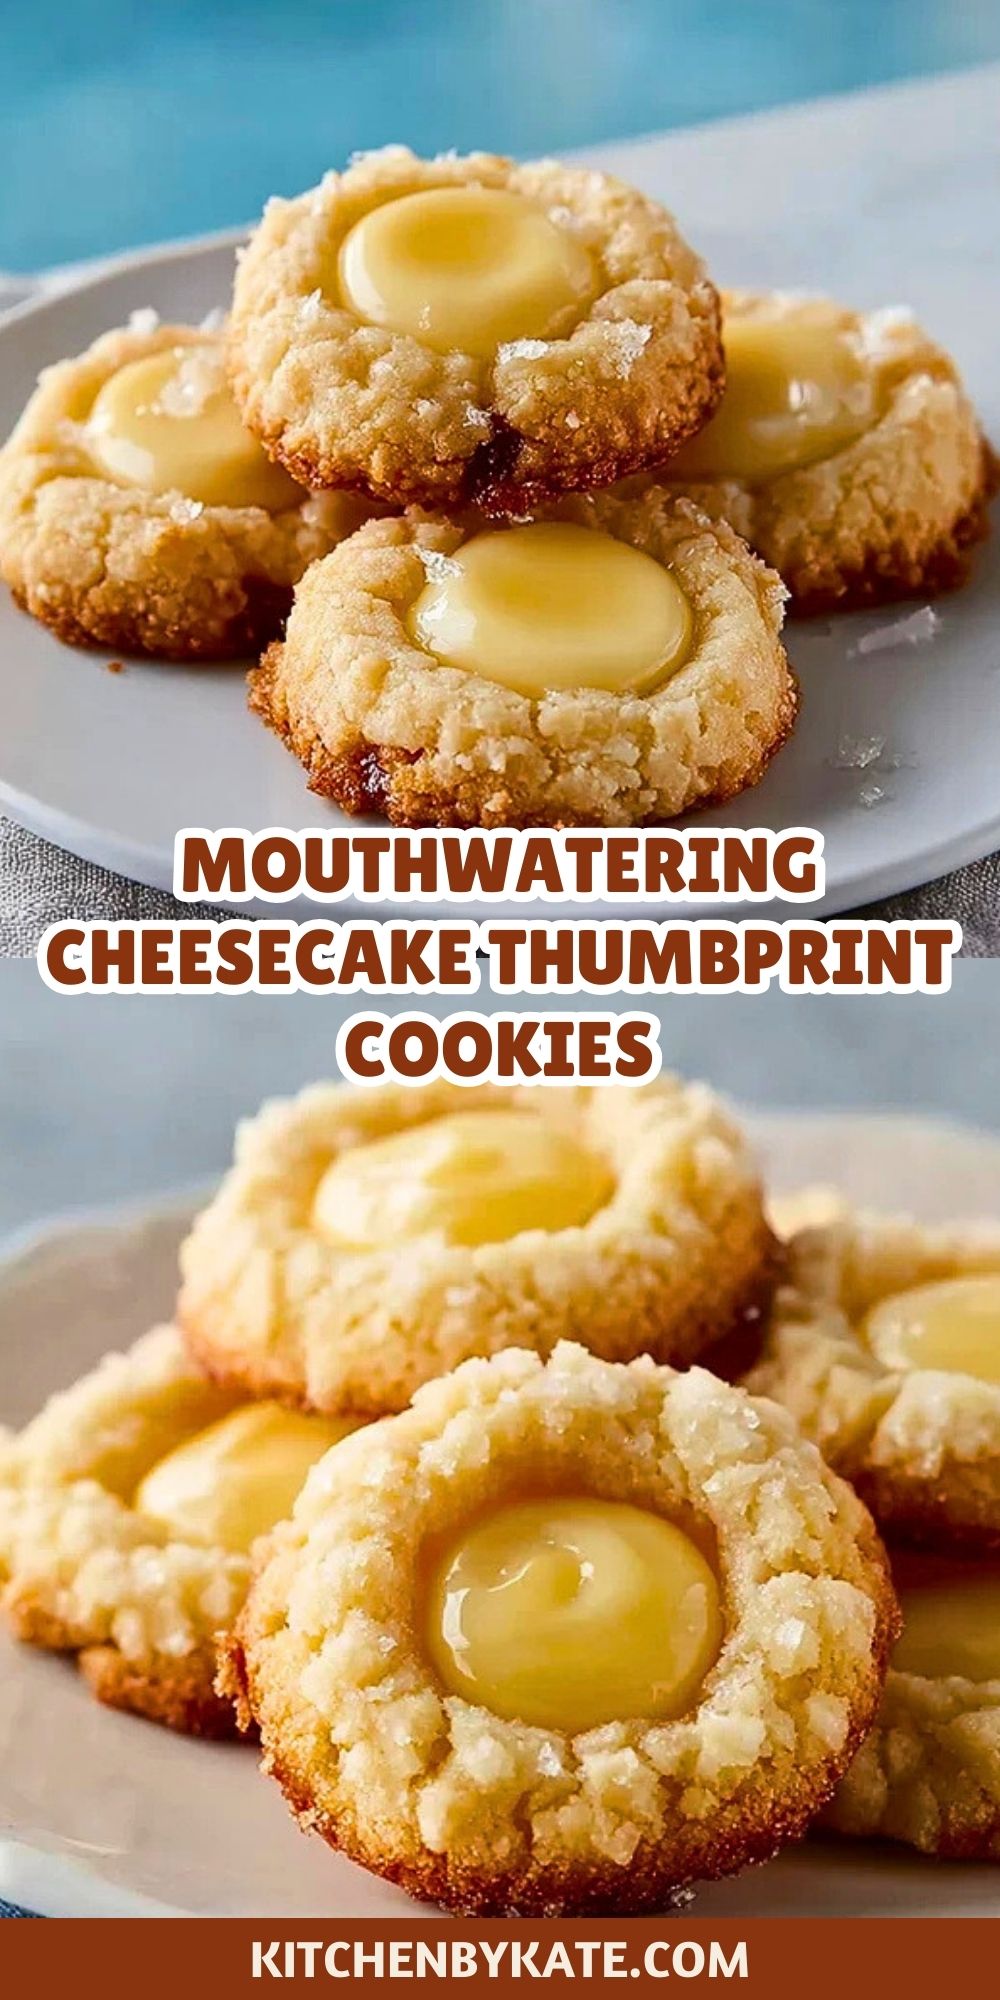

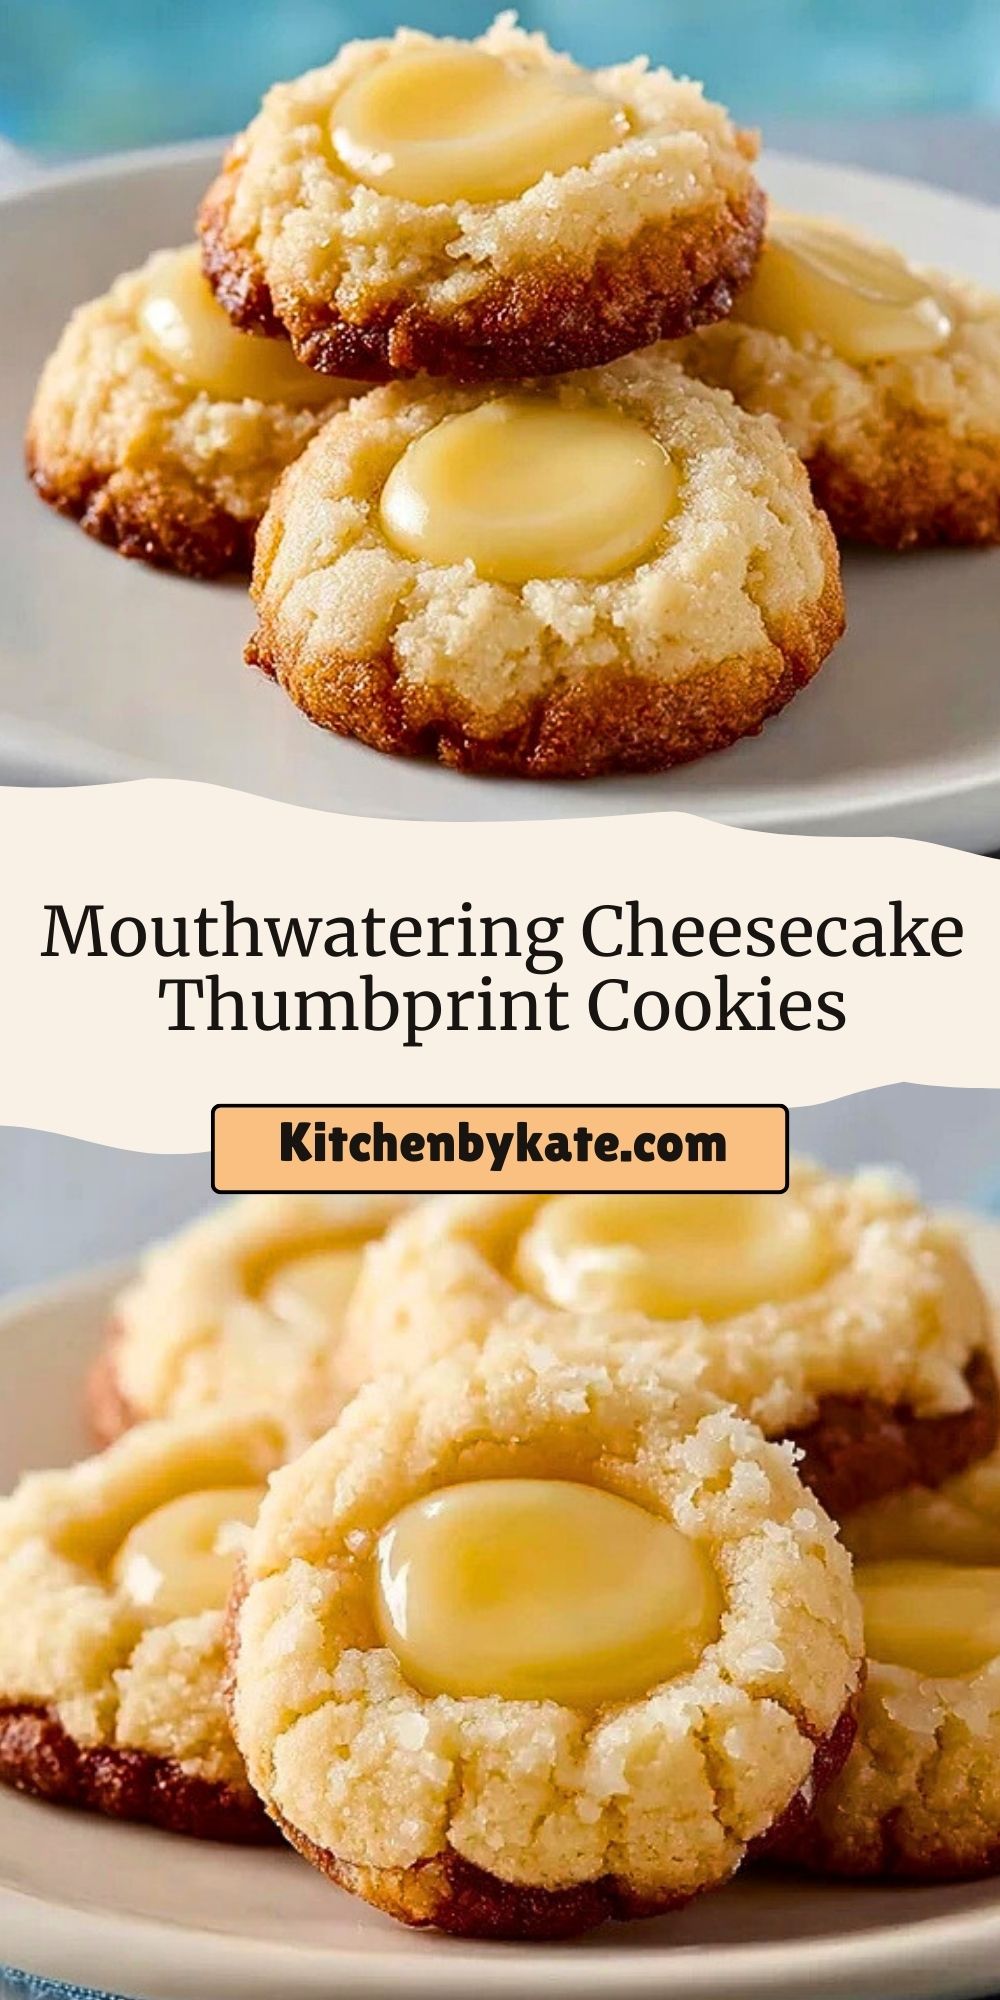
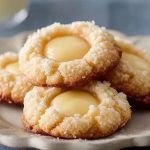
Golden, buttery, and filled with luscious cheesecake centers, these Cheesecake Thumbprint Cookies are the ultimate treat for any dessert lover. Each bite delivers a soft, crumbly cookie with a creamy burst of flavor right in the middle. Whether you’re baking for the holidays, a party, or just to satisfy a craving, these cookies are as delightful to make as they are to eat.
With their adorable thumbprint design and rich cheesecake filling, these cookies are visually irresistible and deceptively easy. The magic happens when the cookies puff up in the oven and form little wells that cradle that tangy-sweet cheesecake dollop. Serve them slightly chilled for an even more satisfying texture contrast.
Why You’ll Love This Cheesecake Thumbprint Cookies
- They offer the perfect contrast of textures: soft cookie and creamy filling.
- Ideal for make-ahead desserts or gifting during the holidays.
- Can be customized with different jam or fruit curd fillings.
- Rich, indulgent flavor without being overly sweet.
- Freezer-friendly and great for batch baking.
Preparation Phase & Tools to Use
To get these thumbprint cookies just right, prep is everything. Start by setting out your butter and cream cheese to soften for a smooth mix. Preheat your oven so you’re ready once the dough is chilled and rolled.
Essential Tools & Equipment:
- Electric Mixer: For creaming butter and sugar until light and fluffy—critical for cookie texture.
- Mixing Bowls: Multiple sizes help with organizing wet and dry ingredients separately.
- Small Cookie Scoop: Ensures evenly sized cookies for even baking.
- Measuring Cups & Spoons: Accuracy is key to a balanced dough.
- Baking Sheet with Parchment Paper: Prevents sticking and promotes even browning.
- Thumb or Rounded Measuring Spoon: For creating the perfect center well.
- Cooling Rack: Cools cookies quickly without overbaking on the hot tray.

Ingredients for the Cheesecake Thumbprint Cookies
- Unsalted Butter: Provides richness and helps with the soft crumb.
- Granulated Sugar: Sweetens the cookie and aids in structure.
- Vanilla Extract: Enhances the overall flavor.
- Cream Cheese: The key to the luscious, tangy filling.
- All-Purpose Flour: Forms the base of the cookie dough.
- Salt: Balances the sweetness and sharpens flavor.
- Egg Yolk: Adds richness and helps the dough bind.
- Lemon Juice: Brightens the cheesecake filling and adds a slight tartness.
- Powdered Sugar: Sweetens the filling without grittiness.
How To Make the Cheesecake Thumbprint Cookies
Step 1: Cream Butter & Sugar
Beat softened butter and sugar together in a large bowl using an electric mixer until pale and fluffy. This aerates the dough and gives it that soft, melt-in-your-mouth texture.
Step 2: Mix in Wet Ingredients
Add in the egg yolk and vanilla extract. Mix until fully combined. In a separate bowl, whip the cream cheese with powdered sugar and lemon juice for your filling. Set it aside.
Step 3: Combine Dry Ingredients
Gradually mix in the flour and salt into the butter mixture until a soft dough forms. Chill the dough in the refrigerator for 30 minutes.
Step 4: Shape & Make Thumbprints
Scoop dough into 1-inch balls and roll them smooth. Place on a parchment-lined baking sheet. Press a thumb or the back of a round spoon into the center of each ball.
Step 5: Fill & Bake
Pipe or spoon a bit of cheesecake filling into each indentation. Bake at 350°F (175°C) for 12-14 minutes or until the edges are lightly golden. Let cool completely on a wire rack.
How to Serve and Store These Cookies
Serve these cookies slightly chilled or at room temperature. Their rich, creamy centers pair beautifully with coffee or tea and make an elegant addition to dessert platters.
To store, keep them in an airtight container in the fridge for up to 5 days. You can also freeze them—place in a single layer on a tray to freeze, then transfer to a zip-top bag for up to 2 months. Thaw in the fridge overnight before serving.
Frequently Asked Questions
How do I prevent the thumbprints from cracking?
Chill the dough thoroughly and roll the balls smoothly. Press gently when making the indentations.
Can I use a different filling?
Yes! Try raspberry jam, lemon curd, or chocolate ganache for a twist.
Should the filling go in before or after baking?
For this recipe, add the cheesecake filling before baking so it sets perfectly.
Can I make the dough ahead of time?
Absolutely. The dough can be chilled for up to 48 hours or frozen for 1 month.
Can these cookies be made gluten-free?
Yes, substitute a 1:1 gluten-free baking flour blend.
Want More Cookie Ideas with a Twist?
If you love these cheesecake thumbprint cookies, you’ll probably enjoy these other favorites:
- Simple Apricot Cream Cheese Thumbprint Cookies
- Brownie Refrigerator Cake
- Strawberry Cheesecake Dump Cake
- Cinnamon Sugar French Toast Muffins
- Moist and Tangy Key Lime Pound Cake
Save This Pin For Later
📌 Save this recipe to your Pinterest dessert board so you can come back to it any time.
And let me know in the comments how yours turned out. Did you add a different filling? Maybe a touch of citrus zest on top? I love hearing how others make these recipes their own. Questions are welcome too—let’s help each other bake smarter.
For even more delightful treats, follow along on Pinterest: Kitchen By Kate – American Recipes By Heart
Mouthwatering Cheesecake Thumbprint Cookies
- Total Time: 59 minutes
- Yield: 24 cookies
- Diet: Vegetarian
Description
These Cheesecake Thumbprint Cookies are soft, buttery, and filled with a tangy-sweet cheesecake center. Perfect for holiday trays, gifting, or tea time, they combine creamy filling with a golden, crumbly cookie. Easy to customize and freezer-friendly, these thumbprint cookies are a must-try dessert for cheesecake and cookie lovers alike.
Ingredients
1 cup unsalted butter, softened
2⁄3 cup granulated sugar
1 large egg yolk
1 teaspoon vanilla extract
2 cups all-purpose flour
1⁄4 teaspoon salt
4 ounces cream cheese, softened
1⁄4 cup powdered sugar
1 teaspoon lemon juice
Instructions
1. Preheat your oven to 350°F (175°C) and line a baking sheet with parchment paper.
2. In a large bowl, beat the softened butter and granulated sugar with an electric mixer until light and fluffy.
3. Add in the egg yolk and vanilla extract. Mix until well combined.
4. In another bowl, whisk together the flour and salt. Gradually add this to the wet mixture until a soft dough forms.
5. Chill the dough in the refrigerator for 30 minutes.
6. Meanwhile, prepare the filling by beating together the cream cheese, powdered sugar, and lemon juice until smooth.
7. Scoop the chilled dough into 1-inch balls and roll them smooth. Place on prepared baking sheet.
8. Use your thumb or the back of a rounded spoon to make an indentation in the center of each ball.
9. Fill each indentation with about 1⁄2 teaspoon of the cheesecake mixture.
10. Bake for 12–14 minutes or until the edges are lightly golden.
11. Let cookies cool on the baking sheet for 5 minutes, then transfer to a wire rack to cool completely.
12. Serve slightly chilled or at room temperature. Store in an airtight container in the fridge.
Notes
For clean thumbprints, chill the dough thoroughly and press gently.
You can swap the filling for raspberry jam, lemon curd, or chocolate.
Use a small cookie scoop to keep your cookies uniform in size.
- Prep Time: 45 minutes
- Cook Time: 14 minutes
- Category: Dessert
- Method: Baking
- Cuisine: American
Nutrition
- Serving Size: 1 cookie
- Calories: 140
- Sugar: 6g
- Sodium: 60mg
- Fat: 9g
- Saturated Fat: 5g
- Unsaturated Fat: 3g
- Trans Fat: 0g
- Carbohydrates: 13g
- Fiber: 0g
- Protein: 1g
- Cholesterol: 25mg