
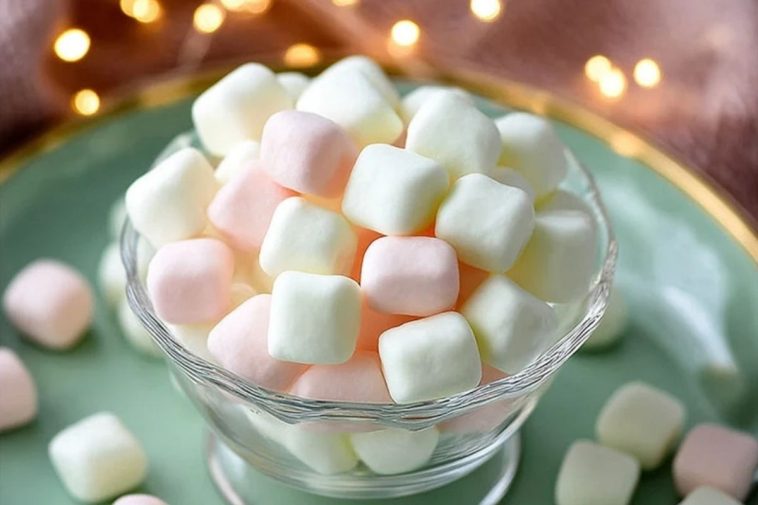
Delightfully creamy, subtly sweet, and charmingly nostalgic—Old-Fashioned Butter Mints are the perfect melt-in-your-mouth treat. Whether you remember these from wedding receptions, holidays at grandma’s, or candy dishes of the past, these pastel gems bring instant joy. Homemade versions are not only fresher but can be customized in flavor and color to suit any season or celebration.
These classic butter mints are soft, airy, and just the right amount of minty. They make a beautiful addition to dessert tables, party favors, or even everyday snacking when you want a touch of something sweet without overindulging. Plus, making them from scratch is surprisingly easy and super satisfying.
Why You’ll Love This Old-Fashioned Butter Mints
- Creamy and Smooth: Thanks to the butter base, these mints melt softly on the tongue.
- Customizable: Choose your favorite pastel hues and mint intensity.
- Perfect for Gifting: They store well and look stunning packaged up.
- Fun to Make: A family-friendly recipe that kids will love to roll and cut.
- Better Than Store-Bought: No waxy aftertaste, just fresh, buttery goodness.
Preparation Phase & Tools to Use
Creating Old-Fashioned Butter Mints at home is simple, but having the right tools will streamline the process and help with consistent texture and shape.
- Stand Mixer or Hand Mixer: Essential for creaming the butter and mixing in powdered sugar evenly.
- Spatula: Helps scrape down the sides of your mixing bowl for a uniform blend.
- Parchment Paper: Keeps your counter mess-free while rolling and shaping the dough.
- Rolling Pin: Helps flatten the mint dough to your desired thickness before cutting.
- Sharp Knife or Bench Scraper: Ideal for cutting perfect little squares quickly.
- Airtight Container: Necessary for storing your mints to keep them fresh.
Ingredients for the Old-Fashioned Butter Mints
- Unsalted Butter: The creamy base that gives these mints their signature melt-in-your-mouth texture.
- Powdered Sugar: Adds sweetness and structure, creating a dough-like consistency.
- Heavy Cream: Loosens the dough slightly and adds richness.
- Peppermint Extract: The cooling, refreshing flavor that makes butter mints irresistible.
- Food Coloring (optional): Soft pastel shades make them extra pretty for holidays or events.
- Pinch of Salt: Balances sweetness and enhances flavor depth.
How To Make the Old-Fashioned Butter Mints
Step 1: Cream the Butter
Start by beating the unsalted butter until it’s light and fluffy. This step is crucial for the melt-in-your-mouth texture.
Step 2: Add Powdered Sugar Gradually
Mix in the powdered sugar a cup at a time. Beat until fully incorporated and smooth.
Step 3: Add Cream and Peppermint
Pour in the heavy cream and peppermint extract. Mix again until silky. Add food coloring at this point, if using.
Step 4: Form the Dough
The dough should be pliable but not sticky. If it feels too soft, chill it for 15–20 minutes before shaping.
Step 5: Shape and Cut
Divide the dough into sections and roll each into a rope on a parchment-lined surface. Cut into small squares using a sharp knife.
Step 6: Let Them Dry
Place the cut mints on a tray in a single layer. Let them dry at room temperature for at least 12 hours (or overnight) to form a soft crust.
Step 7: Store
Transfer to an airtight container and store in a cool place. They keep well for up to 2 weeks.
How to Serve and Store Old-Fashioned Butter Mints
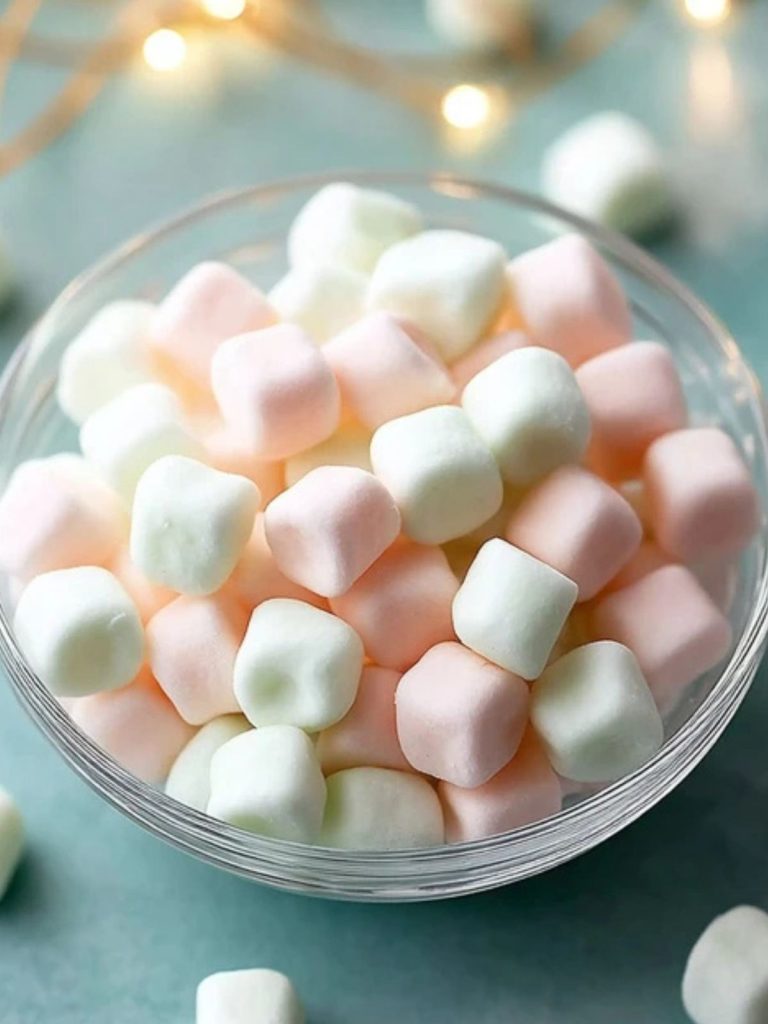
These charming little candies are perfect for dressing up dessert platters, adding to wedding candy buffets, or offering in a bowl at baby showers and tea parties. Their soft pastel colors and gentle mint flavor make them suitable for any occasion.
To store, place them in an airtight container lined with parchment paper between layers. Keep them at room temperature in a cool, dry spot, and they’ll last up to 2 weeks. You can also refrigerate them for extended freshness, though be sure to bring them to room temp before serving for the ideal texture.
Frequently Asked Questions
How long does it take for butter mints to set?
Butter mints need about 12 hours to dry at room temperature. Overnight drying ensures they develop a slight crust while staying soft inside.
Can I freeze butter mints?
Yes! Freeze them in a single layer, then transfer to a freezer-safe bag. Thaw at room temperature before serving. They retain their texture surprisingly well.
Do I have to use peppermint extract?
No. You can use spearmint, vanilla, lemon, or almond extract for a different twist.
Can I make them in advance for events?
Absolutely. Make them up to a week ahead of your event and store in an airtight container. They’re great for prepping in batches.
How do I get uniform shapes?
Roll each dough rope evenly and use a bench scraper or ruler to ensure consistent cuts. You can also use mini cookie cutters for fun shapes.
What food coloring works best?
Gel-based food coloring gives vibrant color with less moisture. Stick to pastel shades for a traditional look.
Want More Candy Treat Ideas?
If you love these Old-Fashioned Butter Mints, you’ll enjoy these other sweet and nostalgic recipes:
- Winter Brittle for a crunchy seasonal twist.
- DIY Kool-Aid Licorice Ropes if you’re craving something playful and fruity.
- Bonnie’s Blue Ribbon Chocolate Dream Cake for a decadent dessert centerpiece.
- Peanut Butter Chocolate Chip Cookie Cups when you want a rich bite-sized treat.
- Gooey Strawberry Earthquake Cake for fruity, gooey indulgence.
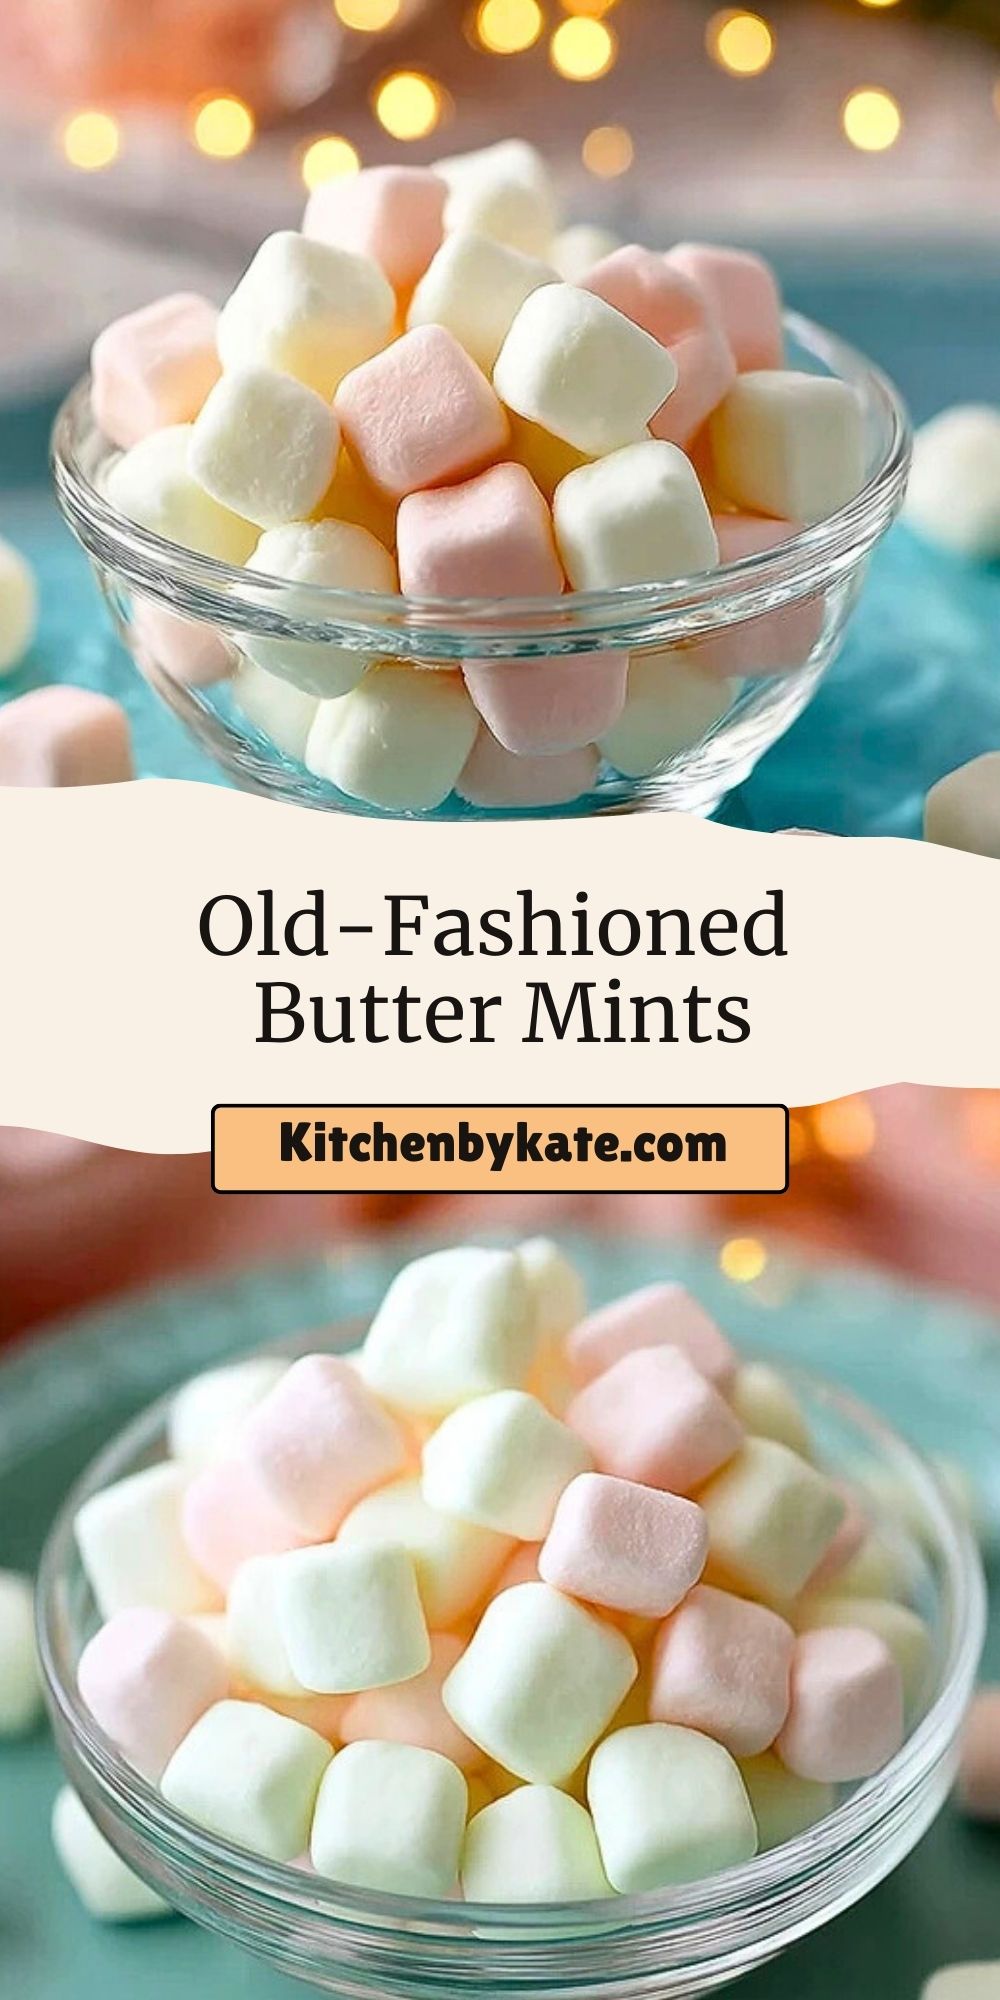
Save This Pin For Later
📌 Save this recipe to your Pinterest dessert board so you can come back to it any time.
And let me know in the comments how yours turned out. Did you stick with peppermint, or try a new flavor like lemon or almond? Did you go classic white or experiment with pastel pinks and greens?
I love hearing how others make these recipes their own. Questions are welcome too—let’s help each other create sweet memories.
👉 Follow more nostalgic and seasonal recipes on my Pinterest: Kitchen By Kate on Pinterest


Old-Fashioned Butter Mints
- Total Time: 12 hours 20 minutes
- Yield: 200 small mints
Description
Old-Fashioned Butter Mints are creamy, melt-in-your-mouth treats made with butter, powdered sugar, peppermint extract, and a touch of pastel coloring. Perfect for weddings, showers, holidays, and homemade gifts, these nostalgic mints are easy to make and incredibly charming. Great as a vintage candy recipe, soft mint candy, or pastel butter mints for dessert tables.
Ingredients
1 cup unsalted butter, softened
4 cups powdered sugar
2 tablespoons heavy cream
1 teaspoon peppermint extract
Food coloring (optional, pastel colors preferred)
1 pinch salt
Instructions
1. In a stand mixer or with a hand mixer, cream the softened butter until light and fluffy.
2. Gradually add powdered sugar, one cup at a time, beating until fully incorporated.
3. Add the heavy cream, peppermint extract, and food coloring (if using). Mix until smooth and silky.
4. Test the dough — it should be pliable but not sticky. Chill for 15–20 minutes if too soft.
5. Divide dough and roll into ropes on parchment paper.
6. Cut into small mint-sized squares using a sharp knife or bench scraper.
7. Spread the mints in a single layer on a tray and let dry uncovered at room temperature for 12 hours or overnight.
8. Once dry, store mints in an airtight container at room temperature for up to 2 weeks.
Notes
Use gel food coloring for vibrant pastel tones without altering the texture.
Letting the mints dry properly is key to achieving their classic crust while maintaining softness inside.
Flavor variations like vanilla, almond, or citrus can give your mints a creative twist.
- Prep Time: 20 minutes
- Cook Time: 0 minutes
- Category: Candy / No-Bake Treats
- Method: No-Bake
- Cuisine: American
Nutrition
- Serving Size: 4 pieces
- Calories: 90
- Sugar: 13
- Sodium: 5
- Fat: 4
- Saturated Fat: 2.5
- Unsaturated Fat: 1.5
- Trans Fat: 0
- Carbohydrates: 15
- Fiber: 0
- Protein: 0
- Cholesterol: 10
