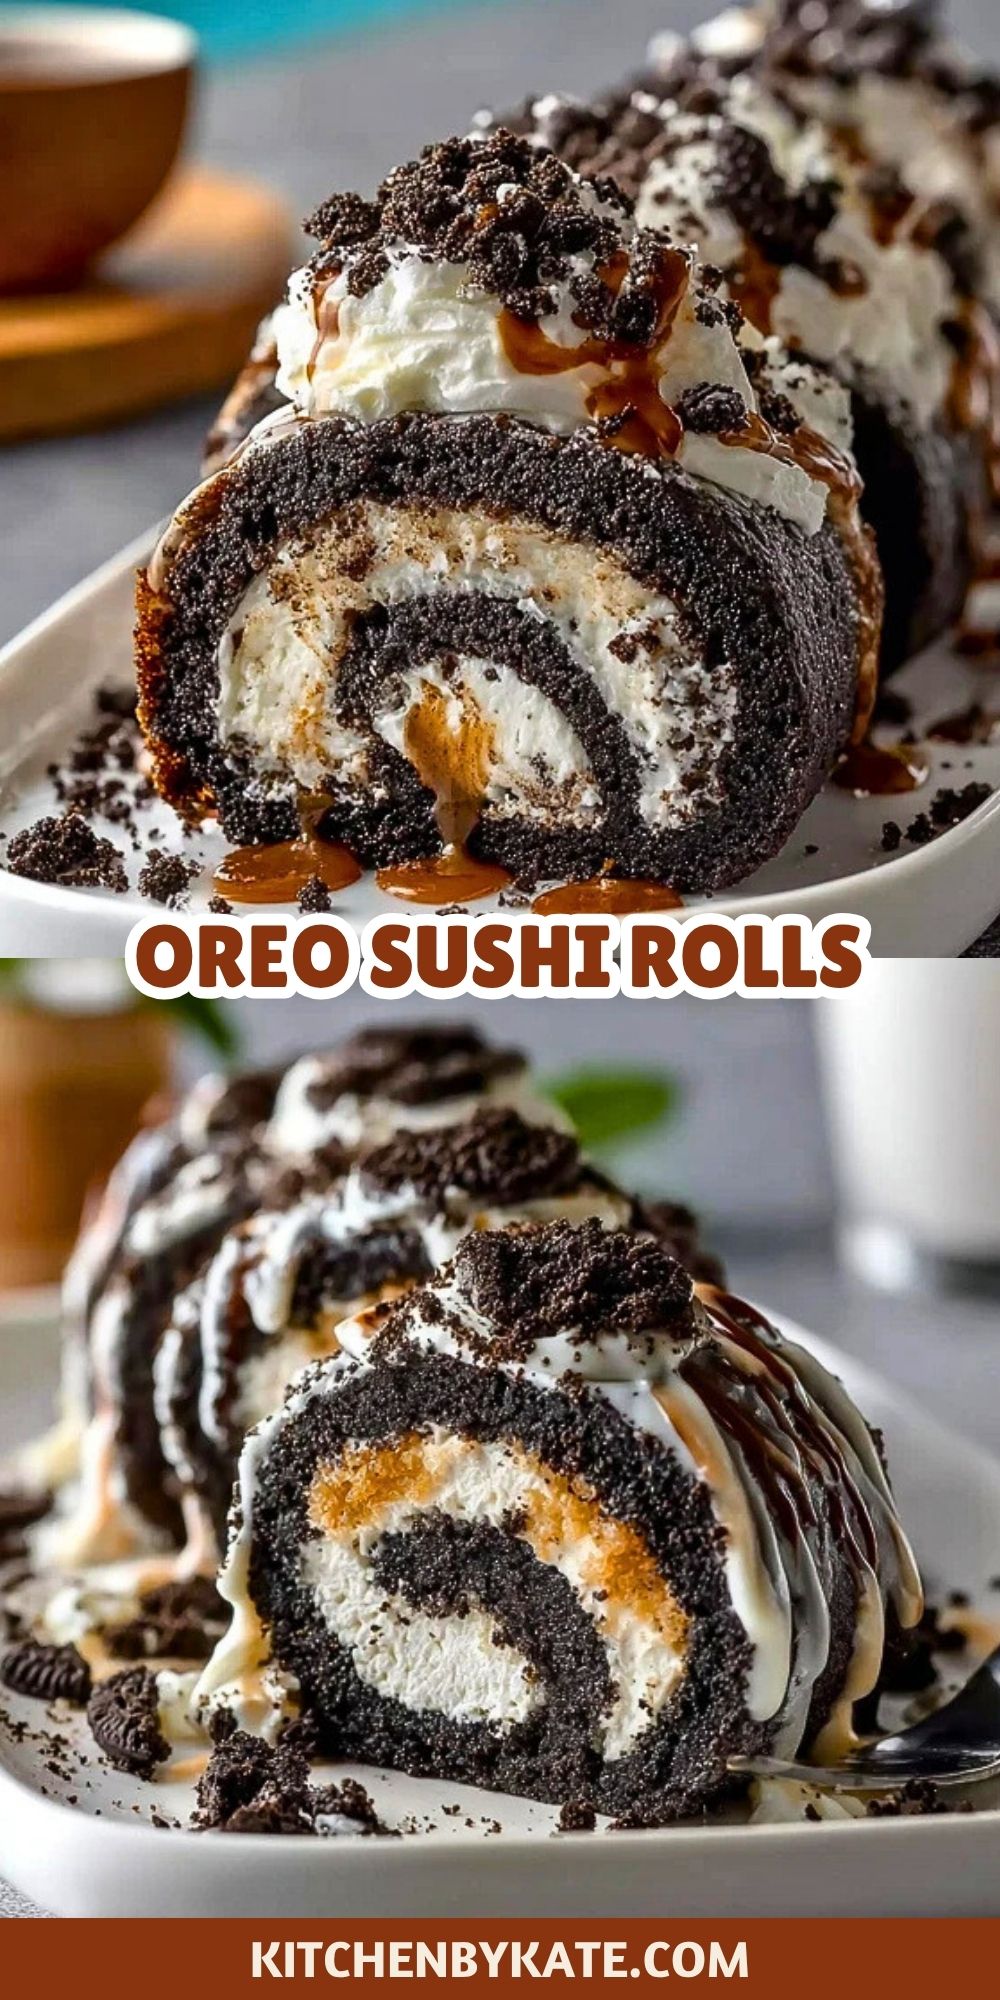

If you’re in the mood for something playful, indulgent, and incredibly easy to make, Oreo Sushi Rolls are your next kitchen adventure. These fun dessert bites take the beloved flavors of cookies and cream and roll them into sushi-style treats, perfect for parties or just a midweek sweet fix. With just a few simple ingredients and a touch of creativity, you’ll have an eye-catching dessert that’s bound to impress both kids and adults.
Oreo Sushi Rolls have gone viral for a reason—they’re not only delicious, but also endlessly customizable. Whether you’re serving them chilled with a drizzle of caramel or dunking them in milk like traditional Oreos, these rolls are a playful spin on dessert that feel like a treat from a trendy sweet shop. Ready to roll? Let’s get into why these bite-sized delights are worth making.
Why You’ll Love These Oreo Sushi Rolls
- Quick and No-Bake: No oven needed! This is a perfect treat to whip up in under 20 minutes.
- Fun Presentation: They look just like sushi but taste like your favorite cookies and cream dessert.
- Kid-Friendly: Little ones will love helping roll and slice.
- Versatile Flavors: Add caramel drizzle, sprinkles, or even peanut butter for a creative twist.
- Great for Parties: These are perfect finger food desserts that are fun to display on a platter.
Preparation Phase & Tools to Use
Making Oreo Sushi Rolls is as much about technique as it is about taste. Here’s what you need to get the perfect rolls every time:
- Food Processor: Essential for finely crushing the Oreo cookies into a dough-like consistency. A blender works in a pinch.
- Rolling Pin: Helps flatten the Oreo cookie mixture evenly, creating a sushi-like sheet to roll.
- Plastic Wrap: Crucial for rolling and setting the Oreo sheets neatly.
- Offset Spatula or Butter Knife: Ideal for spreading the cream filling smoothly.
- Sharp Knife: For slicing clean, defined sushi pieces.
- Mixing Bowl: For combining the cookie crumbs and cream filling.
Each of these tools plays a small but important role in achieving the signature look and taste of these Oreo Sushi Rolls. Keep things tidy, chill when needed, and you’ll be a dessert sushi master in no time.

Ingredients for the Oreo Sushi Rolls
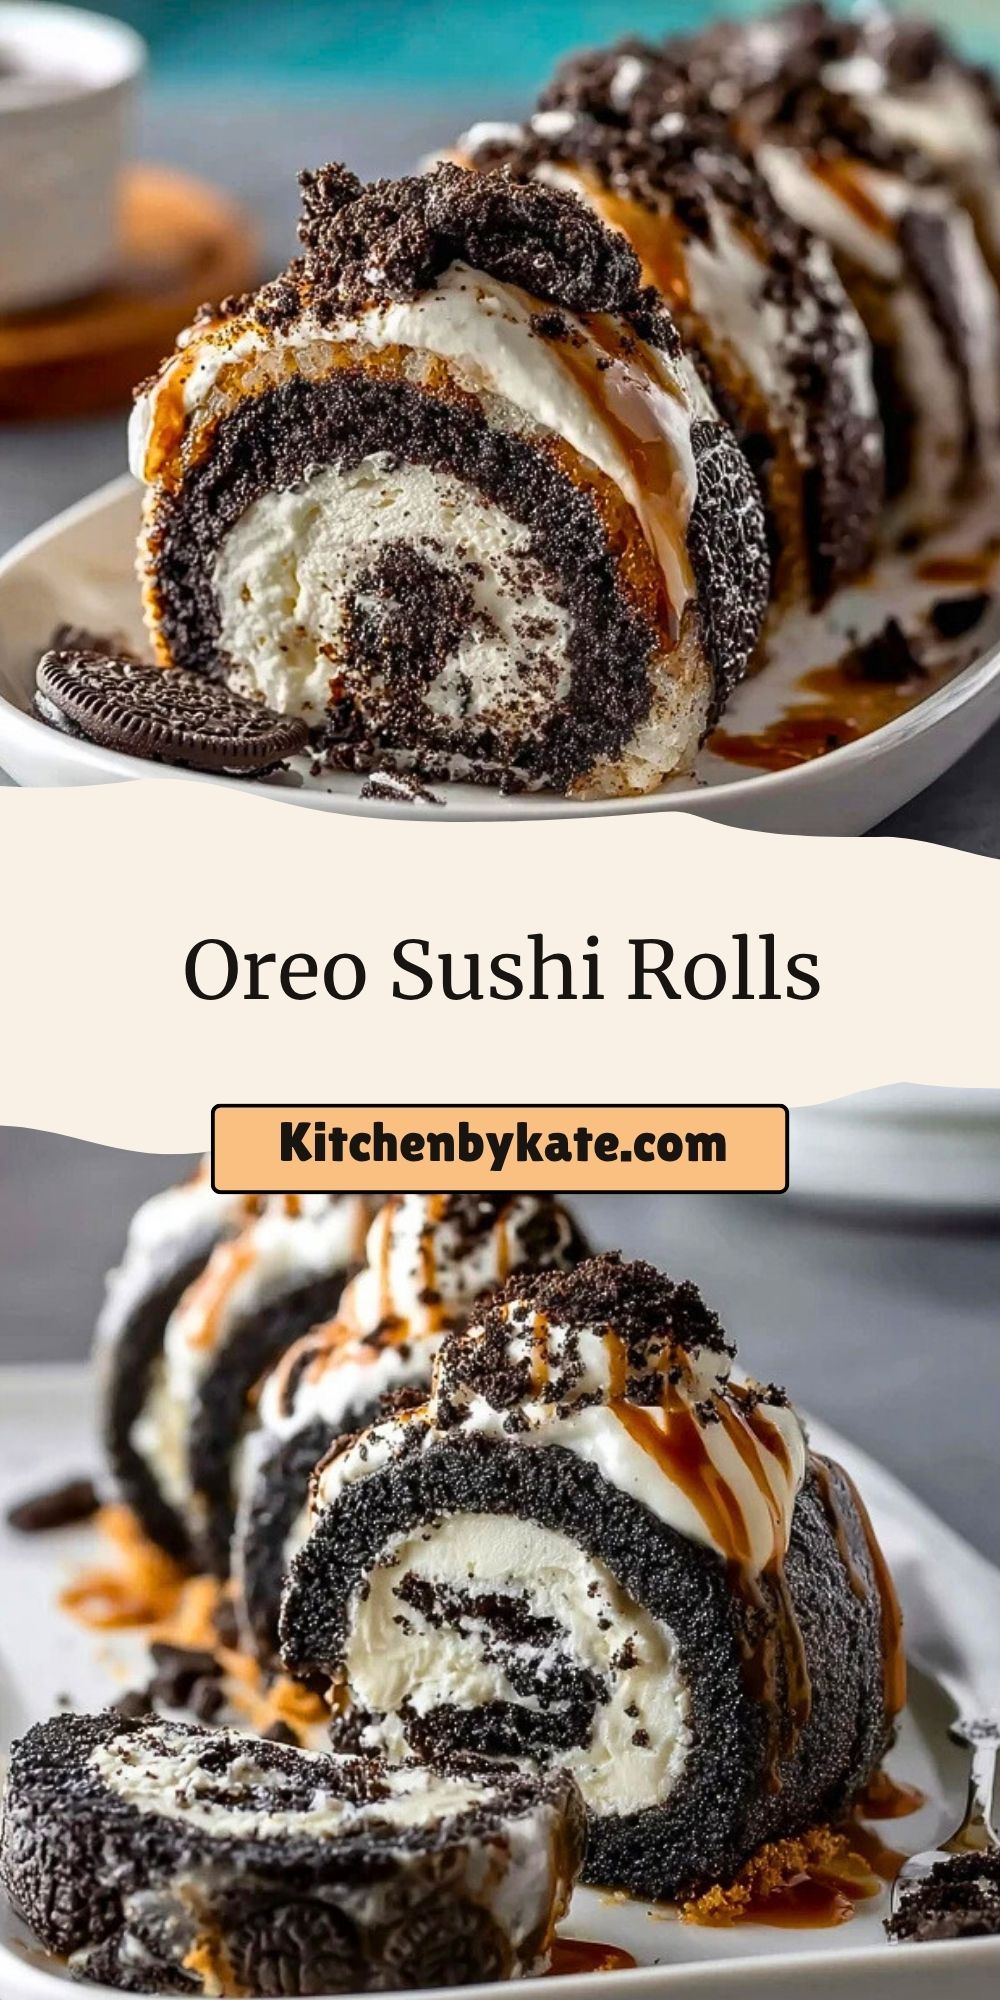
- Oreo Cookies: These form the “rice” of our sushi. When crushed and mixed with a touch of moisture, they become pliable and perfect for rolling.
- Cream Cheese or Frosting: This creamy filling acts as the center, giving structure and that classic cookies-and-cream flavor.
- Caramel Sauce (optional): A drizzle of caramel adds a gourmet touch and contrast to the chocolate.
- Milk (just a splash): Used to slightly moisten the crushed Oreos if needed to make them pliable.
- Crushed Oreo Crumbs (for garnish): Extra texture and visual appeal on the outside of the rolls.
How To Make the Oreo Sushi Rolls
Step 1: Crush the Oreos
Add whole Oreos (with filling) to a food processor and pulse until fine crumbs form. If the mixture seems dry, add a splash of milk to help bind.
Step 2: Form the Base
Press the crushed Oreos into a flat, rectangular sheet on a piece of plastic wrap. Use a rolling pin to smooth and even out the layer.
Step 3: Add the Filling
Spread a layer of softened cream cheese or frosting across the entire Oreo sheet using an offset spatula.
Step 4: Roll It Up
Using the plastic wrap to guide you, gently roll the sheet into a tight log. Wrap and chill the roll in the fridge for about 30 minutes to firm up.
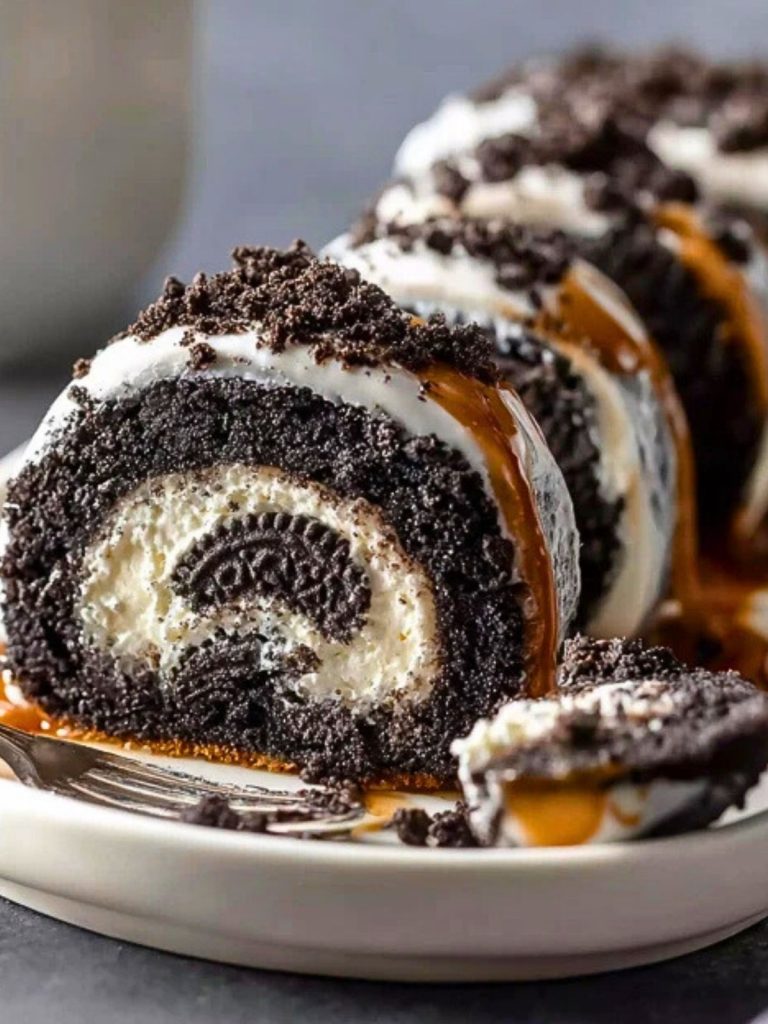
Step 5: Slice into Sushi
Unwrap the chilled roll and use a sharp knife to cut it into bite-sized sushi pieces. Clean the knife between cuts for clean slices.
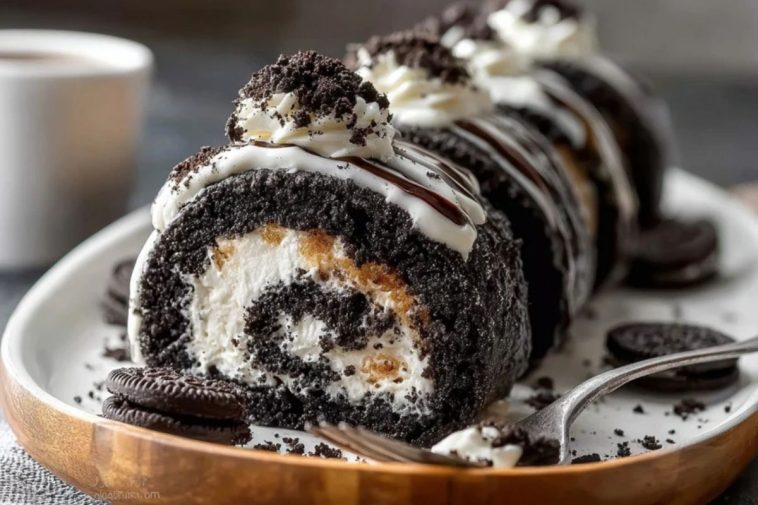
Step 6: Garnish and Serve
Sprinkle with extra Oreo crumbs and drizzle caramel over the top. Serve chilled on a platter or dessert board.
How to Serve and Store Oreo Sushi Rolls
Serving Tips:
Serve these sushi bites chilled for best texture. Arrange on a sushi board or wooden platter with mini forks or toothpicks for a playful touch. Garnish with a caramel or chocolate drizzle just before serving.
Storing:
Keep leftovers in an airtight container in the refrigerator for up to 3 days. They taste best fresh, but you can also make them a day ahead of time.
Frequently Asked Questions
How many Oreos do I need?
About 20 Oreos make one standard roll. You can adjust based on your serving size.
Can I use double-stuffed Oreos?
Yes! Double-stuffed Oreos give a creamier texture but may require less added filling.
What if I don’t have a food processor?
Use a zip-top bag and rolling pin to crush the Oreos manually.
Can I freeze Oreo Sushi Rolls?
It’s not recommended—they can become too hard and lose their texture when thawed.
Are there dairy-free alternatives?
Yes! Use dairy-free cookies and a vegan frosting or cream cheese alternative.
How long do they need to chill?
About 30 minutes is ideal for firm rolls that slice cleanly.
Want More Dessert Ideas with a Twist?
If you loved these Oreo Sushi Rolls, here are more whimsical, crave-worthy treats to try:
- Cinnamon Roll Cheesecake – A Heavenly Fusion of Two Classics
- Strawberry Cheesecake Dump Cake for Easy Fruity Bliss
- Brownie Refrigerator Cake for No-Bake Chocolate Fans
- Gooey Strawberry Earthquake Cake – Perfect for Sharing
- Quick and Easy Fudgy Chocolate Brownie Cookies
Save This Pin For Later
📌 Save this recipe to your Pinterest dessert board so you can come back to it any time.
And let me know in the comments how yours turned out. Did you try adding a new twist—like Nutella or sprinkles? Or maybe swapped in peanut butter for the filling?
I love seeing how others get creative with their desserts. Don’t hesitate to ask questions or share your version!
✨ For more fun and easy sweets, follow my daily dessert ideas on Pinterest: Kitchen By Kate

Oreo Sushi Rolls
- Total Time: 50 minutes
- Yield: 10–12 sushi rolls
- Diet: Vegetarian
Description
This easy no-bake Oreo Sushi Rolls recipe transforms classic cookies into fun sushi-style dessert bites. Made with Oreo cookies, cream cheese, and customizable toppings, it’s the perfect treat for parties, kids, and cookie lovers alike. Quick, creative, and irresistibly delicious—perfect for your dessert board!
Ingredients
20 Oreo cookies
3 tablespoons cream cheese (softened) or frosting
1 tablespoon milk (optional, as needed)
2 tablespoons caramel sauce (optional)
2 tablespoons crushed Oreo crumbs (for garnish)
Instructions
1. Add Oreo cookies (with cream) to a food processor and pulse until fine crumbs form. Add a splash of milk if the mixture is too dry.
2. On a piece of plastic wrap, press the crushed Oreos into a rectangular sheet and smooth it evenly with a rolling pin.
3. Spread softened cream cheese or frosting evenly across the Oreo sheet using a spatula.
4. Carefully roll the sheet into a tight log using the plastic wrap to guide it. Chill in the fridge for 30 minutes to firm.
5. Unwrap the roll and slice into sushi-style pieces with a sharp knife, cleaning between cuts.
6. Garnish with crushed Oreo crumbs and caramel drizzle. Serve chilled.
Notes
Use double-stuffed Oreos for extra creaminess and skip additional filling if desired.
A plastic wrap makes rolling neater and helps in shaping the roll firmly.
Chill thoroughly before slicing to ensure clean cuts and keep rolls from falling apart.
- Prep Time: 20 minutes
- Cook Time: 30 minutes
- Category: Dessert
- Method: No-Bake
- Cuisine: American
Nutrition
- Serving Size: 1 piece
- Calories: 110
- Sugar: 9g
- Sodium: 80mg
- Fat: 5g
- Saturated Fat: 2g
- Unsaturated Fat: 2g
- Trans Fat: 0g
- Carbohydrates: 15g
- Fiber: 0.5g
- Protein: 1g
- Cholesterol: 5mg