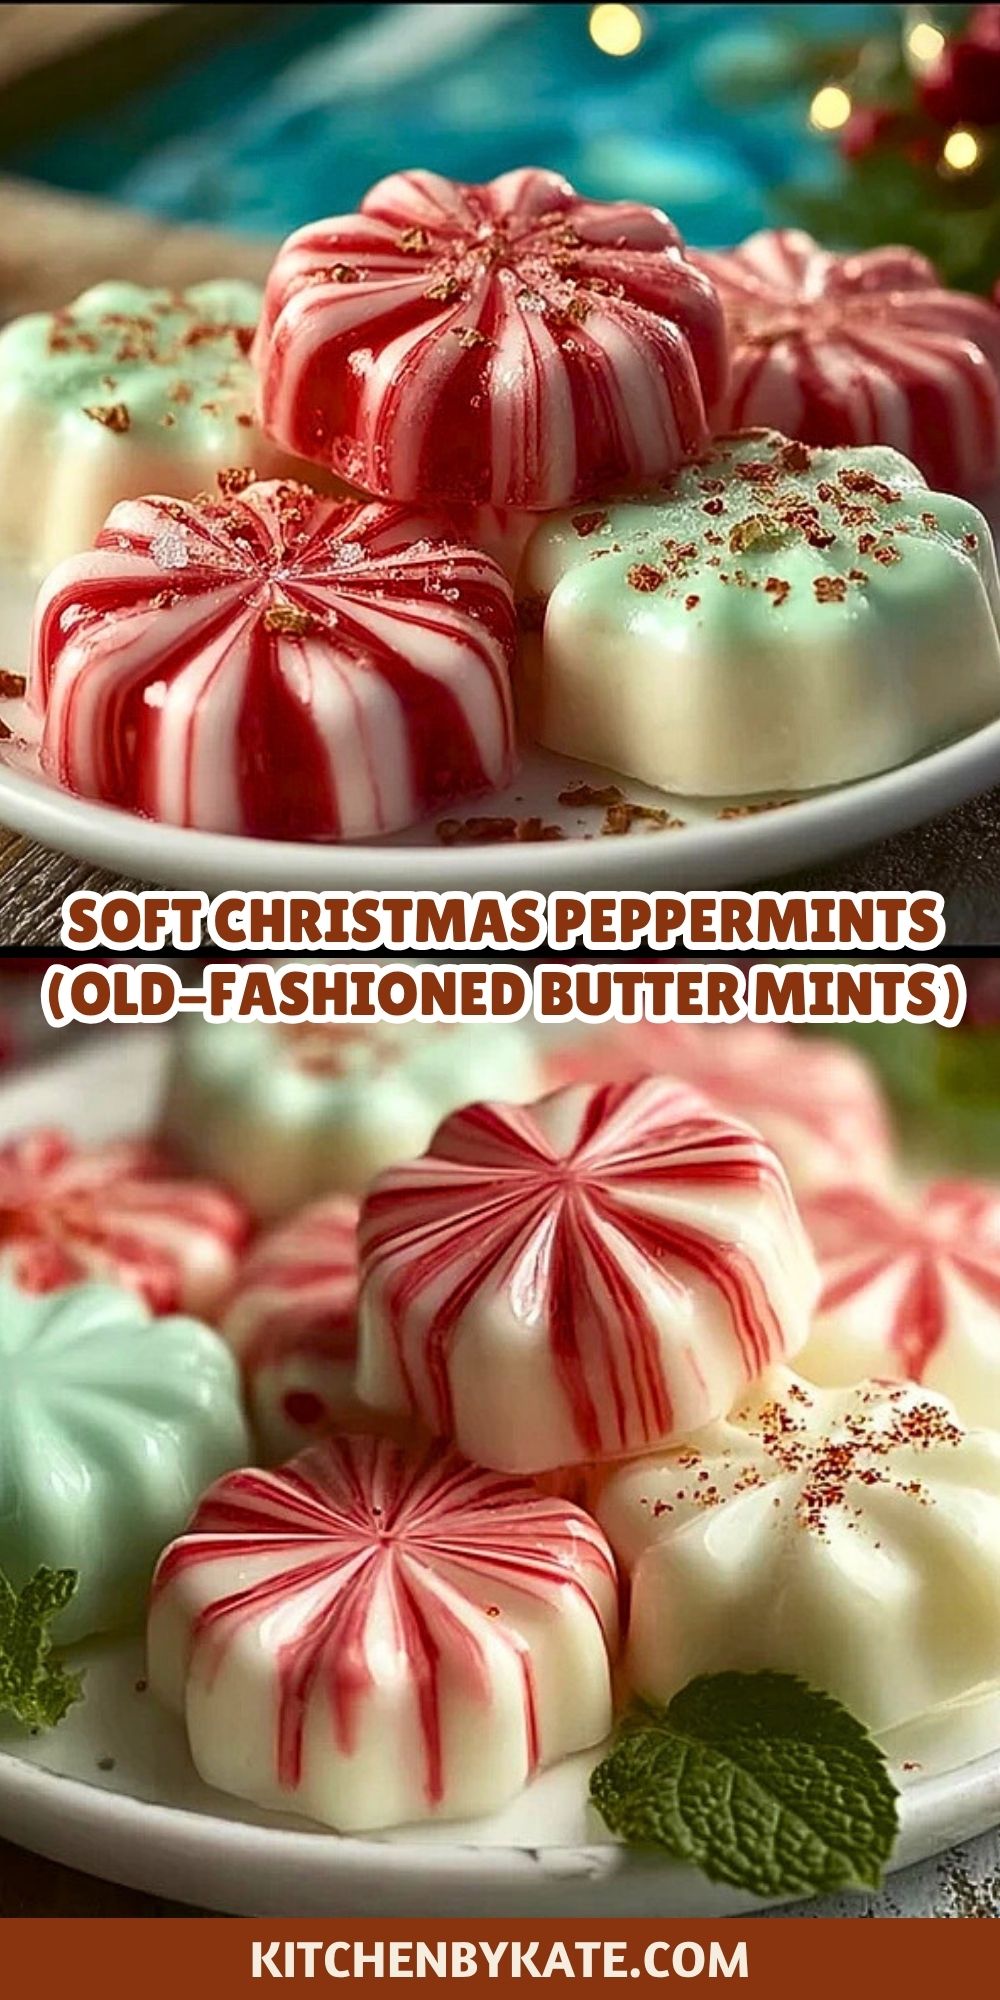

Creamy, melt-in-your-mouth, and filled with that nostalgic peppermint flavor, these Soft Christmas Peppermints (also known as Old-Fashioned Butter Mints) are a holiday treat that brings joy with every bite. These festive little candies are the kind grandma used to keep in pretty glass bowls during the holidays. They’re buttery, lightly sweet, and flavored with peppermint to give you a refreshing finish after every meal or simply as a cozy nibble on a winter afternoon.
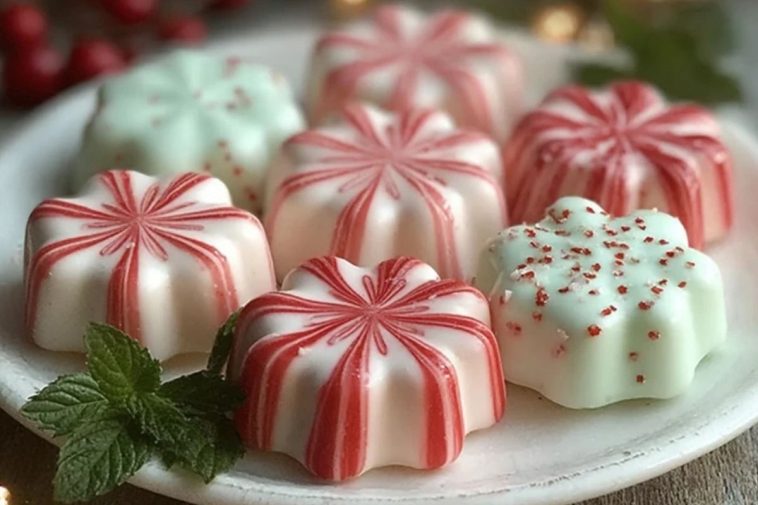
Not only are they delightful to eat, but they’re also beautiful to look at. With their soft pastel colors and classic striped or swirled appearance, they make a perfect addition to cookie trays, holiday dessert tables, or even gift bags. They require no baking, just a little mixing, shaping, and patience as they set—and the reward is well worth it.
Why You’ll Love This Soft Christmas Peppermints
- Nostalgic & charming: Just like the old-time mints you remember from holiday gatherings.
- No-bake & beginner-friendly: Perfect for kids or adults looking for a festive kitchen project.
- Versatile: Easily tinted with natural food coloring to match your theme.
- Make-ahead friendly: These mints store beautifully and are ideal for prepping days in advance.
- Great for gifting: Wrapped in parchment and tied with string, they make the sweetest homemade gift.
Preparation Phase & Tools to Use
Creating Soft Christmas Peppermints at home is simple, but having the right tools on hand makes all the difference:
- Electric Mixer: Essential for beating the butter and mixing the sugar into a smooth, pliable dough.
- Rubber Spatula: Helps with scraping down the sides of the bowl and mixing in color or extract evenly.
- Piping Bag or Mint Mold: If you want to shape your mints with a decorative finish, silicone molds or piping bags with star tips give them that classic look.
- Wax or Parchment Paper: For drying the mints without sticking. This also makes clean-up easier.
- Airtight Containers: Important for storing mints so they stay soft and fresh.

Ingredients for the Soft Christmas Peppermints
- Unsalted Butter – Gives these mints their classic creamy, rich flavor.
- Powdered Sugar – The foundation of the dough that provides sweetness and structure.
- Peppermint Extract – For that iconic, cooling minty taste.
- Heavy Cream or Milk – Softens the mixture to create that smooth, meltaway texture.
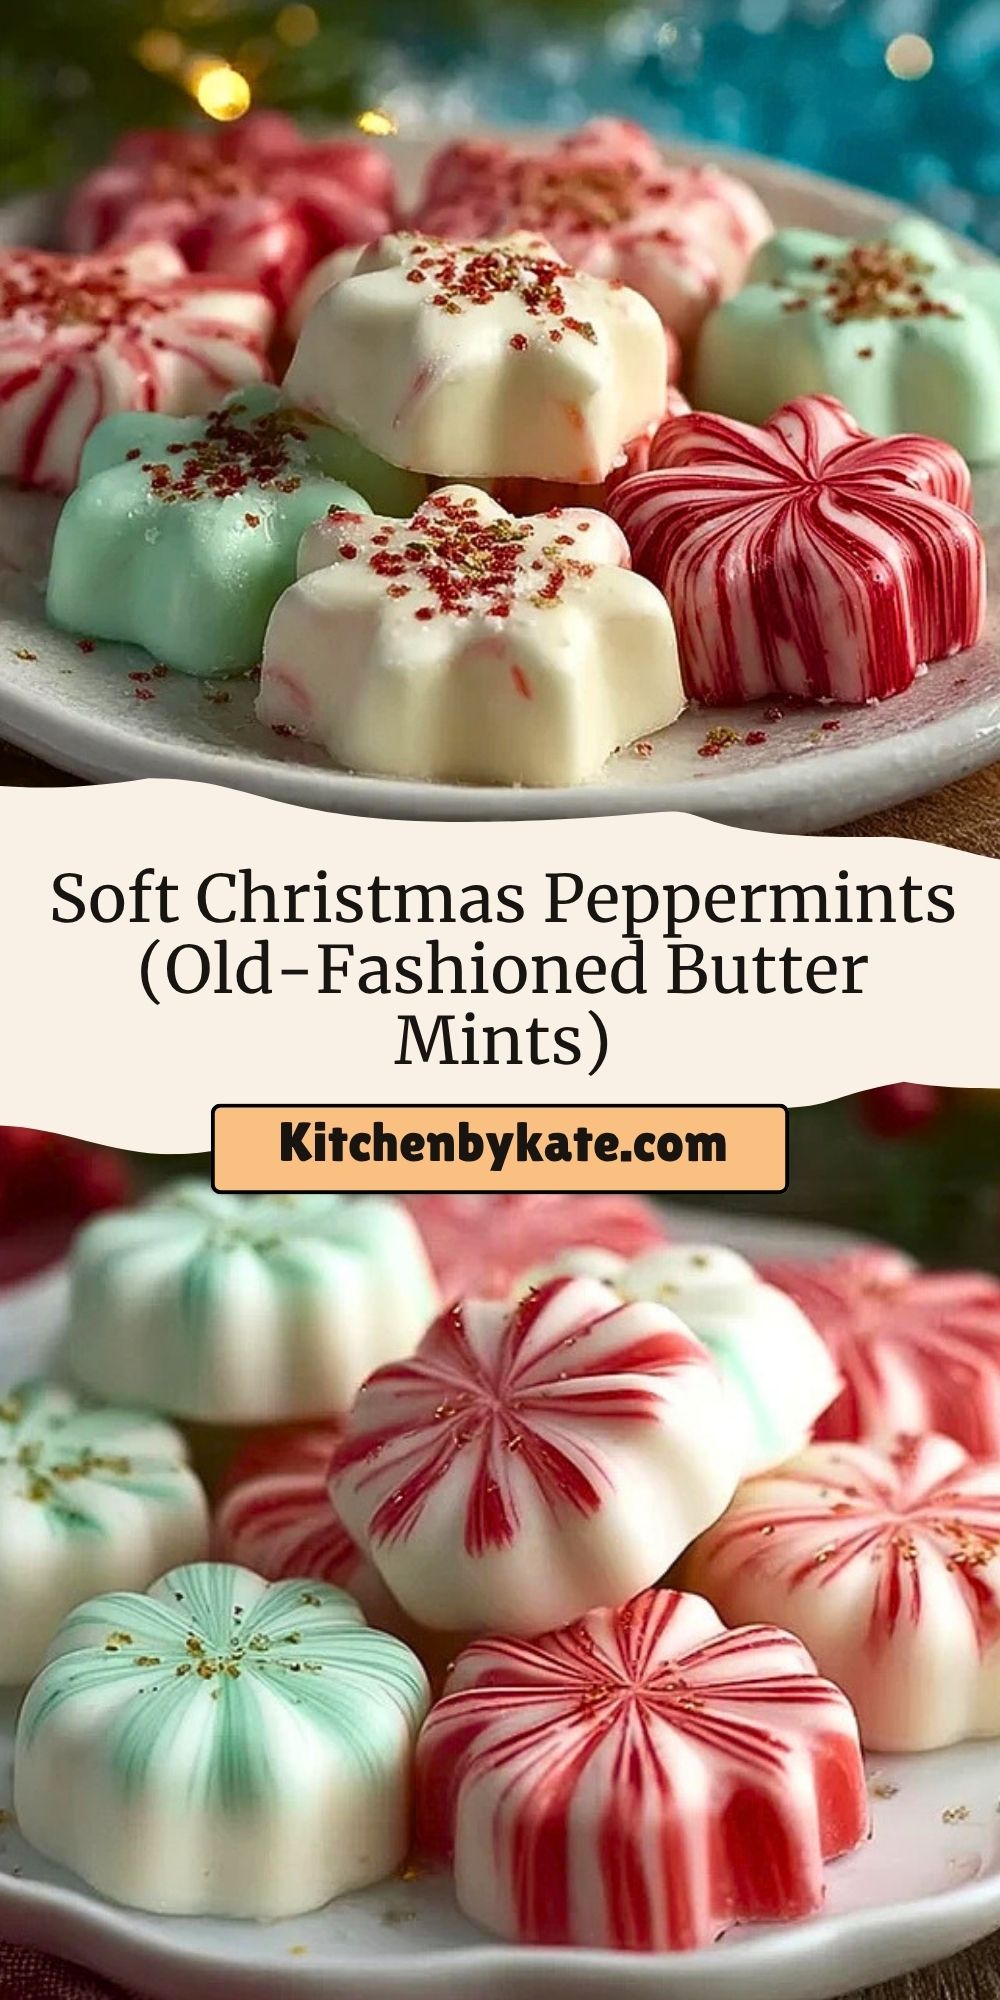
- Food Coloring (optional) – To bring festive flair with holiday pastels or candy cane stripes.
- Salt (a pinch) – Balances sweetness and enhances the peppermint flavor.
How To Make the Soft Christmas Peppermints
Step 1: Cream the Butter
In a large bowl, use an electric mixer to beat the softened butter until creamy and smooth.
Step 2: Mix in the Flavor
Add in the peppermint extract and a pinch of salt. Beat until fully incorporated.
Step 3: Add Sugar and Cream
Gradually add powdered sugar, alternating with small splashes of heavy cream. Keep mixing until a thick, moldable dough forms.
Step 4: Color the Dough (Optional)
If you want multiple colors, divide the dough and knead in food coloring to each portion. Use gloves to avoid staining your hands.
Step 5: Shape the Mints
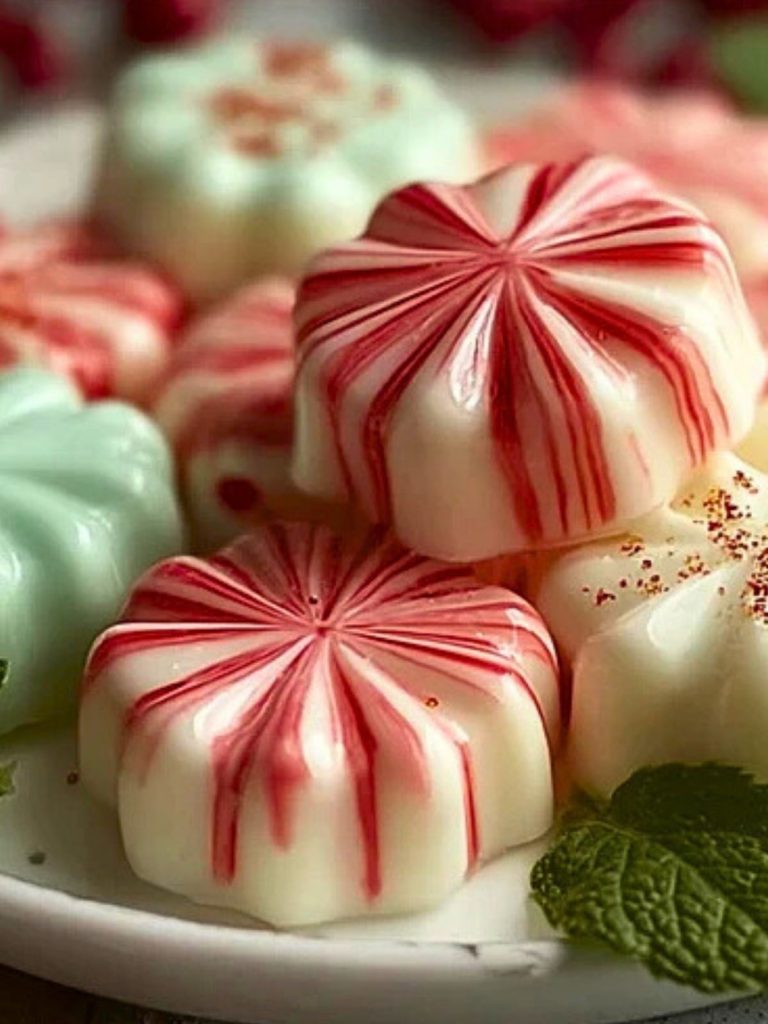
You can roll the dough into small balls, press into silicone molds, or pipe them using a star tip. Classic peppermint shapes work beautifully here.
Step 6: Let Them Set
Place the mints on a parchment-lined tray and let them air-dry at room temperature for 12–24 hours, depending on humidity.
Serving and Storing Soft Christmas Peppermints
These mints are best served on holiday trays, as after-dinner treats, or packaged in cellophane bags for gifting. Once dried, store them in an airtight container at room temperature for up to two weeks. If layering in containers, place wax paper between layers to prevent sticking.
Frequently Asked Questions
How long do butter mints last?
Stored in a cool, dry place in an airtight container, they last up to 2 weeks.
Can I freeze them?
Yes! Freeze in layers with parchment paper between. Let them thaw at room temp before serving.
Can I use other extracts?
Absolutely. Vanilla, almond, or even orange extracts work nicely for variety.
Do I have to use food coloring?
Not at all. They look lovely in their natural creamy white or butter yellow tone.
Why did my dough turn too sticky?
You may have added too much cream. Add more powdered sugar until it’s soft but not sticky.
Can kids help make these?
Definitely! It’s a great no-bake recipe that’s fun for little hands to help roll and shape.
Want More Candy Ideas with a Twist?
If you’re loving these Soft Christmas Peppermints, you might enjoy making:
- Winter Brittle for a crunchy, nutty holiday treat.
- Cinnamon Roll Cheesecake if you’re craving sweet-spice fusion.
- Simple Apricot Cream Cheese Thumbprint Cookies for another melt-in-your-mouth delight.
- Brown Sugar Maple Cookies for cozy, buttery bites.
- Bonnie’s Blue Ribbon Chocolate Dream Cake for a crowd-pleasing finale.
Save This Pin For Later
📌 Save this recipe to your Pinterest dessert board so you can come back to it any time.
And let me know in the comments how yours turned out. Did you try stripes or solids? Add any unique flavors? I love hearing how others make these recipes their own.
Questions are welcome too—let’s help each other make holiday magic together.
Explore more festive ideas on my Pinterest board: Kitchen By Kate

Soft Christmas Peppermints (Old-Fashioned Butter Mints)
- Total Time: 12–24 hours (including drying)
- Yield: About 100 mints
Description
These Soft Christmas Peppermints (Old-Fashioned Butter Mints) are creamy, no-bake, melt-in-your-mouth treats flavored with peppermint. A perfect vintage holiday candy recipe, easy to make ahead and ideal for gifting or dessert trays.
Ingredients
1 cup unsalted butter, softened
4 cups powdered sugar
2 teaspoons peppermint extract
2 tablespoons heavy cream or milk
Optional: food coloring
1 pinch salt
Instructions
1. Cream the butter until smooth and fluffy in a large bowl using an electric mixer.
2. Add peppermint extract and salt, mixing until fully incorporated.
3. Gradually beat in powdered sugar, alternating with heavy cream, until a soft dough forms.
4. Divide the dough if using food coloring; knead in desired colors.
5. Roll into small balls, pipe with a star tip, or press into silicone molds.
6. Place mints on parchment-lined trays and let air-dry for 12–24 hours.
7. Once dry, store in an airtight container with wax paper between layers.
Notes
If your dough is sticky, add more powdered sugar until it firms up.
Use gel food coloring for vibrant tones without watering down the dough.
Let the mints dry completely before storing to avoid them sticking together.
- Prep Time: 30 minutes
- Category: Candy
- Method: No-Bake
- Cuisine: American
Nutrition
- Serving Size: 1 mint
- Calories: 35
- Sugar: 5
- Sodium: 5
- Fat: 1.5
- Saturated Fat: 1
- Unsaturated Fat: 0.5
- Trans Fat: 0
- Carbohydrates: 6
- Fiber: 0
- Protein: 0
- Cholesterol: 5