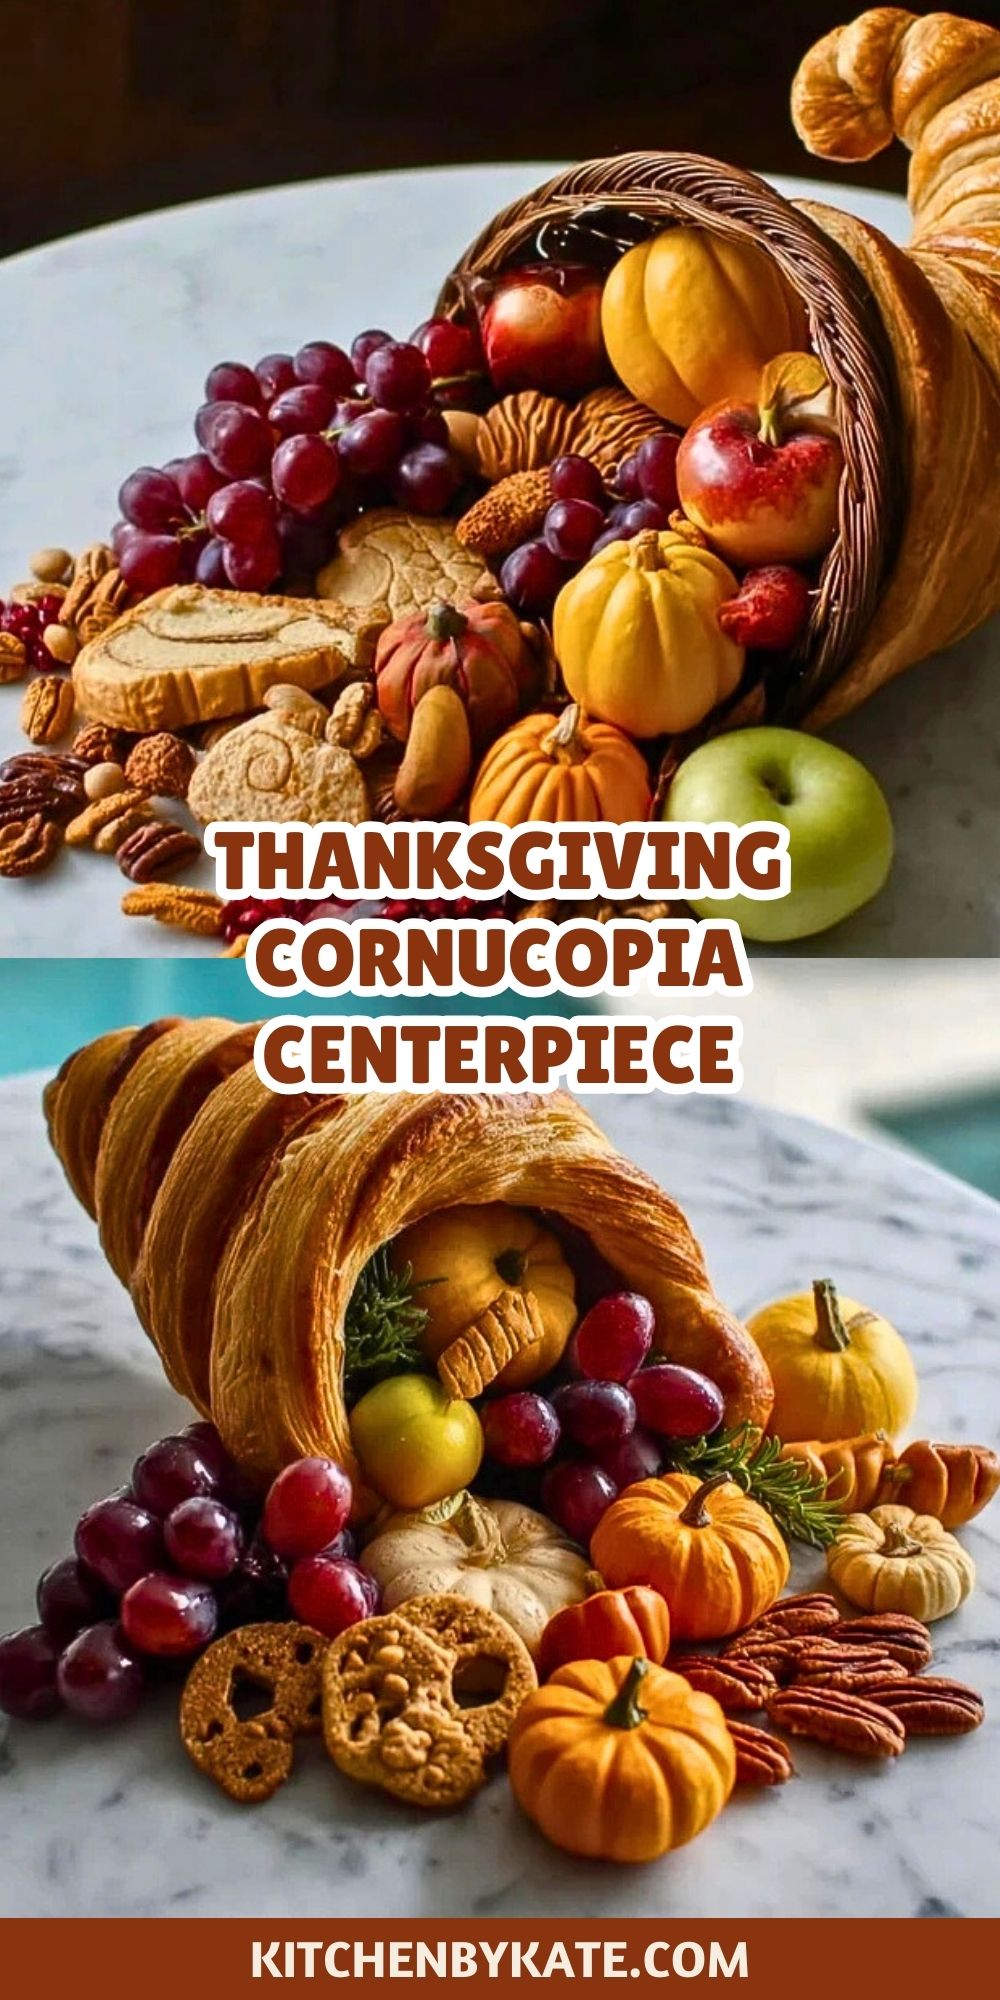

A Thanksgiving Cornucopia Centerpiece is more than just a decorative item for your holiday table—it’s a visual celebration of the harvest season. This charming edible creation overflows with seasonal fruits, cookies, and festive treats, all beautifully nestled within a golden, flaky pastry horn. It’s the kind of showstopper that not only captures attention but also brings warmth and tradition to your Thanksgiving spread.
Whether you’re hosting a formal dinner or a cozy family gathering, this centerpiece blends rustic charm with delicious elegance. It invites guests to admire, indulge, and connect over the shared spirit of gratitude and abundance. Plus, it’s fully customizable, making it as fun to assemble as it is to serve.
Why You’ll Love This Thanksgiving Cornucopia Centerpiece
- Edible & Elegant: Unlike store-bought centerpieces, this one doubles as dessert and decor.
- Customizable for All Ages: Fill it with treats tailored to your family’s favorites—from gingerbread cookies for kids to mini cheese wheels and dried fruits for adults.
- Perfect for Hosting: It elevates your table setup and serves as a great conversation starter.
- Make-Ahead Friendly: Prepare the horn and fillings ahead of time to ease the holiday rush.
- Budget-Friendly: Uses affordable ingredients that pack a visual and flavorful punch.
Preparation Phase & Tools to Use
Before you begin, gather everything needed to make the horn and fill it with your chosen edible delights. Here’s what you’ll need:
- Baking Sheet & Parchment Paper: For baking the pastry horn without sticking or burning.
- Aluminum Foil & Oven-Safe Bowl: To form the cornucopia shape and provide structure while baking.
- Pastry Brush: Essential for applying egg wash to give that glossy golden finish.
- Rolling Pin: To evenly roll out your pastry dough.
- Sharp Knife or Pizza Cutter: For slicing dough strips to wrap around the foil mold.
Each of these tools plays a role in ensuring your cornucopia turns out crisp, structured, and visually stunning. Once baked and cooled, the real fun begins: decorating with your favorite autumn-inspired treats.

Ingredients for the Thanksgiving Cornucopia Centerpiece
- Puff Pastry or Crescent Roll Dough: This is the base of your horn, offering a flaky, golden-brown exterior that holds shape beautifully.
- Egg Wash (1 egg + 1 tbsp water): Brushed over the dough for that beautiful sheen and crisp texture.
- Fresh Fruits (grapes, apples, pears): Add color, freshness, and harvest-season authenticity.
- Mini Pumpkins or Gourds: For visual depth and a natural autumn touch (optional, for decoration only).
- Assorted Cookies (leaf-shaped, shortbread, etc.): Provides variety in texture and enhances the festive vibe.
- Dried Fruits & Nuts (cranberries, pecans, figs): Adds warmth and rustic appeal, perfect for snacking.
- Cheese Cubes or Mini Cheese Wheels: A savory balance to the sweet elements.
- Edible Flowers or Wheat Stalks: Optional, but they elevate the overall look.
Each ingredient plays a decorative or edible role in the centerpiece. Choose ingredients that balance visual appeal and flavor for the best experience.
How To Make the Thanksgiving Cornucopia Centerpiece
Step 1: Create the Cornucopia Mold
Take a large oven-safe bowl and cover it with foil. Mold a cone shape using additional foil and attach it to the bowl to form the traditional horn shape. Make sure it is sturdy and stable.
Step 2: Prepare and Wrap the Dough
Roll out your puff pastry or crescent dough into long strips. Starting at the tip of the foil horn, wrap the strips around, slightly overlapping to avoid gaps. Continue until the entire mold is covered.
Step 3: Apply Egg Wash
Use a pastry brush to coat the entire dough-covered horn in egg wash. This step ensures a shiny, golden crust after baking.
Step 4: Bake the Horn
Place your wrapped mold on a parchment-lined baking sheet. Bake at 375°F (190°C) for about 20-25 minutes or until golden brown. Let it cool completely before removing the foil structure.
Step 5: Assemble Your Centerpiece
Once cooled, carefully remove the foil from inside the pastry horn. Place the horn on your serving platter and fill it with fresh fruits, cookies, nuts, and cheeses. Let everything gently spill out of the horn to create that iconic overflowing look.
Step 6: Add Finishing Touches
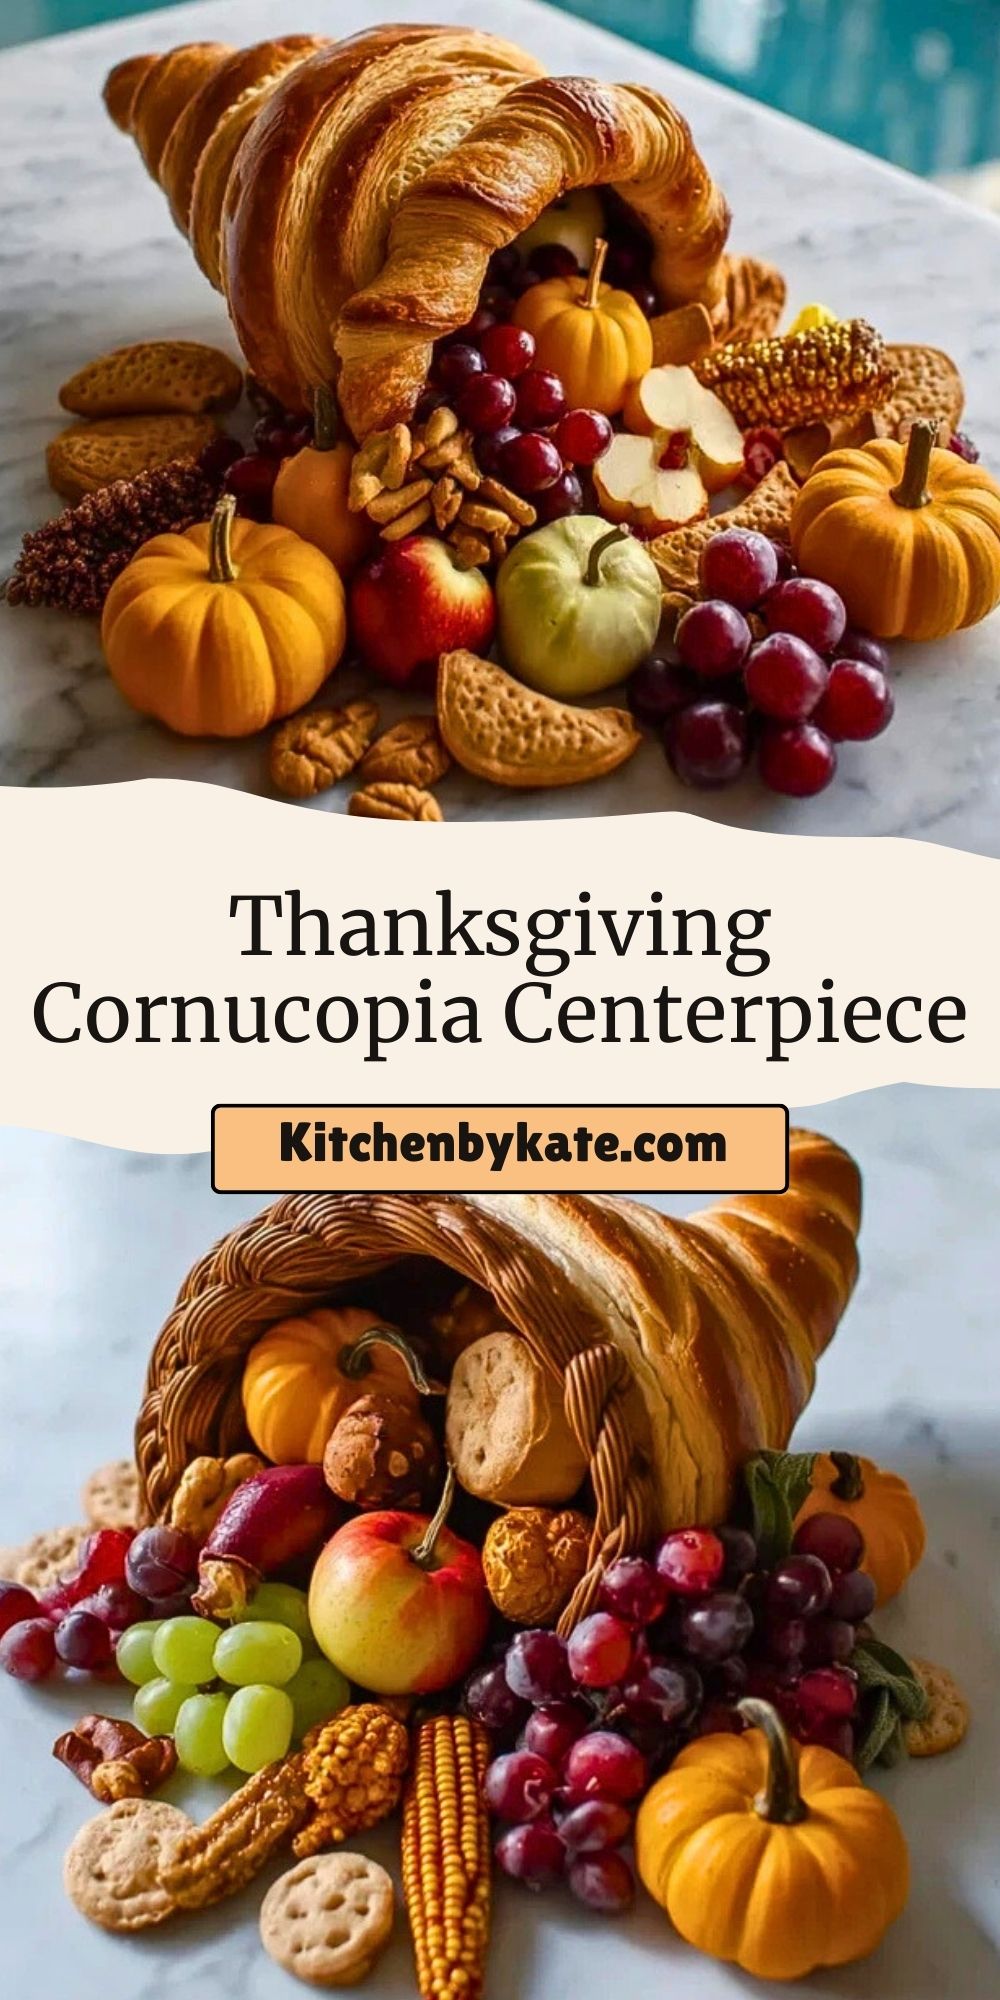
Tuck in some wheat stalks or edible flowers for a natural harvest touch. Arrange everything until you’re happy with the visual balance and color.
How to Serve and Store Your Edible Centerpiece
Place your Thanksgiving Cornucopia Centerpiece at the center of your table, and let guests nibble directly from it or serve its contents on a side platter. For larger gatherings, you can create mini versions for each table.
To store, keep the pastry horn in an airtight container at room temperature for up to 2 days. Store fruits and cheeses separately in the refrigerator and refill the horn just before serving to maintain freshness and texture.
Frequently Asked Questions
What type of dough works best?
Puff pastry offers a flaky, elegant finish, while crescent roll dough gives a more rustic, pillowy texture. Both work well—it depends on the look and taste you prefer.
Can I make the pastry horn in advance?
Absolutely! You can bake the horn 1-2 days in advance. Just store it in a dry, airtight container to prevent sogginess.
How do I keep the horn from collapsing?
Make sure your foil mold is firm and stable before baking. You can even add a foil base or extra foil layers for support.
Is this centerpiece suitable for kids?
Yes! Kids love the colorful treats and can even help decorate it. Swap in child-friendly snacks like chocolate coins or mini cookies.
Can this be made gluten-free?
Yes, just use gluten-free pastry dough and ensure all treats inside are GF-friendly too.
What can I use instead of foil for the mold?
Parchment paper can work in a pinch, but foil is best for creating a sturdy, bake-safe structure.
Want More Holiday Centerpiece Ideas?
If this edible Thanksgiving cornucopia stole your heart, you’ll want to explore these equally festive ideas for more creative hosting:
- Winter Brittle adds a crunchy, sweet flair to any holiday snack board.
- Rose Pistachio Cheesecake Ice Cream offers floral elegance in a frozen twist.
- Cinnamon Roll Cheesecake blends two beloved classics into a stunning dessert.
- Spicy Ranch Taco Dip for a bold and creamy appetizer that keeps guests reaching back.
- Cheesy Garlic Chicken Wraps make a great savory pairing for a sweet cornucopia table.
Save This Pin For Later
📌 Save this recipe to your Pinterest holiday board so you can recreate this edible cornucopia any time.
Follow me on Pinterest for daily recipes, seasonal treats, and creative centerpiece ideas straight from the Kitchen By Kate.
And let me know in the comments how yours turned out! Did you go all-sweet, or mix in savory treats? I’d love to see how you styled yours—photos and questions welcome!

Thanksgiving Cornucopia Centerpiece
- Total Time: 50 minutes
- Yield: 1 large centerpiece
- Diet: Vegetarian
Description
Create a stunning Thanksgiving Cornucopia Centerpiece that’s both edible and elegant. This easy DIY horn of plenty is filled with seasonal fruits, cookies, cheeses, and festive snacks—perfect as a decorative table feature or interactive dessert. Learn how to make this edible showstopper using puff pastry and a few simple tools. Great for fall tablescapes, holiday centerpieces, and family gatherings.
Ingredients
1 sheet puff pastry or crescent roll dough
1 egg
1 tablespoon water
1 cup red grapes
1 cup green grapes
2 small apples
2 small pears
1 cup assorted cookies
1/2 cup dried cranberries
1/4 cup pecans
4 ounces cheese cubes or 2 mini cheese wheels
Optional: mini pumpkins, wheat stalks, edible flowers
Instructions
1. Preheat oven to 375°F (190°C).
2. Create a mold by covering an oven-safe bowl with foil, forming a cone to shape the horn.
3. Roll out the puff pastry and slice into strips using a sharp knife or pizza cutter.
4. Wrap the strips around the foil mold, starting at the tip and overlapping each piece slightly.
5. Mix the egg and water to make an egg wash, then brush it all over the dough.
6. Place the mold on a parchment-lined baking sheet.
7. Bake for 20–25 minutes or until the horn is golden brown and firm.
8. Allow to cool completely, then gently remove the foil mold.
9. Place the horn on your serving platter and fill with grapes, apples, pears, cookies, nuts, and cheeses.
10. Decorate with optional items like mini pumpkins, wheat stalks, or edible flowers.
Notes
For best results, bake the pastry horn a day in advance and store it in an airtight container.
You can tailor the contents based on sweet or savory preferences—consider adding chocolates or dried meats.
Use a sturdy foil mold to avoid collapsing during baking. Reinforce with a bowl inside the cone if needed.
- Prep Time: 25 minutes
- Cook Time: 25 minutes
- Category: Holiday Centerpiece
- Method: Baking
- Cuisine: American
Nutrition
- Serving Size: 1/8 of horn with filling
- Calories: 280
- Sugar: 12g
- Sodium: 190mg
- Fat: 14g
- Saturated Fat: 6g
- Unsaturated Fat: 7g
- Trans Fat: 0g
- Carbohydrates: 32g
- Fiber: 2g
- Protein: 6g
- Cholesterol: 35mg