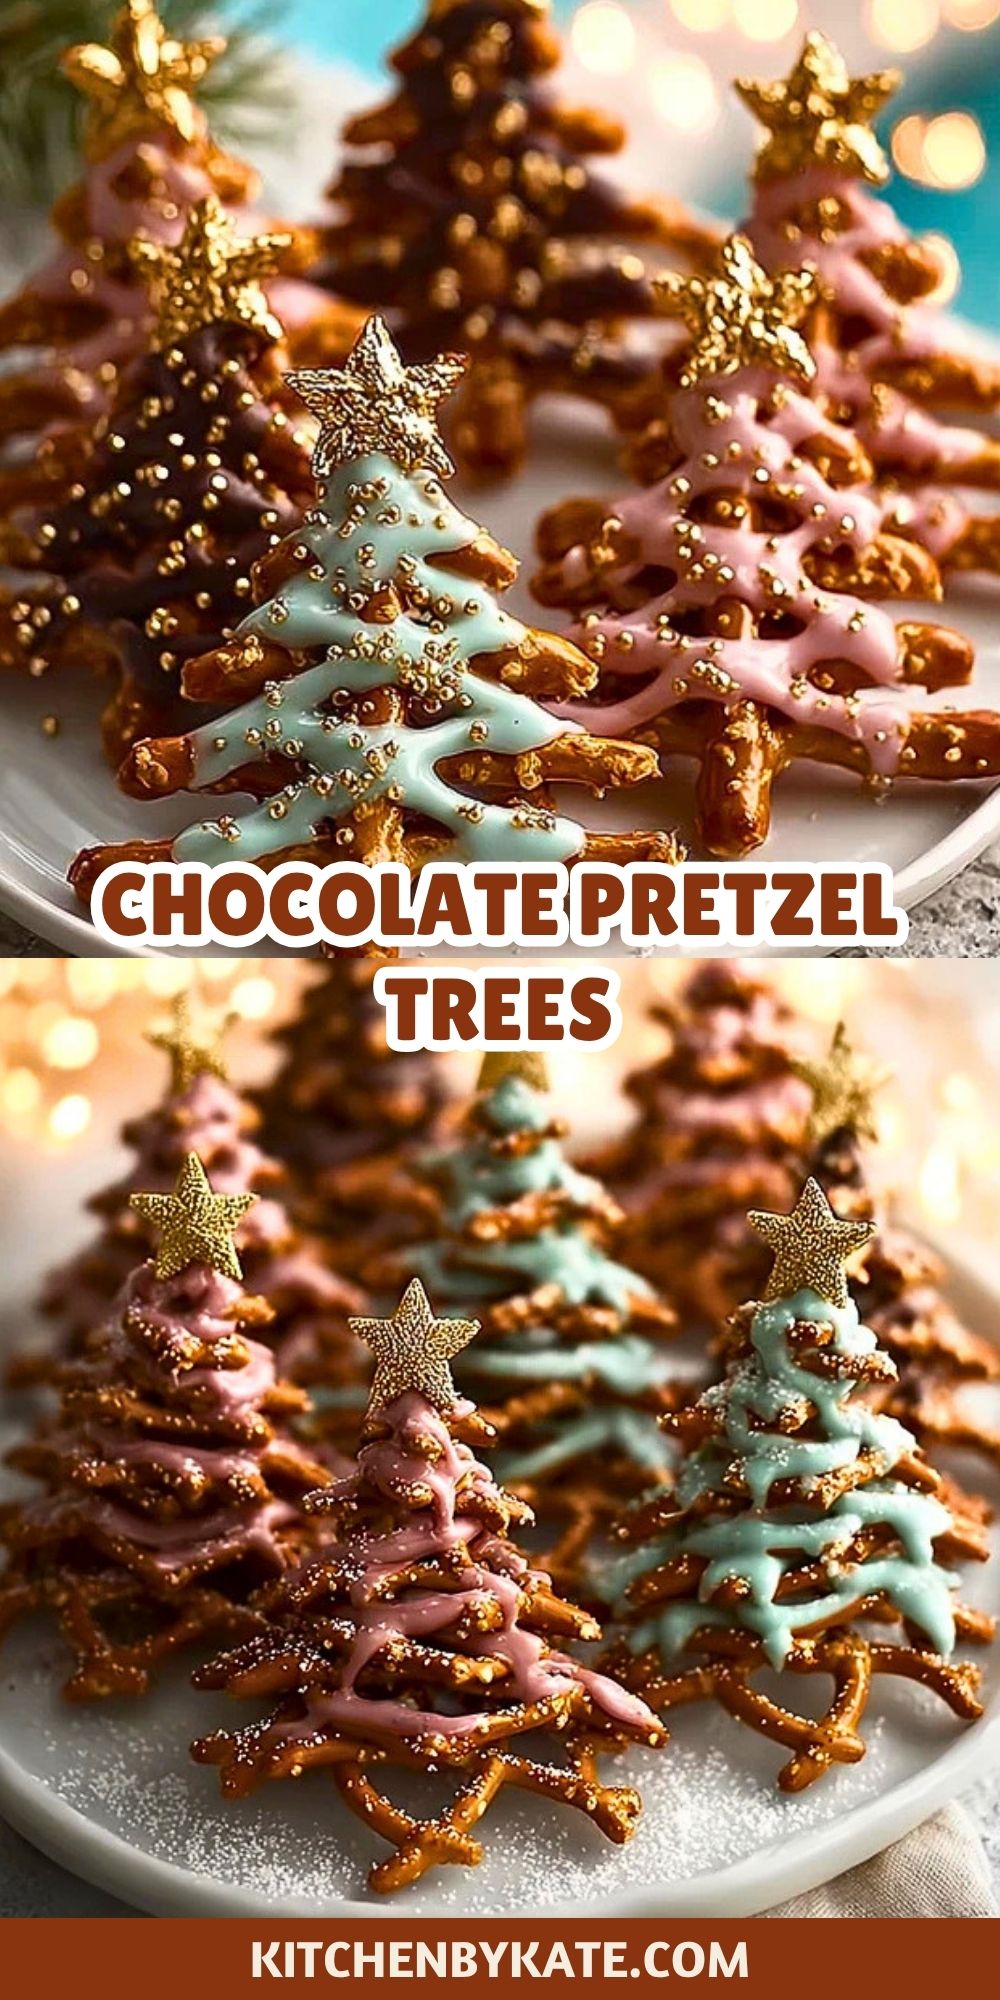

Chocolate Pretzel Trees are one of those festive treats that look extra special but come together with surprisingly little effort. Stacked pretzels, melted chocolate, colorful drizzle, and sparkling sprinkles turn simple pantry ingredients into adorable holiday trees that instantly brighten any dessert table.
They are sweet, salty, crunchy, and playful all at once. Whether you are making them for a cookie tray, a classroom party, a Christmas movie night, or an edible gift box, these no-bake treats bring a cheerful holiday feel without a long baking session.
Why You’ll Love This Chocolate Pretzel Trees
These Chocolate Pretzel Trees are perfect for busy holiday days when you want something fun and homemade without a lot of stress. They use simple ingredients, come together quickly, and can be customized with different chocolate colors, toppings, and candy stars. The mix of crisp pretzels and smooth melted chocolate gives every bite a sweet and salty balance that is hard to resist.
They also make a wonderful recipe to prepare with kids because the decorating is simple and creative. You can make them elegant with gold sprinkles, playful with bright candy melts, or cozy and classic with green chocolate and powdered sugar for a snowy finish.
Preparation Phase & Tools to Use
Having the right tools makes Chocolate Pretzel Trees much easier to assemble neatly and quickly. Because this is a stacking recipe, a few basic kitchen tools help keep the process organized and help the melted chocolate set properly.
A microwave-safe bowl is essential for melting chocolate or candy melts smoothly without burning them. A spoon or small spatula helps you stir the melted coating until glossy and easy to drizzle. Parchment paper or a nonstick baking mat is important because it keeps the trees from sticking while they set. A piping bag or small zip-top bag with the corner snipped makes the chocolate drizzle more controlled, which helps hold the pretzels together and gives that tree-like layered look. Using a serving tray or sheet pan also makes it easy to move the finished trees to the refrigerator if you want them to firm up faster.
If you want more precision, tweezers or clean fingertips can help place the star toppers neatly. A cooling rack is not required, but it can be useful if you prefer to let extra chocolate drip away before the trees fully set.

Ingredients for the Chocolate Pretzel Trees
These ingredients are simple, but each one plays an important role in giving Chocolate Pretzel Trees their festive shape, texture, and flavor.
Mini pretzel twists create the layered branches and give the trees their signature crunch. Melted chocolate or candy melts act as both the glue and the decorative drizzle that transforms the pretzels into Christmas tree shapes. White chocolate can be tinted or swapped with green, pink, or blue candy melts depending on the holiday color palette you want.
Star sprinkles or edible star candies give each tree a charming topper and make the finished treats look complete. Nonpareils, sanding sugar, or holiday sprinkles add sparkle, texture, and a snowy or glittery finish. Powdered sugar is optional, but a light dusting can make the platter look extra festive.
You can also use a bit of coconut oil or shortening if needed to thin the melted chocolate for easier piping. That small addition helps the drizzle flow more smoothly without becoming clumpy.
How To Make the Chocolate Pretzel Trees
This is a simple assembly-style treat, but taking it step by step helps the trees hold together well and look polished once finished.
Step 1: Prepare Your Work Surface
Line a tray, large plate, or sheet pan with parchment paper. Arrange your pretzels by size if possible, choosing larger ones for the bottom and slightly smaller ones for the top. This helps create a more defined tree shape.
Step 2: Melt the Chocolate
Place your chocolate or candy melts in a microwave-safe bowl and heat in short intervals, stirring between each one until smooth. If the mixture feels too thick, stir in a tiny amount of coconut oil or shortening to loosen it.
Step 3: Build the Tree Base
Pipe or spoon a small dot of melted chocolate onto the parchment paper, then place one pretzel twist on top. This first layer acts as the base and keeps the tree stable.
Step 4: Stack the Pretzels
Add another small amount of melted chocolate to the center of the first pretzel and place a second pretzel on top at a slight angle. Continue stacking, using fewer or smaller pretzels as you go upward so the shape tapers like a Christmas tree. Most trees need about 4 to 6 pretzels depending on their size.
Step 5: Drizzle for the Tree Look
Transfer the melted chocolate to a piping bag or zip-top bag with a tiny corner cut off. Drizzle the chocolate back and forth across the stacked pretzels so it looks like garland wrapping around the tree. This also reinforces the structure.
Step 6: Decorate the Trees
While the chocolate is still wet, add nonpareils, sanding sugar, or festive sprinkles. Place a star sprinkle or candy star at the top of each tree so the design feels complete.
Step 7: Let Them Set
Leave the Chocolate Pretzel Trees at room temperature until firm, or chill them in the refrigerator for 10 to 15 minutes for a faster set. Once hardened, gently lift them from the parchment paper and place them on a serving platter.
Step 8: Finish and Serve
If you like, dust the serving platter lightly with powdered sugar for a snowy effect. Serve the trees immediately or store them in an airtight container until ready to enjoy.
Serving and Storing Chocolate Pretzel Trees
Chocolate Pretzel Trees look beautiful on cookie platters, dessert boards, and holiday snack tables. They also make a lovely addition to edible gift tins or cellophane treat bags tied with ribbon. Because they are lightweight and easy to portion, they work well for parties, bake sales, and classroom celebrations.
To store them, place the fully set trees in a single layer in an airtight container. If you need to stack them, separate the layers with parchment paper to protect the decorations. Keep them in a cool room for a day or two, or refrigerate them for longer freshness. Before serving, let chilled trees sit at room temperature for a few minutes so the chocolate is not too firm to bite.
Frequently Asked Questions
Can I use regular chocolate chips instead of candy melts?
Yes, you can use regular chocolate chips if you melt them carefully. Adding a small amount of coconut oil or shortening can help the melted chocolate become smoother for piping.
How do I keep the pretzels from falling over?
Use a small amount of melted chocolate between each pretzel layer and allow the structure to set on parchment paper before moving it. Working from larger pretzels at the bottom to smaller ones at the top also helps.
Can I make Chocolate Pretzel Trees ahead of time?
Yes. These are a great make-ahead holiday treat. Once fully set, store them in an airtight container and keep them cool until serving.
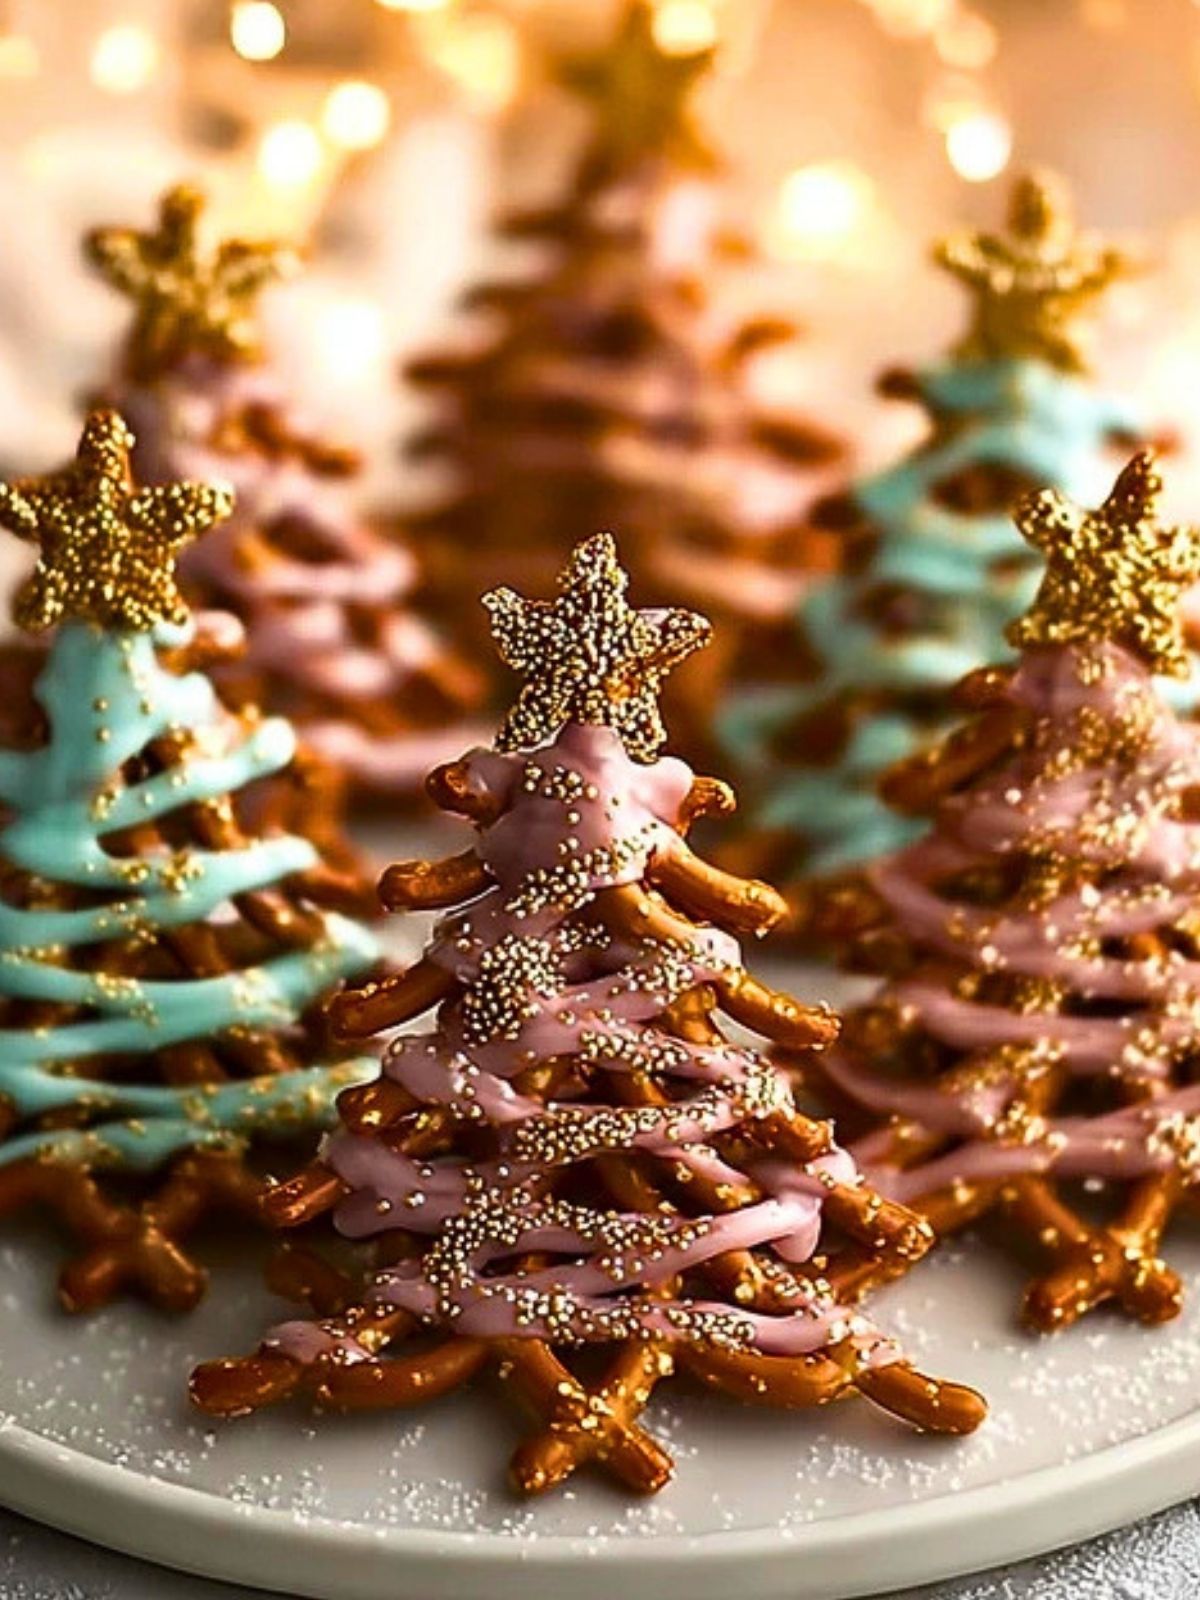
What colors work best for decorating?
Classic green always looks festive, but pastel pink, white, blue, and gold also create a beautiful winter or holiday theme. Matching the sprinkles to the drizzle makes the trees look even more polished.
Are these good for kids to help make?
Absolutely. Kids can help stack pretzels, sprinkle decorations, and place the stars on top. An adult should handle the melted chocolate.
Can I freeze them?
It is usually better to refrigerate rather than freeze them. Freezing can sometimes cause condensation on the chocolate when thawed, which may affect the finish.
Want More Dessert Ideas?
If you love these Chocolate Pretzel Trees, you may want to try more sweet treats from Kitchen By Kate:
- Winter Brittle for a festive candy option with holiday crunch.
- Simple Apricot Cream Cheese Thumbprint Cookies for a soft and fruity cookie platter favorite.
- Quick and Easy Fudgy Chocolate Brownie Cookies when you want a rich chocolate dessert.
- Peanut Butter Chocolate Chip Cookie Cups for a fun bite-sized dessert idea.
- Strawberry Cheesecake Dump Cake if you are craving an easy crowd-pleasing sweet.
Save This Pin For Later
📌 Save these Chocolate Pretzel Trees to your Pinterest holiday desserts board so you can come back to them any time.
And let me know in the comments how yours turned out. Did you go with classic green, soft pink, or a whole mix of colors? Did you add extra sparkle with gold sprinkles or keep them simple and snowy?
I love seeing how these festive treats get personalized in every kitchen. For even more recipe inspiration, browse Kitchen By Kate on Pinterest for daily sweet and savory ideas.


Chocolate Pretzel Trees
- Total Time: 25 minutes
- Yield: 12 trees
Description
Chocolate Pretzel Trees are the kind of easy holiday treat that instantly makes any dessert table feel festive. This easy recipe combines crunchy pretzels, smooth melted chocolate, and cheerful sprinkles into a sweet and salty snack that works beautifully for holiday parties, homemade gifts, Christmas dessert boards, and fun food ideas when you need a quick dessert everyone will notice. They are simple to assemble, require no baking, and bring a playful homemade look that feels special without a lot of effort. Whether you need easy holiday dessert ideas, a fun snack for kids, or a quick sweet treat for a party platter, these Chocolate Pretzel Trees are a charming choice that delivers crunch, color, and chocolate in every bite.
Ingredients
8 mini pretzel twists
1 cup green candy melts or white chocolate tinted green
1/2 cup pink candy melts or white chocolate tinted pink
1 tbsp coconut oil or shortening, optional
24 gold or white star sprinkles
2 tbsp gold nonpareils or holiday sprinkles
1 tbsp powdered sugar, optional
Instructions
1. Line a tray or sheet pan with parchment paper and sort the pretzels by size so the larger ones can be used for the bottom layers.
2. Melt the green candy melts in a microwave-safe bowl in short intervals, stirring after each one until smooth. If needed, stir in a little coconut oil or shortening to make the chocolate easier to pipe.
3. Pipe a small dot of melted chocolate onto the parchment paper and place one pretzel on top for the base.
4. Add a little more melted chocolate to the center of the base pretzel and stack another pretzel slightly angled above it. Repeat until you have a tree shape with 4 to 6 pretzels.
5. Transfer the melted chocolate to a piping bag or zip-top bag with a small corner snipped off, then drizzle back and forth over the stacked pretzels to hold them together and create the tree look.
6. Repeat with the remaining pretzels and use the pink candy melts for some trees if you want a mixed-color platter.
7. While the chocolate is still wet, decorate each tree with nonpareils or holiday sprinkles and place a star sprinkle on top.
8. Let the trees set at room temperature or chill for 10 to 15 minutes until firm, then dust the platter lightly with powdered sugar if desired and serve.
Notes
Use larger pretzels on the bottom and smaller ones near the top for the prettiest tree shape.
Let the chocolate cool slightly before piping so it stays in place and does not run too much.
Store the finished trees in a cool place so the chocolate stays firm and glossy.
- Prep Time: 25 minutes
- Cook Time: 0 minutes
- Category: Dessert
- Method: No-Bake
- Cuisine: American
Nutrition
- Serving Size: 1 tree
- Calories: 95
- Sugar: 8g
- Sodium: 120mg
- Fat: 4g
- Saturated Fat: 2g
- Unsaturated Fat: 1.5g
- Trans Fat: 0g
- Carbohydrates: 14g
- Fiber: 0.5g
- Protein: 1g
- Cholesterol: 0mg