
 Kate Walton
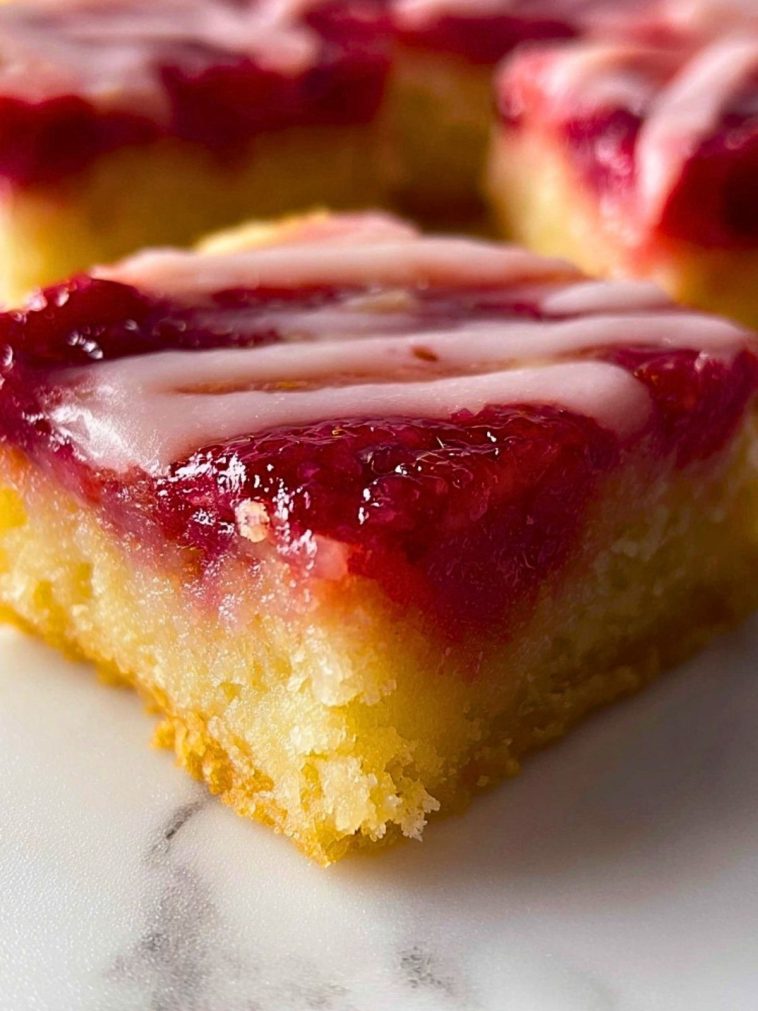

Raspberry Lemonade Bars are the kind of dessert that instantly brightens the table. They bring together a soft, buttery lemon base with a vibrant raspberry topping that tastes sweet, tart, and fresh all at once. Finished with a light drizzle of glaze, each square feels bakery-worthy while still being easy enough to make at home.
These bars are especially perfect for spring parties, summer picnics, baby showers, bake sales, or any day when you want something cheerful and fruity. The contrast of sunny lemon and bold raspberry gives every bite a refreshing flavor that feels both comforting and lively.
Why You’ll Love This Raspberry Lemonade Bars
These bars deliver the best of both worlds: a tender, rich base and a fruity top layer with just enough tang to keep things balanced. The lemon adds brightness without overpowering the raspberry, and the glaze ties everything together with a smooth, sweet finish.
You will also love how approachable they are. The batter comes together with simple pantry staples, the bars slice neatly once cooled, and they look beautiful with very little extra effort. Whether you are baking for guests or just want a dessert that feels special, Raspberry Lemonade Bars are a reliable favorite.
Preparation Phase & Tools to Use
Getting organized before you begin makes this dessert much easier to pull off. Since Raspberry Lemonade Bars have a soft crumb and a fruit layer on top, a few basic tools help you keep the texture even and the presentation clean.
8×8-inch or 9×9-inch baking pan
This is essential for giving the bars their signature thickness. A square pan helps the batter bake evenly and makes slicing cleaner.
Parchment paper
Lining the pan with parchment makes it much easier to lift the bars out after cooling. This helps protect the raspberry layer and keeps the edges tidy.
Mixing bowls
You will want one bowl for the bar batter and another for the raspberry topping or glaze. Separate bowls make the process smoother and prevent overmixing.
Hand mixer or whisk
A hand mixer helps cream the butter and sugar until light and fluffy, which creates a softer bar. A sturdy whisk also works if you are mixing by hand.
Rubber spatula
This tool is perfect for scraping every bit of batter from the bowl and spreading it evenly in the pan without wasting any mixture.
Zester or fine grater
Fresh lemon zest gives these bars their bright lemonade flavor. A fine grater helps release the fragrant oils without digging too deeply into the bitter white pith.
Small saucepan
If you are cooking down raspberries slightly for a thicker topping, a small saucepan helps concentrate the fruit flavor and keeps the topping from becoming too runny.
Cooling rack
Allowing the bars to cool fully on a rack helps the structure set properly before glazing and slicing.
Sharp knife
A clean, sharp knife is important for neat bars. Wiping the blade between cuts keeps the raspberry topping from dragging across the surface.

Ingredients for the Raspberry Lemonade Bars
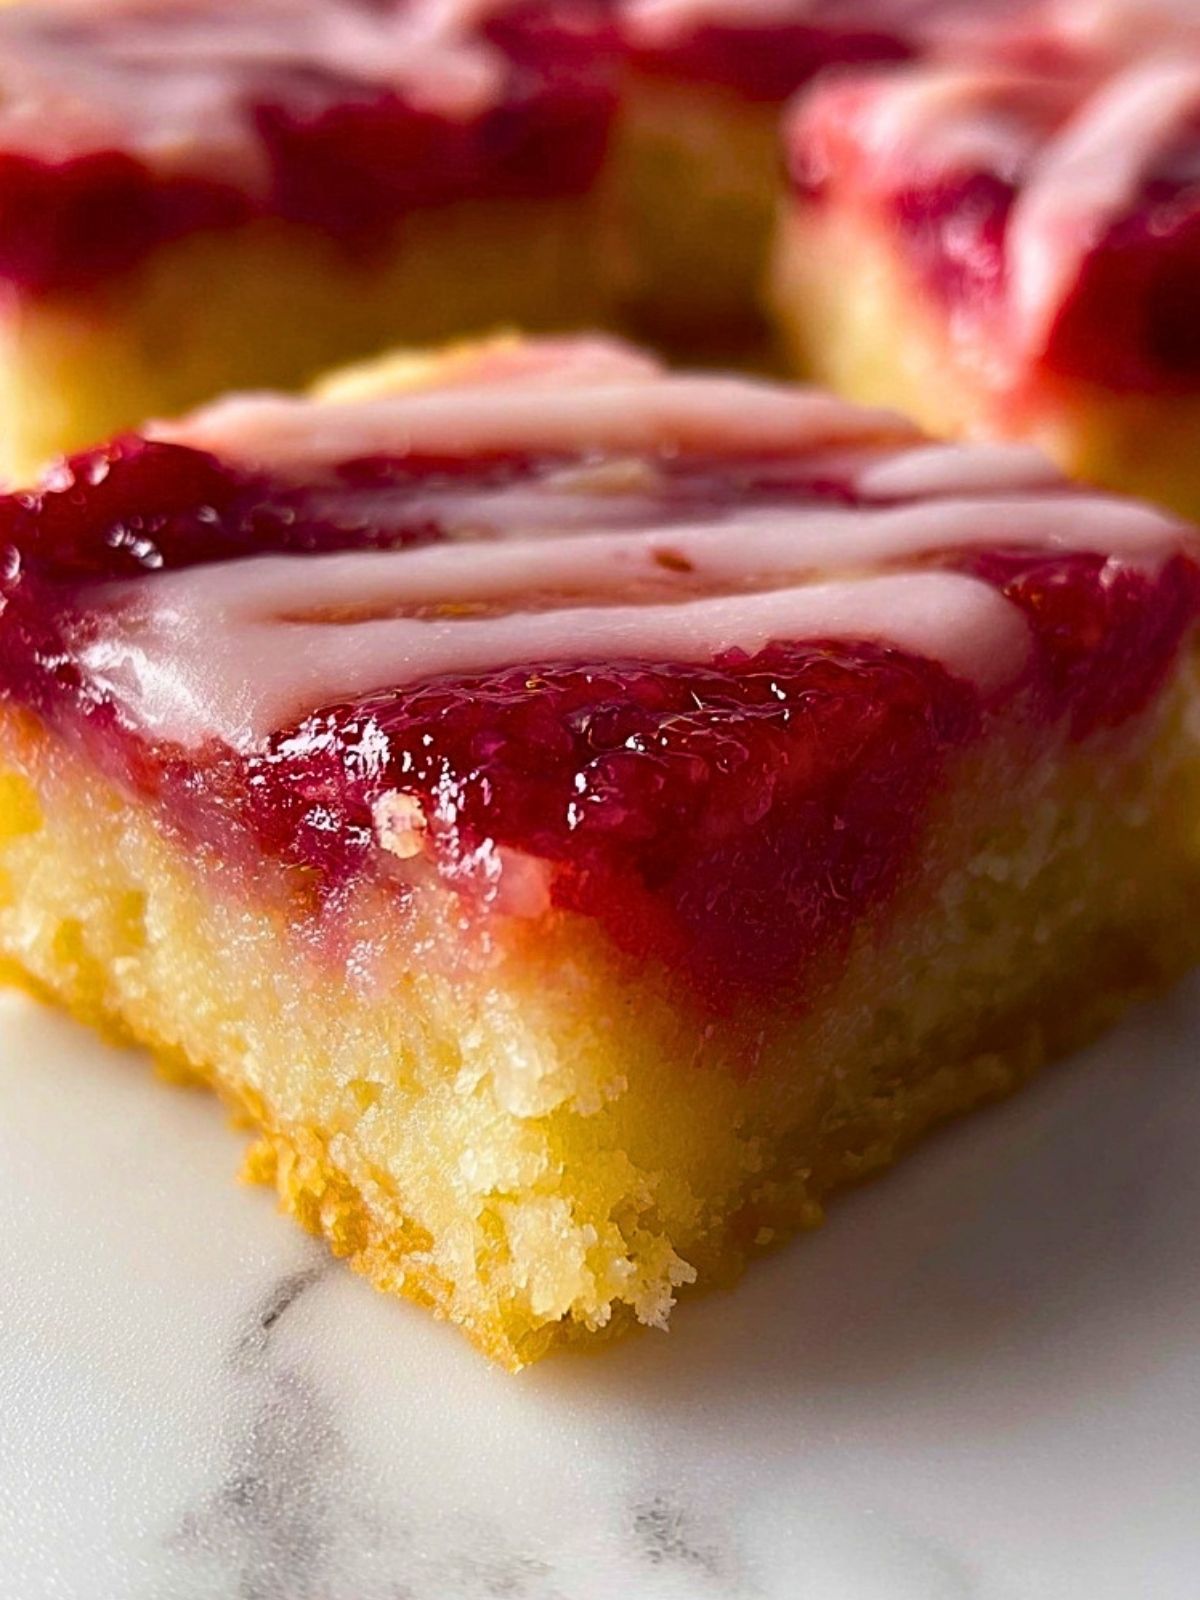
Each ingredient in Raspberry Lemonade Bars plays an important role, from building a tender crumb to creating that bright, fruity finish.
Butter
Butter gives the bars richness and creates a soft, melt-in-your-mouth base.
Granulated sugar
Sugar sweetens the bars and also helps create a light texture when creamed with butter.
Eggs
Eggs add structure, moisture, and stability so the bars hold together well after baking.
All-purpose flour
Flour forms the base of the batter and gives the bars enough body to support the fruit topping.
Baking powder
A small amount of baking powder helps lift the bars and keeps them from feeling dense.
Salt
Salt balances the sweetness and sharpens both the lemon and raspberry flavors.
Fresh lemon juice
Lemon juice brings the lemonade flavor and adds the tart brightness that defines this dessert.
Lemon zest
Zest adds concentrated citrus aroma and deeper lemon flavor without extra liquid.
Raspberries
Raspberries create the jewel-toned topping and add a sweet-tart fruitiness that pairs beautifully with lemon.
Cornstarch
Cornstarch helps thicken the raspberry layer so it sets nicely instead of soaking into the bars.
Powdered sugar
Powdered sugar is used for the glaze, giving the top a smooth sweetness that finishes the bars beautifully.
Milk or lemon juice for glaze
A little liquid loosens the glaze to the right consistency for drizzling.
How To Make the Raspberry Lemonade Bars
This dessert comes together in simple stages. First you make the lemon bar base, then the raspberry layer, and finally the glaze after baking and cooling.
Step 1: Prep the Pan and Oven
Preheat your oven to 350°F. Line an 8×8-inch baking pan with parchment paper, leaving enough overhang on the sides to lift the bars out later. Lightly grease the parchment if needed.
Step 2: Cream the Butter and Sugar
In a large mixing bowl, beat the softened butter and granulated sugar until the mixture looks pale and fluffy. This step helps create a softer, lighter texture in the finished bars.
Step 3: Add the Eggs and Lemon Flavor
Mix in the eggs one at a time, then stir in the fresh lemon juice and lemon zest. The batter may look slightly curdled at this stage, which is normal.
Step 4: Combine the Dry Ingredients
In a separate bowl, whisk together the flour, baking powder, and salt. Gradually add the dry mixture to the wet ingredients, mixing just until no dry streaks remain.
Step 5: Spread the Batter
Transfer the batter to the prepared pan and spread it into an even layer with a spatula. Try to smooth the surface so the bars bake evenly from edge to center.
Step 6: Make the Raspberry Layer
In a small saucepan over medium heat, combine raspberries with a little sugar if desired and the cornstarch. Stir gently until the berries break down slightly and the mixture thickens into a spoonable topping. Let it cool for a few minutes.
Step 7: Add the Raspberry Topping
Spoon the raspberry mixture over the batter. Gently spread it across the top, leaving a little texture for a more rustic look.
Step 8: Bake Until Set
Bake for 30 to 35 minutes, or until the edges are lightly golden and the center looks set. A toothpick inserted into the cake portion should come out mostly clean.
Step 9: Cool Completely
Place the pan on a cooling rack and let the bars cool completely. This is important because warm bars can fall apart and the glaze will melt if added too soon.
Step 10: Glaze and Slice
Whisk together powdered sugar with enough milk or lemon juice to form a smooth drizzle. Spoon it over the cooled bars, then lift the slab from the pan and slice into squares.
Serving and Storing Raspberry Lemonade Bars
Raspberry Lemonade Bars are best served once fully cooled, when the layers have had time to settle and the glaze has set. They are lovely as an afternoon dessert with tea, as part of a brunch spread, or plated with extra fresh raspberries for a more polished presentation. For warm-weather gatherings, chilling them for a bit before serving makes the flavor even more refreshing.
To store them, place the bars in an airtight container in the refrigerator for up to 4 days. If you are stacking them, place parchment paper between layers so the glaze stays neat. For longer storage, freeze the bars without the glaze if possible, then thaw in the refrigerator and add fresh glaze before serving.
Frequently Asked Questions
Can I use frozen raspberries instead of fresh?
Yes, frozen raspberries work well. Thaw and drain them first if they seem very watery, or cook them a little longer so the topping thickens properly.
How do I keep the bars from getting soggy?
Make sure the raspberry layer is thickened before spreading it on top, and allow the bars to cool completely before storing them.
Can I make Raspberry Lemonade Bars ahead of time?
Yes. These bars are great for making a day ahead because the flavors settle nicely and the slices become even cleaner after chilling.
What kind of lemon works best?
Fresh lemons are best because both the juice and zest add a brighter, more natural flavor than bottled juice.
Can I double the batch?
Yes. Double the ingredients and bake the bars in a 9×13-inch pan. You may need to add a few extra minutes to the baking time.
Can I skip the glaze?
You can, but the glaze adds a nice sweet finish that balances the tart lemon and raspberry. Even a light drizzle makes a difference.
Want More Dessert Ideas?
If you love Raspberry Lemonade Bars, you might enjoy trying a few more sweet treats from Kitchen By Kate:
- Quick and Simple Oatmeal Peanut Butter Chocolate Chip Bars for an easy bar dessert with chewy texture.
- Strawberry Cheesecake Dump Cake for another fruity dessert that feels perfect for gatherings.
- Gooey Strawberry Earthquake Cake if you want a richer berry dessert with a fun twist.
- Moist and Tangy Key Lime Pound Cake for more bright citrus flavor in cake form.
- Homemade Lemon Cheesecake Ice Cream when you are in the mood for a chilled lemon dessert.
Save This Pin For Later
📌 Save this recipe to your Pinterest dessert board so you can come back to it any time.
And let me know in the comments how yours turned out. Did you keep the glaze classic, or add extra lemon for more zing? Did you use fresh raspberries, or make it with frozen berries?
I love hearing how others make these recipes their own. Questions are welcome too, and for even more daily recipe inspiration, visit Kitchen By Kate on Pinterest.

Raspberry Lemonade Bars
- Total Time: 55 minutes
- Yield: 12 bars
- Diet: Vegetarian
Description
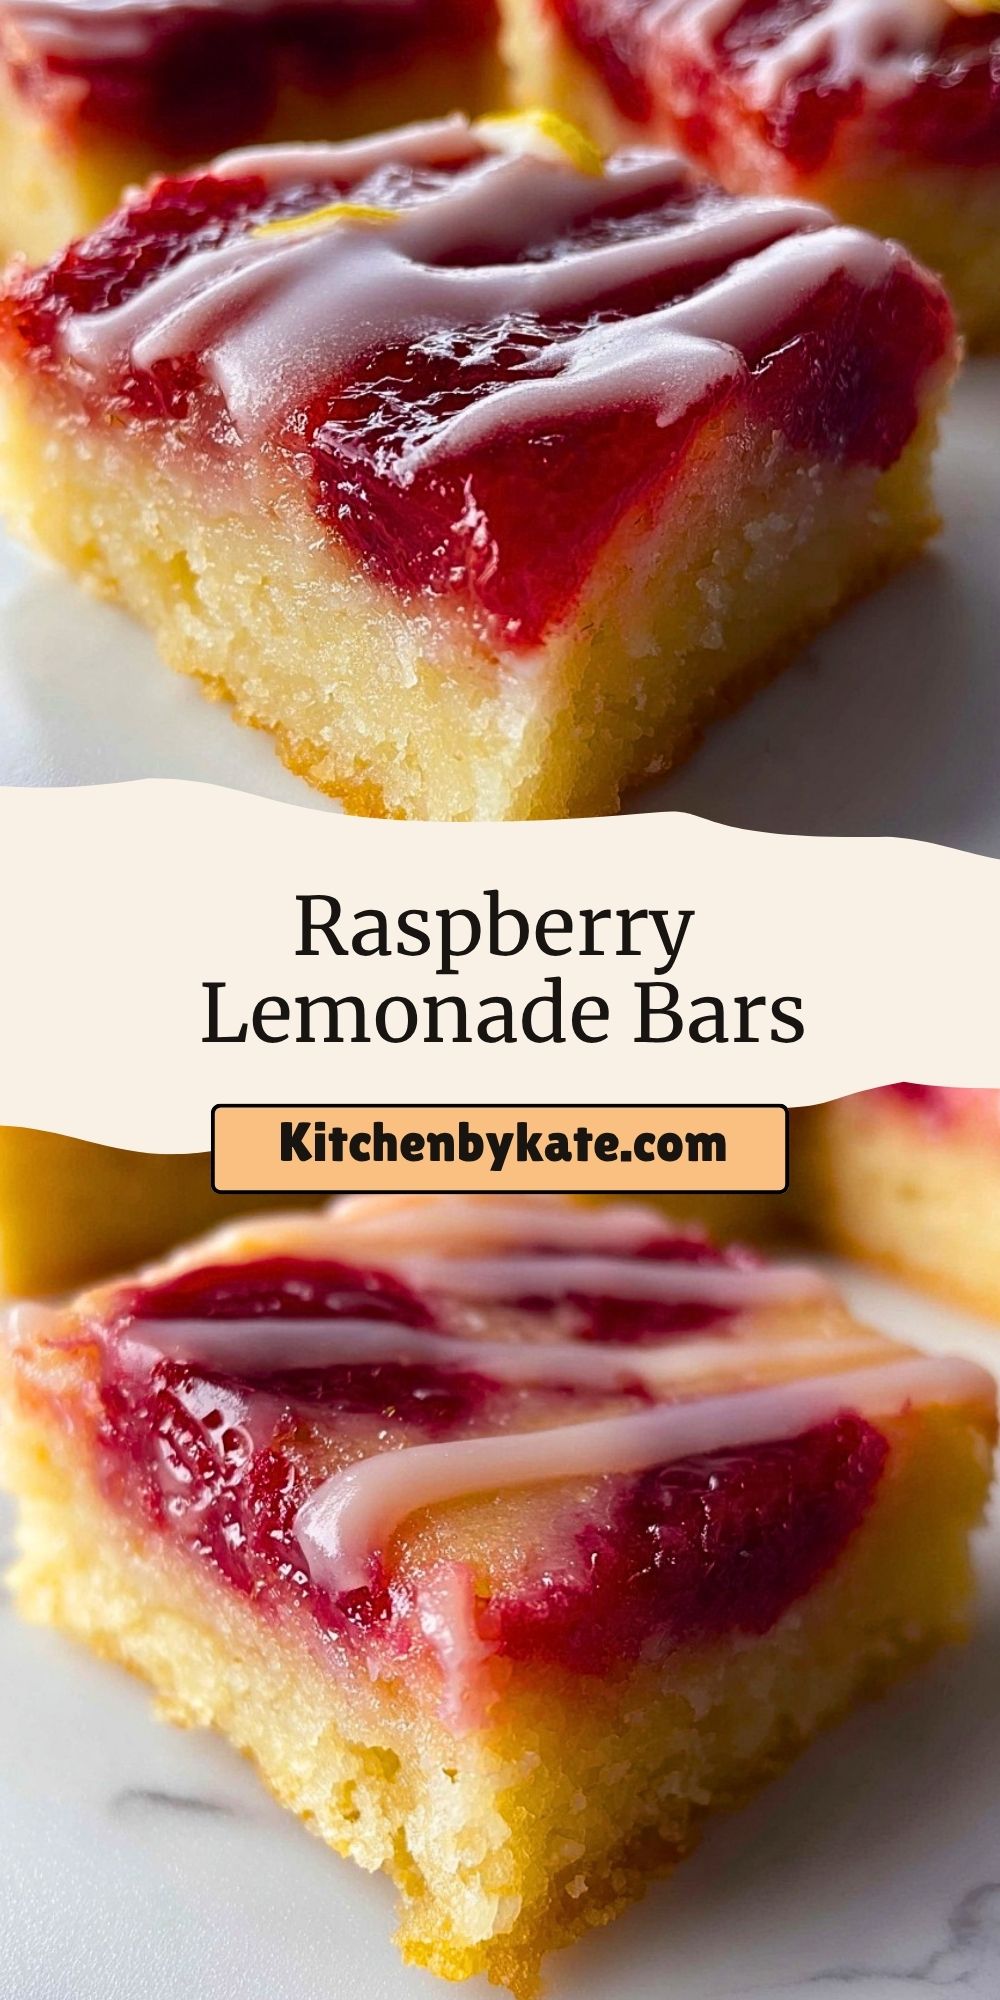
Bright, buttery, and bursting with fruity flavor, these Raspberry Lemonade Bars are an easy dessert that feels perfect for spring brunches, summer parties, and anytime you want a sweet treat with a fresh citrus twist. With a soft lemon-infused base, a vibrant raspberry topping, and a simple glaze, this easy recipe is a beautiful choice for dessert boards, snack tables, party food ideas, and make-ahead baking.
Ingredients
1 cup unsalted butter, softened
1 1/4 cups granulated sugar
2 large eggs
2 tablespoons fresh lemon juice
1 tablespoon lemon zest
2 cups all-purpose flour
1 teaspoon baking powder
1/4 teaspoon salt
2 cups raspberries
1 tablespoon cornstarch
1 cup powdered sugar
2 to 3 tablespoons milk or fresh lemon juice
Instructions
1. Preheat the oven to 350°F and line an 8×8-inch baking pan with parchment paper.
2. Beat the softened butter and granulated sugar until pale and fluffy.
3. Add the eggs one at a time, then mix in the lemon juice and lemon zest.
4. In a separate bowl, whisk together the flour, baking powder, and salt.
5. Add the dry ingredients to the wet ingredients and mix just until combined.
6. Spread the batter evenly into the prepared pan.
7. In a small saucepan, cook the raspberries with the cornstarch over medium heat until thickened slightly.
8. Spoon the raspberry mixture over the batter and spread gently.
9. Bake for 30 to 35 minutes, until the edges are lightly golden and the center is set.
10. Cool the bars completely in the pan.
11. Whisk together the powdered sugar with enough milk or lemon juice to make a smooth glaze.
12. Drizzle the glaze over the cooled bars, then slice and serve.
Notes
Let the bars cool fully before glazing so the drizzle stays visible and does not melt into the topping.
Fresh lemon zest gives the bars their brightest flavor, so it is worth using real lemons here.
For neat slices, chill the bars for 20 to 30 minutes before cutting and wipe the knife between cuts.
- Prep Time: 20 minutes
- Cook Time: 35 minutes
- Category: Dessert
- Method: Baking
- Cuisine: American
Nutrition
- Serving Size: 1 bar
- Calories: 260
- Sugar: 24g
- Sodium: 95mg
- Fat: 12g
- Saturated Fat: 7g
- Unsaturated Fat: 4g
- Trans Fat: 0g
- Carbohydrates: 36g
- Fiber: 2g
- Protein: 3g
- Cholesterol: 52mg