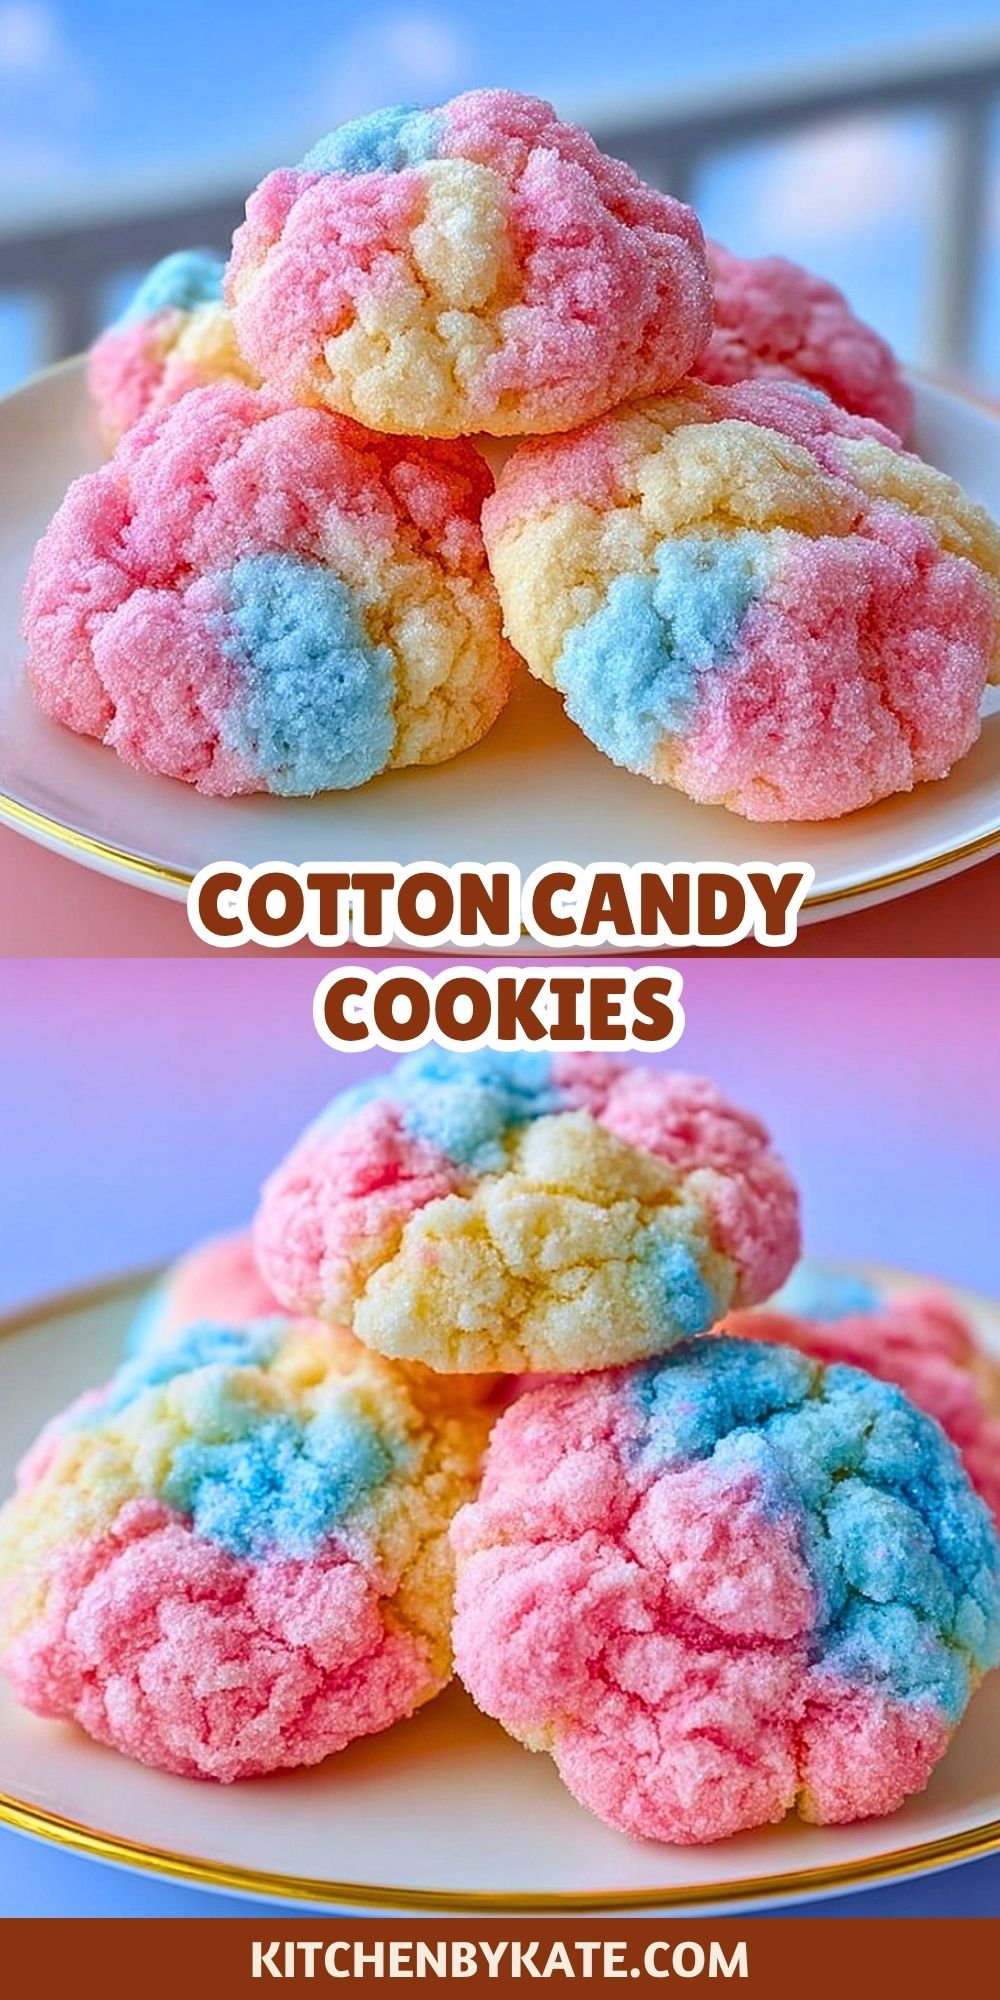

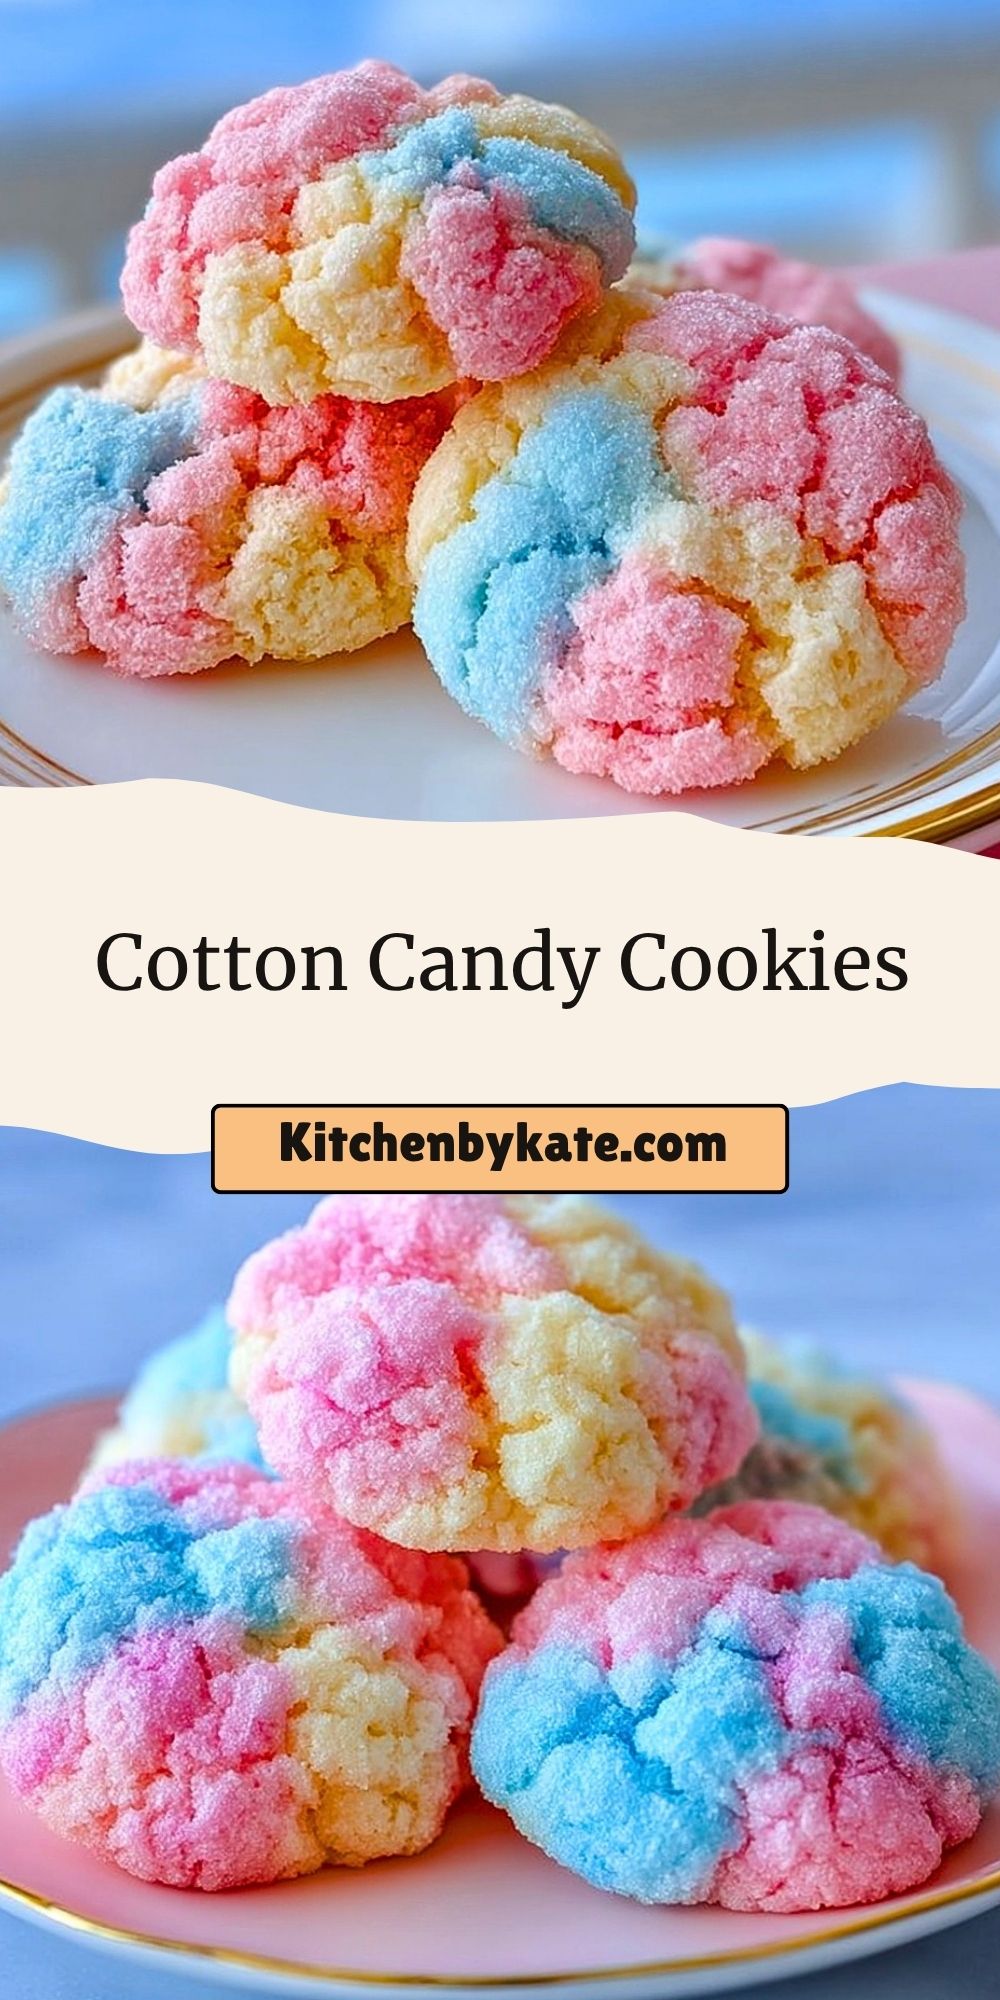
Cotton Candy Cookies are the kind of treat that instantly make people smile. With their pastel swirls of pink, blue, and yellow, they bring a playful bakery-style look to any dessert table while still delivering the buttery softness everyone wants from a homemade cookie. They feel festive, fun, and a little nostalgic all at once.
What makes these cookies especially lovable is that they are not just pretty. They have a soft center, lightly crisp edges, and a sweet vanilla-forward flavor that pairs beautifully with the colorful sugar coating. Whether you are baking for a birthday party, baby shower, holiday tray, or simply want something cheerful for the weekend, these cookies make a memorable impression.
Why You’ll Love This Cotton Candy Cookies
These cookies stand out for more than their color. They are easy to make, simple to customize, and perfect when you want a dessert that looks special without requiring complicated decorating skills.
The dough comes together with basic pantry ingredients, which makes this recipe approachable even for casual bakers. The bright colors give the cookies a cotton candy-inspired look without needing advanced piping or frosting work. They are soft, tender, and sweet enough for celebrations, but still easy enough to bake on an ordinary afternoon. Another big plus is how eye-catching they are on a serving platter. They instantly add charm to party spreads, cookie boxes, and dessert boards.
Preparation Phase and Tools to Use
Before you begin, it helps to set up your baking space so the coloring process goes smoothly. Since these cookies rely on soft dough and bright sections of color, having the right tools nearby will make the whole process easier and cleaner.
A large mixing bowl is important for combining the butter and sugar without crowding the ingredients. An electric hand mixer or stand mixer helps create a light, fluffy base, which gives the cookies their soft texture. Measuring cups and measuring spoons matter because even small ingredient changes can affect the dough consistency. A rubber spatula is useful for scraping the bowl and folding in the food coloring without wasting any dough. Small bowls make it easy to divide and tint the dough evenly. A baking sheet lined with parchment paper helps the cookies bake evenly and prevents sticking. A cookie scoop is especially helpful if you want uniform cookies that bake at the same rate. Finally, a cooling rack allows the cookies to set properly after baking so they do not become soggy on the bottom.

Ingredients for the Cotton Candy Cookies
The ingredients in these cookies are simple, but each one plays an important role in creating the right texture, flavor, and appearance.
All-purpose flour gives the cookies their structure and keeps the dough sturdy enough to hold the colorful swirls. Baking powder helps the cookies puff slightly and keeps them soft instead of dense. Salt balances the sweetness and deepens the flavor. Unsalted butter creates richness and gives the dough that classic tender cookie crumb. Granulated sugar sweetens the dough and also helps create a lightly crisp edge. Eggs bind the ingredients together and add moisture. Vanilla extract gives the cookies a warm bakery-style flavor that works beautifully with the candy-inspired theme. Almond extract is optional, but a tiny amount can add a nostalgic cotton candy shop aroma. Pink, blue, and yellow gel food coloring create the signature pastel look without making the dough too wet. Extra granulated sugar for rolling gives the outside a sparkly finish and a delicate crunch.
How To Make the Cotton Candy Cookies
These cookies are easy to prepare, especially if you divide the dough carefully and avoid overmixing the colors. The goal is to keep the shades distinct so each cookie bakes up with a soft marbled look.
Step 1: Prep the Baking Sheet
Preheat your oven to 350°F. Line two baking sheets with parchment paper so the cookies release easily and bake evenly.
Step 2: Mix the Dry Ingredients
In a medium bowl, whisk together the flour, baking powder, and salt. This helps distribute the leavening evenly throughout the dough.
Step 3: Cream the Butter and Sugar
In a large mixing bowl, beat the softened butter and granulated sugar until the mixture looks pale and fluffy. This step adds air to the dough and helps create a softer cookie.
Step 4: Add the Eggs and Flavoring
Beat in the eggs one at a time, then mix in the vanilla extract. If you want a slightly more candy-shop flavor, add a very small splash of almond extract.
Step 5: Combine the Wet and Dry Mixtures
Gradually add the dry ingredients to the butter mixture, mixing just until no dry streaks remain. The dough should be soft but not sticky.
Step 6: Divide and Color the Dough
Separate the dough into three equal portions. Tint one portion pink, one blue, and one yellow using gel food coloring. Mix each portion gently until the color is even.
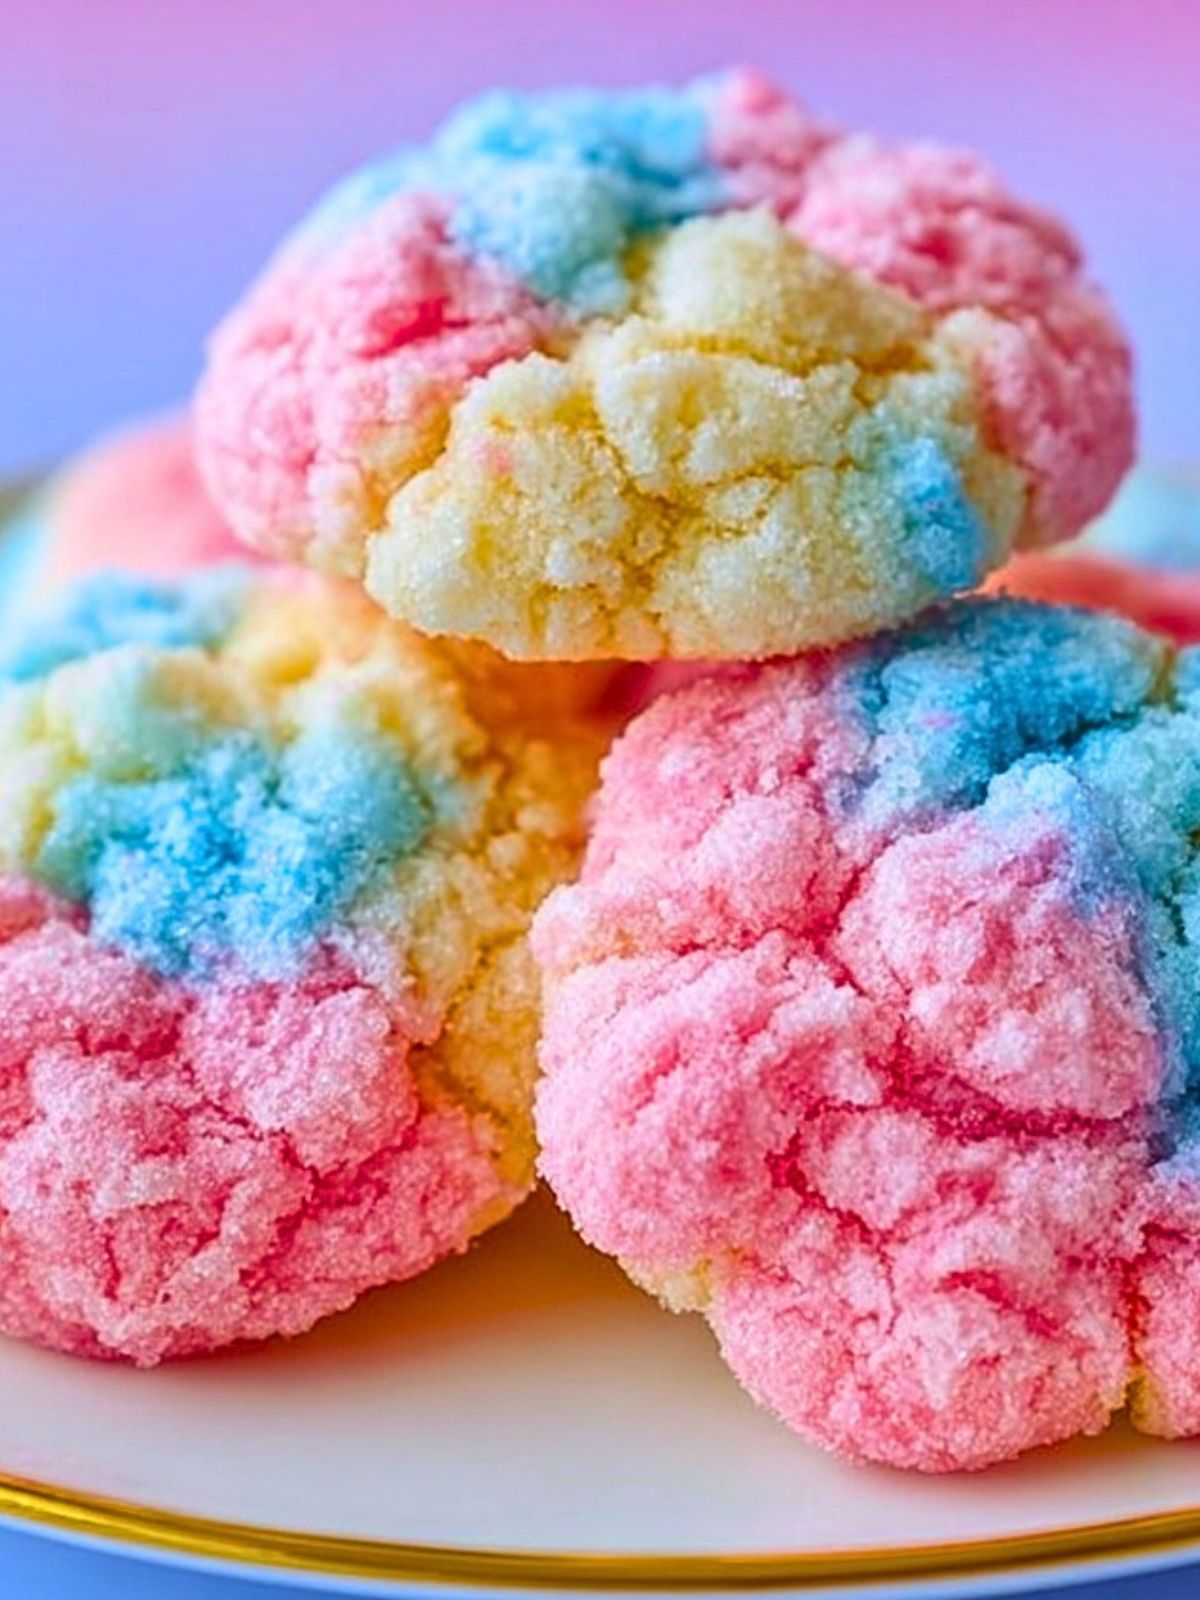
Step 7: Create the Cotton Candy Swirl
Pinch off small pieces from each colored dough portion and lightly press them together. Roll gently into a ball, being careful not to overblend the colors. You want visible swirls rather than one combined shade.
Step 8: Coat in Sugar
Roll each dough ball in granulated sugar. This gives the cookies a sparkly finish and enhances the crinkled texture as they bake.
Step 9: Bake the Cookies
Place the dough balls on the prepared baking sheets, spacing them about 2 inches apart. Bake for 9 to 11 minutes, or until the edges are set and the centers still look slightly soft.
Step 10: Cool and Serve
Let the cookies rest on the baking sheet for 5 minutes before transferring them to a cooling rack. This helps them finish setting without overbaking.
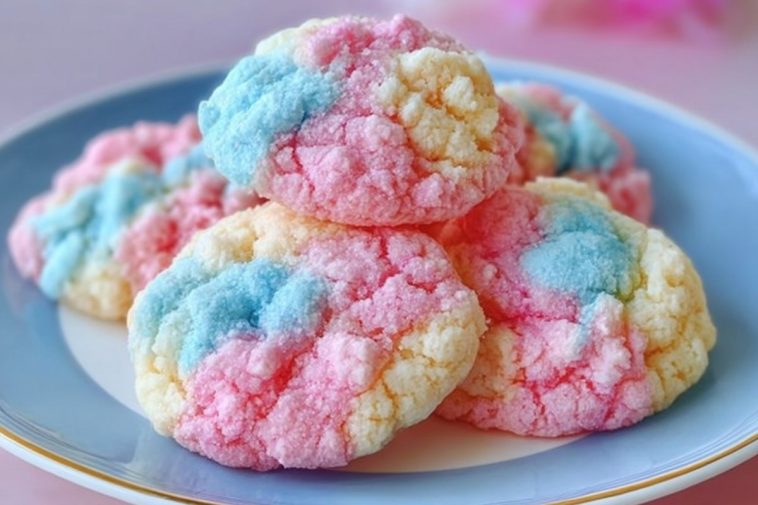
Serving and Storing Cotton Candy Cookies
Cotton Candy Cookies are best served once they have fully cooled, when the outside has a delicate sugary finish and the inside stays soft and tender. They look especially pretty arranged on a pastel dessert tray, stacked in clear treat bags, or served alongside milk, hot chocolate, or a vanilla milkshake for a playful dessert spread.
To store them, keep the cookies in an airtight container at room temperature for up to 4 days. If you want to keep them soft, place a small piece of bread in the container with them. For longer storage, freeze the baked cookies in a freezer-safe container for up to 2 months. You can also freeze the unbaked dough balls and bake them straight from the freezer, adding an extra minute or two to the baking time.
Frequently Asked Questions
Can I use liquid food coloring instead of gel food coloring?
Yes, but gel food coloring works much better because it gives vibrant color without adding extra liquid to the dough. Liquid coloring can make the dough softer and harder to handle.
How do I keep the colors from blending together too much?
Use a light hand when combining the colored dough pieces. Press and roll them just enough to hold together. Too much mixing will turn the colors muddy.
Can I make these cookies ahead of time?
Yes. You can prepare the dough a day in advance and keep it covered in the refrigerator. You can also freeze the shaped dough balls for later baking.
What flavor do these cookies have?
They are mostly buttery vanilla sugar cookies with a sweet, nostalgic bakery-style flavor. A small amount of almond extract can make them taste even more candy-like.
Why did my cookies spread too much?
This usually happens if the butter was too soft or the dough got too warm while coloring and shaping. Chilling the dough balls for 15 to 20 minutes before baking can help.
Can I add mix-ins to the dough?
Yes. White chocolate chips or colorful sprinkles can work well, but use them sparingly so the pastel swirls remain the star.
Want More Dessert Ideas?
If you love fun and colorful sweets, you may also enjoy these other favorites from Kitchen By Kate:
Simple Apricot Cream Cheese Thumbprint Cookies for a soft fruit-filled cookie with a classic bakery feel.
Quick and Easy Fudgy Chocolate Brownie Cookies when you want a rich, chewy chocolate option.
Peanut Butter Chocolate Chip Cookie Cups for a bite-sized dessert with plenty of sweet and salty flavor.
Strawberry Cheesecake Dump Cake if you are craving an easy layered dessert with creamy strawberry goodness.
Creamy Homemade Bubblegum Ice Cream Recipe for another playful pastel-inspired treat that fits the same fun dessert mood.
Save This Pin For Later
📌 Save this recipe to your Pinterest dessert board so you can come back to it any time.
And let me know in the comments how yours turned out. Did you keep the pastel swirl soft and subtle, or go bold with brighter colors? Did you add almond extract for that extra candy-shop flavor?
I love hearing how others make these recipes their own. Questions are welcome too, and you can find even more sweet inspiration on Kitchen By Kate on Pinterest

Cotton Candy Cookies
- Total Time: 30 minutes
- Yield: 24 cookies
- Diet: Vegetarian
Description
These Cotton Candy Cookies are a fun and easy recipe with soft centers, lightly crisp edges, and dreamy pastel swirls that make them perfect for party desserts, holiday baking, easy snack ideas, and colorful food ideas when you want a quick sweet treat everyone will remember.
Ingredients
2 3/4 cups all-purpose flour
1 teaspoon baking powder
1/2 teaspoon salt
1 cup unsalted butter, softened
1 1/2 cups granulated sugar
2 large eggs
2 teaspoons vanilla extract
1/4 teaspoon almond extract, optional
pink gel food coloring
blue gel food coloring
yellow gel food coloring
1/4 cup granulated sugar for rolling
Instructions
1. Preheat the oven to 350°F and line two baking sheets with parchment paper.
2. Whisk together the flour, baking powder, and salt in a medium bowl.
3. In a large bowl, beat the softened butter and sugar until light and fluffy.
4. Mix in the eggs one at a time, then add the vanilla extract and almond extract if using.
5. Gradually add the dry ingredients to the wet ingredients and mix until a soft dough forms.
6. Divide the dough evenly into three bowls and tint one pink, one blue, and one yellow with gel food coloring.
7. Pinch small pieces from each color, press them together, and gently roll into balls without overmixing the shades.
8. Roll each dough ball in the extra granulated sugar.
9. Place the cookies on the prepared baking sheets about 2 inches apart.
10. Bake for 9 to 11 minutes until the edges are set and the centers still look slightly soft.
11. Cool on the pan for 5 minutes, then transfer to a wire rack to cool completely.
Notes
Chill the shaped dough balls for 15 minutes if your kitchen is warm to help the cookies keep their shape.
Use gel food coloring instead of liquid coloring for brighter pastel shades and better dough texture.
Do not overbake the cookies if you want the centers to stay soft and tender.
- Prep Time: 20 minutes
- Cook Time: 10 minutes
- Category: Dessert
- Method: Baking
- Cuisine: American
Nutrition
- Serving Size: 1 cookie
- Calories: 165
- Sugar: 11g
- Sodium: 65mg
- Fat: 7g
- Saturated Fat: 4g
- Unsaturated Fat: 2g
- Trans Fat: 0g
- Carbohydrates: 24g
- Fiber: 0g
- Protein: 2g
- Cholesterol: 28mg