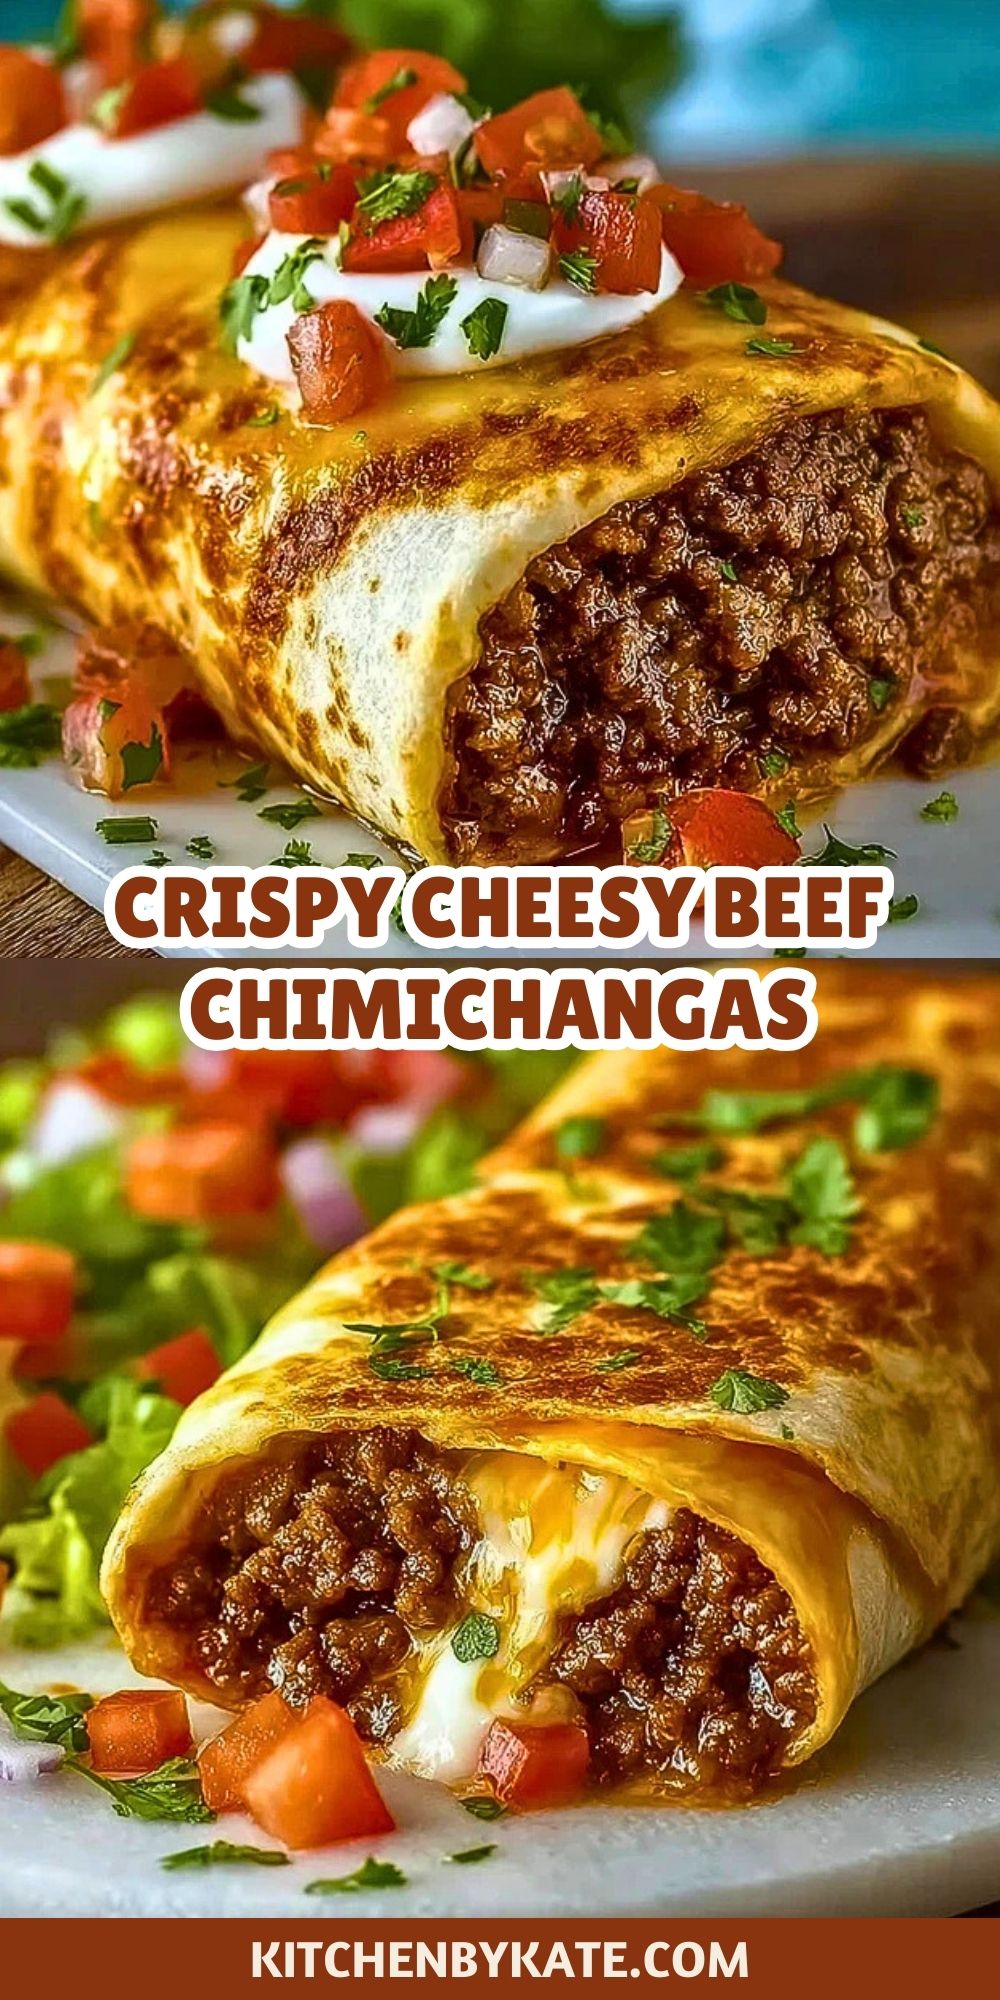
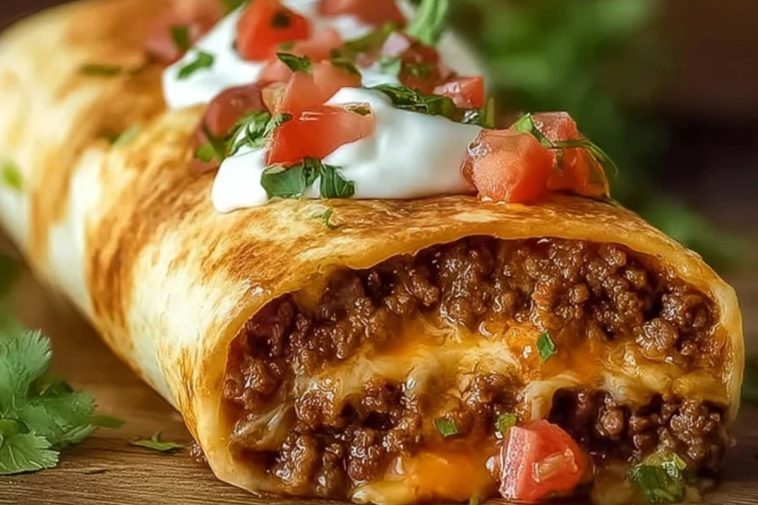
If you’re craving a Tex-Mex dinner that’s golden, crispy, and irresistibly cheesy, these Crispy Cheesy Beef Chimichangas are about to become your new favorite comfort food. Imagine perfectly seasoned ground beef and melted cheese wrapped in a flour tortilla, then pan-fried until golden and topped with fresh tomato, sour cream, and a sprinkle of cilantro. Each bite delivers a satisfying crunch followed by juicy, savory filling that melts in your mouth.
Perfect for weeknights or casual get-togethers, this recipe turns humble ingredients into a bold, flavor-packed dish. Unlike a burrito, chimichangas bring the extra magic of a crispy tortilla shell, which seals in all the cheesy goodness. They’re incredibly customizable, freezer-friendly, and will leave everyone asking for seconds.
Why You’ll Love This Crispy Cheesy Beef Chimichangas
- Crunchy meets creamy: The crispy shell contrasts perfectly with the soft, cheesy beef interior.
- Simple pantry ingredients: Most ingredients are probably already in your kitchen.
- Crowd-pleasing: Great for dinner parties or game nights.
- Freezer-friendly: Make a batch and save for a quick meal later.
- Customizable: You can swap beef for chicken, turkey, or beans for a vegetarian version.
Preparation Phase & Tools to Use
To get that signature golden crunch, the right tools are key:
- Large Skillet or Cast Iron Pan: Essential for getting that deep, even sear on the tortillas.
- Mixing Bowls: For combining the beef mixture with cheese and seasoning.
- Wooden Spoon or Spatula: Helps break up the ground beef evenly as it browns.
- Tongs: Make flipping chimichangas easy and safe.
- Paper Towels: Important for draining excess oil after pan-frying.
Prep your station ahead of time. Have all fillings ready, tortillas slightly warmed for easier rolling, and toppings pre-chopped for quick assembly.

Ingredients for the Crispy Cheesy Beef Chimichangas
- Ground Beef: The savory foundation of the filling; aim for 80/20 for flavor and moisture.
- Shredded Cheddar Cheese: Melts beautifully into the beef, adding rich creaminess.
- Taco Seasoning: Brings depth and a Tex-Mex flair to the beef mixture.
- Salsa: Adds moisture and a tangy kick to the filling.
- Flour Tortillas (Large): The wrapper that crisps up beautifully when pan-fried.
- Vegetable Oil: Necessary for achieving that golden-brown crust.
- Sour Cream, Diced Tomatoes, Fresh Cilantro (Optional toppings): For serving and balancing the richness.
How To Make the Crispy Cheesy Beef Chimichangas
Step 1: Brown the Beef
In a skillet over medium-high heat, cook the ground beef until fully browned. Break it apart with a wooden spoon and drain excess fat.
Step 2: Season the Mixture
Add taco seasoning and salsa to the beef. Stir and let it simmer for 3–5 minutes until thickened and well combined.
Step 3: Add the Cheese
Remove from heat and stir in shredded cheddar while the mixture is still warm. This allows it to melt and bind everything together.
Step 4: Assemble the Chimichangas
Spoon the beef-cheese mixture onto the lower third of each tortilla. Fold in the sides, roll tightly, and secure seam-side down.
Step 5: Pan-Fry to Golden Perfection
Heat vegetable oil in a large skillet. Place each chimichanga seam-side down and cook until golden and crisp on all sides (about 2–3 minutes per side).
Step 6: Serve with Toppings
Drain on paper towels and top with sour cream, diced tomatoes, and cilantro.
How to Serve and Store Crispy Cheesy Beef Chimichangas
Serving Suggestions:
These chimichangas are best served hot and crispy, fresh from the pan. Pair them with Mexican rice, black beans, or a simple side salad for a complete meal. You can drizzle them with queso, spoon over some guacamole, or go bold with a splash of hot sauce.
Storing:
Store any leftovers in an airtight container in the fridge for up to 3 days. To keep that crispy texture, reheat in a skillet or air fryer instead of the microwave.
Freezing:
Wrap un-fried or already cooked chimichangas in foil and freeze for up to 2 months. When ready to eat, thaw and reheat in the oven or skillet for best results.
Frequently Asked Questions
Can I bake these instead of frying?
Yes! Brush them with oil and bake at 400°F for 20-25 minutes, flipping halfway through until golden.
What’s the best cheese to use?
Cheddar melts well and adds a bold flavor, but Monterey Jack or a Mexican blend also work wonderfully.
Can I make them vegetarian?
Absolutely. Substitute the beef with black beans, refried beans, or even seasoned tofu for a meatless version.
Can I use corn tortillas?
Corn tortillas don’t roll as well and are more prone to breaking. Flour tortillas are highly recommended for this dish.
How do I keep them from falling apart while frying?
Ensure they’re rolled tightly and always place them seam-side down in the skillet first to seal the fold.
Are they good for meal prep?
Definitely! You can prep and freeze them in batches, then just crisp them up when ready to enjoy.
Want More Tex-Mex Ideas?
If you love these Crispy Cheesy Beef Chimichangas, check out these equally delicious recipes from the blog:
- Cheesy Garlic Chicken Wraps for another handheld cheesy delight.
- Spicy Ranch Taco Dip for game night snacking with a kick.
- Chicken Street Tacos for a lighter, street-style option.
- Cheesy Rotel Ranch Queso to pair with your chimichangas.
- French Onion Ground Beef and Rice Casserole for a cozy beef dinner twist.
Save This Pin For Later
📌 Save this recipe to your Pinterest Tex-Mex or dinner board so you can come back to it any time.
And let me know in the comments how yours turned out. Did you bake or fry them? Did you add a twist with spicy cheese or a different filling?
I love seeing your creations! Share your tips and tweaks—let’s inspire each other in the kitchen.
👉 Follow Kitchen By Kate on Pinterest for more daily delicious ideas and comforting homemade recipes.


Crispy Cheesy Beef Chimichangas
- Total Time: 30 minutes
- Yield: 6 chimichangas
Description
These Crispy Cheesy Beef Chimichangas are the ultimate Tex-Mex comfort food — filled with seasoned ground beef, gooey melted cheese, and wrapped in a golden, crunchy tortilla. Perfect for dinner, meal prep, or freezer meals. This chimichanga recipe is easy, customizable, and freezer-friendly. Keywords: crispy chimichangas, beef chimichangas, Tex-Mex dinner.
Ingredients
1 lb ground beef
1 cup shredded cheddar cheese
1 packet taco seasoning
1/2 cup salsa
6 large flour tortillas
1/4 cup vegetable oil (for frying)
1/2 cup sour cream
1/2 cup diced tomatoes
2 tbsp chopped fresh cilantro
Instructions
1. In a skillet over medium-high heat, cook ground beef until browned, breaking it up with a spoon. Drain excess fat.
2. Add taco seasoning and salsa to the skillet. Stir well and simmer for 3–5 minutes until the mixture thickens.
3. Remove from heat and mix in shredded cheddar cheese until fully melted.
4. Spoon beef-cheese mixture onto each tortilla, fold sides, and roll up tightly. Place seam-side down.
5. Heat vegetable oil in a large skillet. Fry chimichangas seam-side down until golden and crispy on all sides (about 2–3 minutes per side).
6. Transfer to paper towels to drain.
7. Top with sour cream, diced tomatoes, and cilantro if desired. Serve hot.
Notes
For an even healthier version, bake the chimichangas at 400°F for 20–25 minutes instead of frying.
Warm the tortillas slightly before rolling to avoid tearing and make folding easier.
Use an air fryer for a lighter but still crispy alternative.
- Prep Time: 15 minutes
- Cook Time: 15 minutes
- Category: Main Course
- Method: Skillet
- Cuisine: Tex-Mex
Nutrition
- Serving Size: 1 chimichanga
- Calories: 460
- Sugar: 2g
- Sodium: 690mg
- Fat: 29g
- Saturated Fat: 11g
- Unsaturated Fat: 15g
- Trans Fat: 0g
- Carbohydrates: 27g
- Fiber: 2g
- Protein: 21g
- Cholesterol: 65mg